Simple DIY Pot Holders
Learn how to sew these simple and easy DIY pot holders, perfect for the beginner new to sewing. A kitchen essential, these pot holders make for both a beautiful and functional handmade gift.
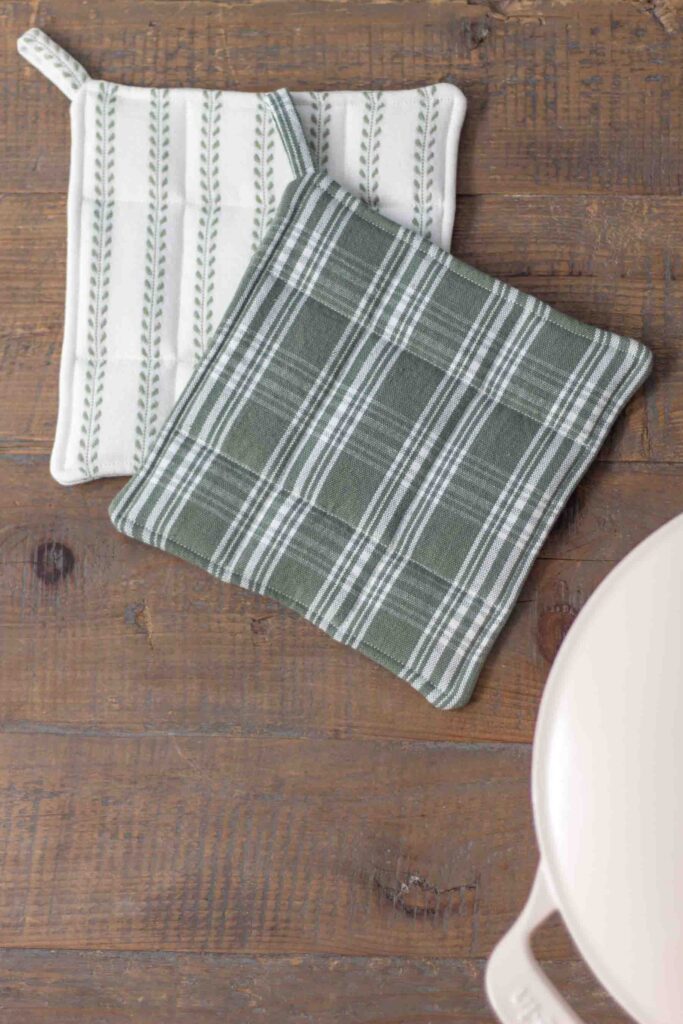
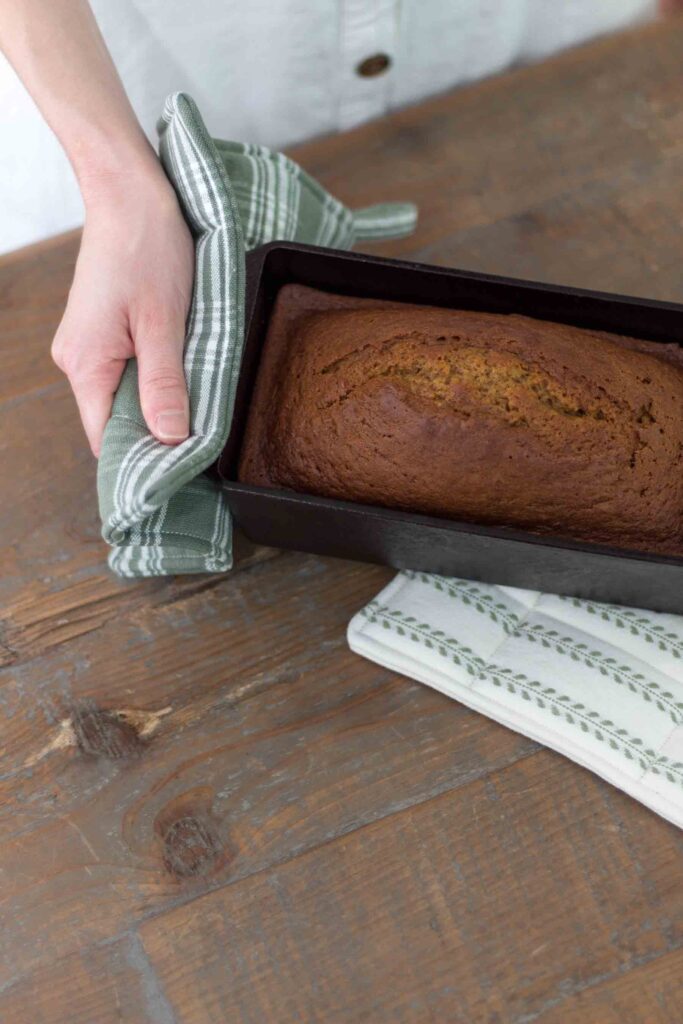
As the days grow cooler, I find myself in the warm kitchen more with little hands eager to help whip up a delectable breakfast or tasty afternoon treat. For every hot skillet and loaf pan coming out of the oven, I need some good pot holders to protect those little hands.
So when my grandma asked for some new pot holders for her birthday, I decided to go ahead and make us a fresh set for our kitchen as well. Hers have been well loved and we could use some more now that I have two sous chefs in the kitchen.
I had recently purchased some cotton fabric that coincidentally was just right for this project, but it can also be a great way to use up those leftover fabric scraps! Pair them with some wool trivets and your kitchen is ready for all the cozy holiday cooking!
These DIY square pot holders are comfortable, flexible, and do not have any of the bulk around the edges that make your sewing machine want to quit on you. Plus they can be completed in under an hour and make for great gifts!
This ended up being such a fun and easy project, I decided to make some more and place them in baskets with homemade banana bread, wool felt trivets, beeswax candles, and tea towels for handmade gift baskets!
This post contains affiliate links, which means I make a small commission at no additional cost to you. For more information, see my disclosure here.
Helpful Tips on How to Make DIY Pot Holders:
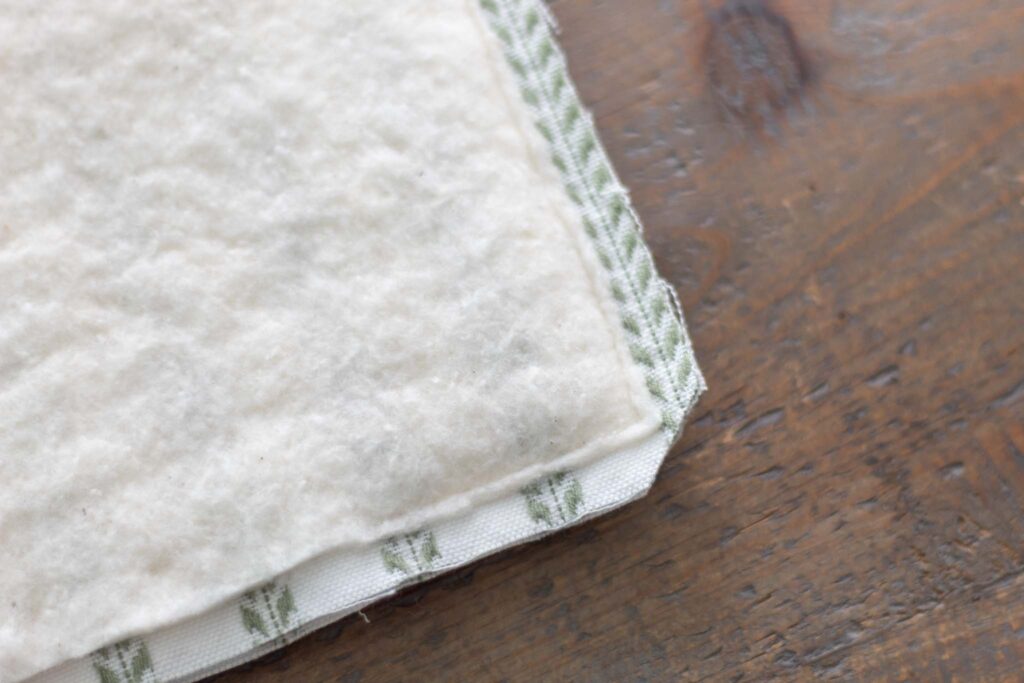
- Before turning the pot holder right side out, trim the corners at a 45 degree angle to reduce the bulk.
- Trim any excess batting or insulation material to reduce bulk around the edge of the pot holder to make for easier top stitching and flexibility when in use.
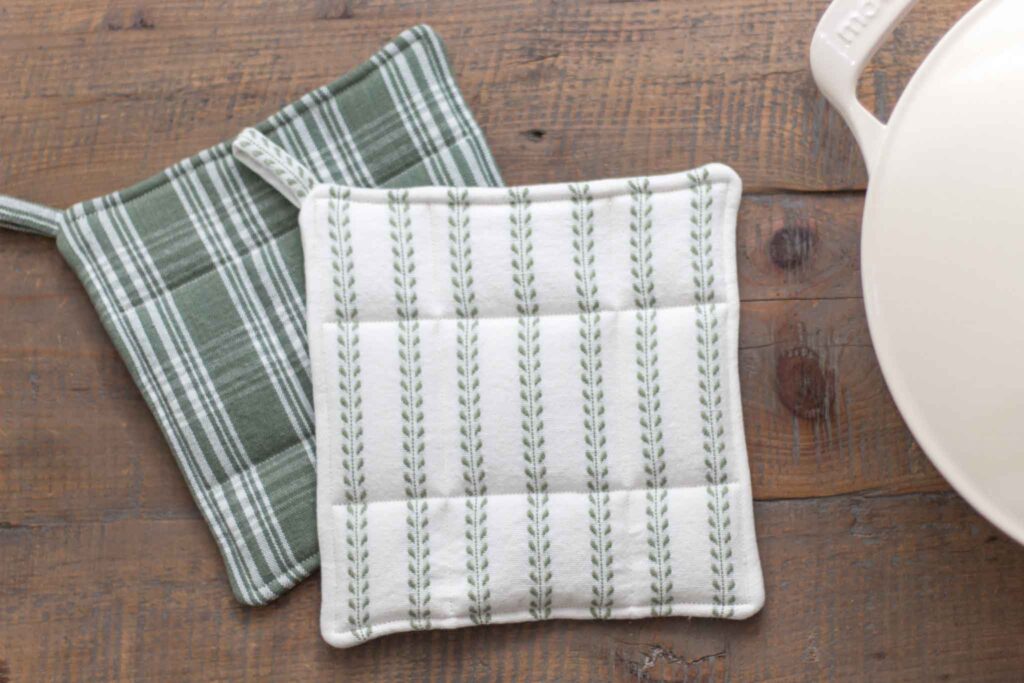
- To prevent any of the batting from bunching after use and washings, sew the fabric and the insulation pieces together with a few lines of stitches across the front of the pot holder.
- These stitches can be done in any pattern and can be as minimal as a simple cross or an intricate quilting design – your choice!
What fabric is best to use for pot holders?
You must use durable natural materials such as cotton, wool, or linen fabric. Synthetic fabrics like polyester cannot withstand the heat and can actually melt – a tip I learned from my grandma and another reason I choose to use natural materials for my insulation fabric.
Thick fabrics would be preferred due to increased heat resistance, but semi lightweight fabric can be used – cotton canvas/duck, wool, linen, grain sack, or drop cloth are my favorite fabrics.
What is the best insulation fabric or batting for making pot holders?
Insul-Bright is probably the most popular choice, but since I like to stick to natural materials, I recommend cotton quilt batting, wool, flannel, old towels, denim, or drop cloth.
Wool is naturally flame resistant and absorbs heat even more efficiently than cotton, making it a great option for a heat resistant batting.
Personally, I choose to use two to three layers of cotton batting and sometimes add a layer of cotton drop cloth between.
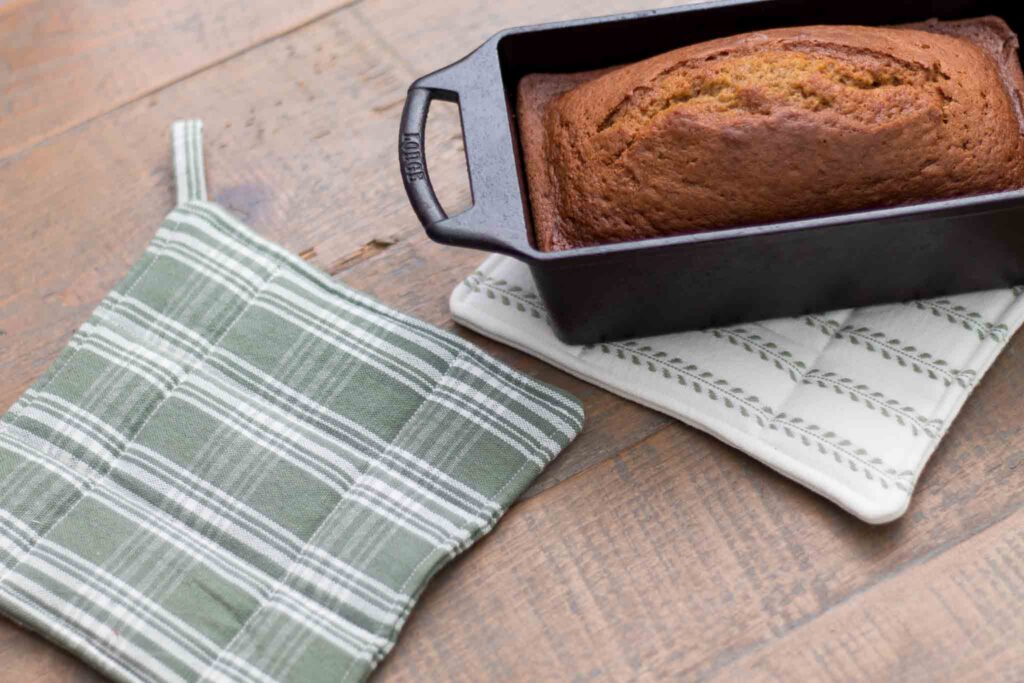
How do I make handmade pot holders heat resistant?
Test it out! Be careful of course. Try your preferred combination of the fabrics mentioned above, heat up a cast iron skillet on the stove top, and put it to the test. Experiment with fabrics and number of layers to create your favorite combination.
Check out this incredibly helpful blog post from The Questioning Quilter to see the heat resistance of different fabric and thermal batting options.
Variations on How to Sew DIY Pot Holders:
- Quilt the pot holders and add bias tape around the edge.
- Use cotton twill ribbon instead of making a matching fabric strap.
- Turn it into a pocket potholder by adding a pocket piece on one side to slide your hand into for easier gripping.
- Sew the hanging loop in the corner or centered along the top of the pot holder.
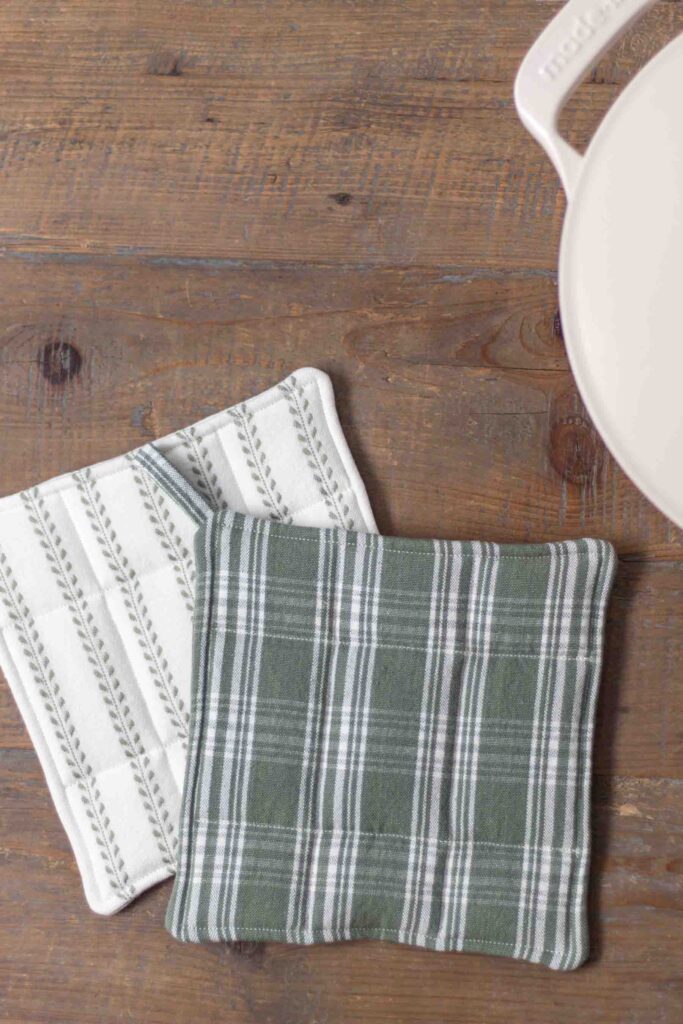
Sewing Supplies:
- Fabric – cotton, linen, canvas/duck, drop cloth, etc.
- Insulation material – cotton batting, wool, flannel, old towels, Insul-Brite, etc.
- Thread
- Sewing machine
- Sewing shears
- Pins
- Soft measuring tape, yard stick, or acrylic ruler
How to Make a DIY Pot Holder Tutorial:
The first step is to measure and cut the following pieces of fabric:
- Fabric
- two 9″ squares
- 2″ x 5″ piece to be used for the loop
- Insulation material
- three 9″ squares cotton batting – refer above for material choices and combinations.
All measurements account for a half inch seam allowance. The finished size is 8″ x 8″.
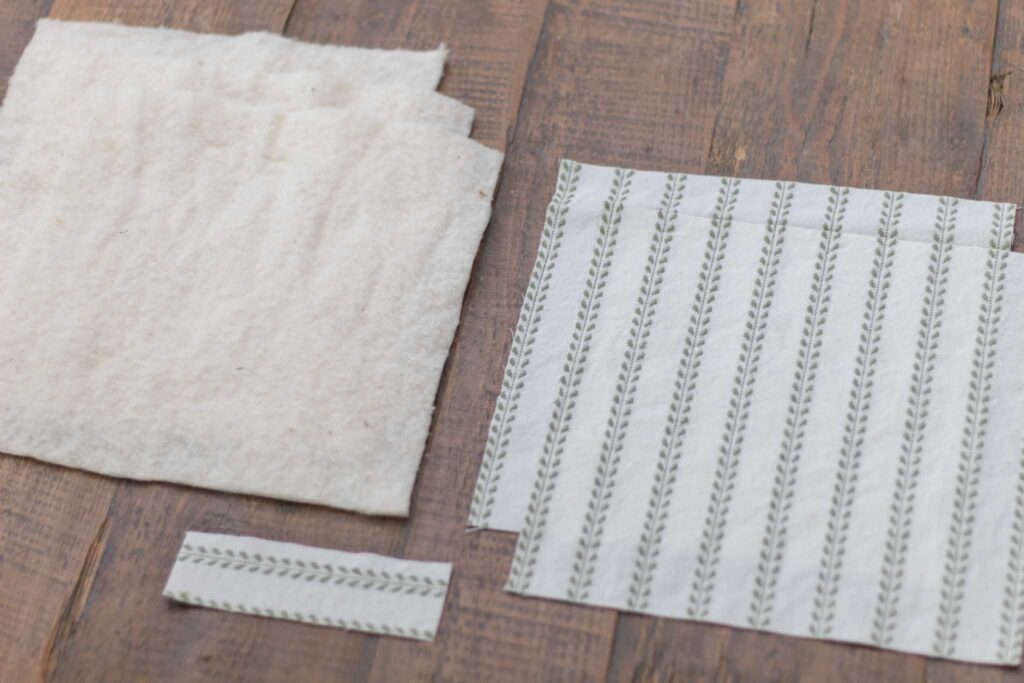
To Make the Loop
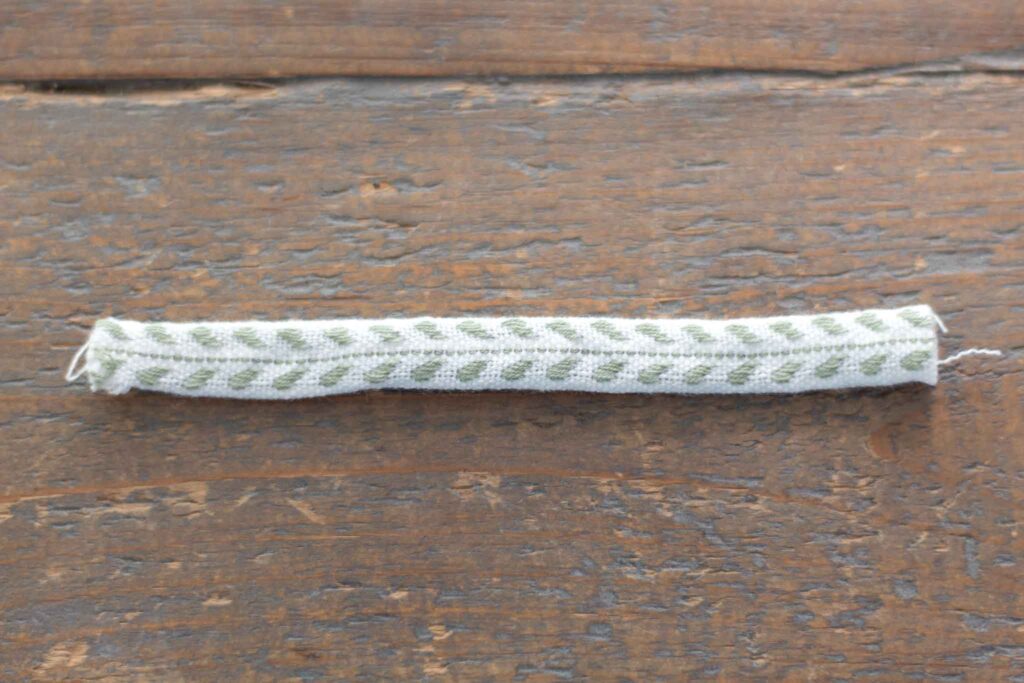
Fold the 2″ x 5″ piece of fabric in half lengthwise with wrong sides facing out. Sew 1/2″ seam down the long side. Forward and back stitch at start and finish of the stitch line.
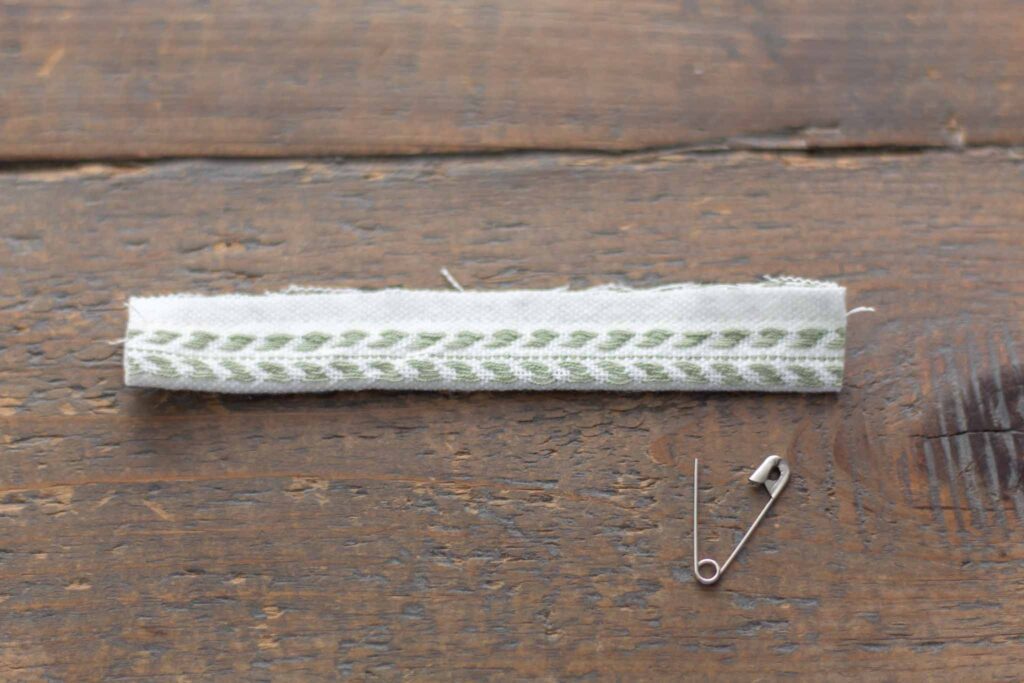
Attach a safety pin to one of the small ends and pull through the inside of the loop to turn it right side out.
Finger press or iron the loop piece. You can choose to top stitch along the seam for a more finished look, or leave as is.
To Make the Pot Holder
Stack two of the insulation layers on the table.
Place the two 9″ squares of fabric with right sides facing together on top.
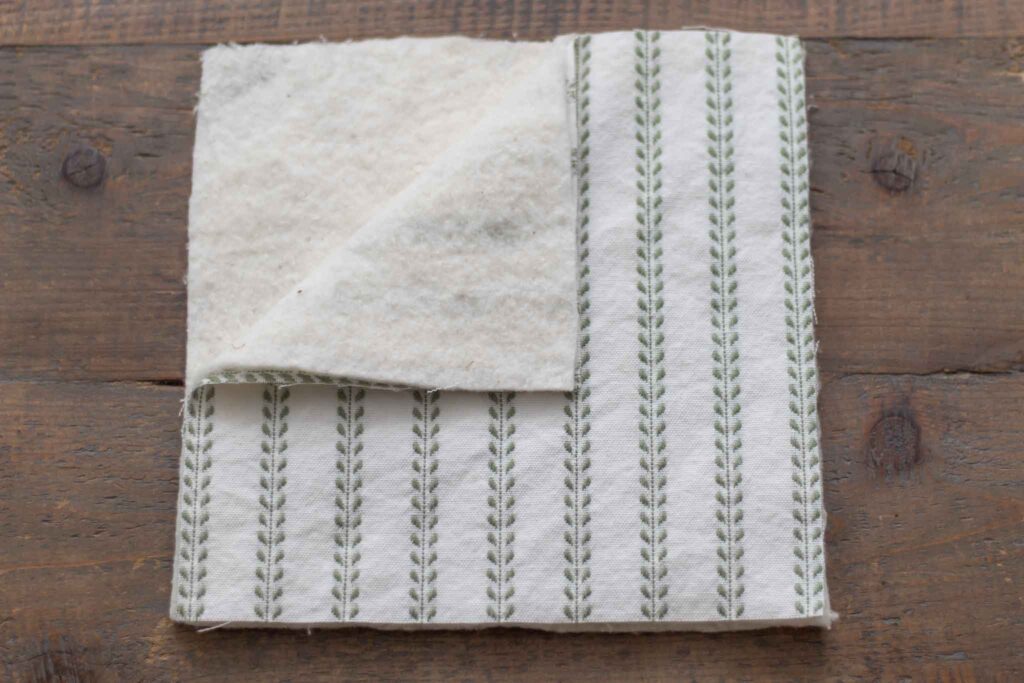
Fold the loop piece in half and place in the corner sandwiched between the two pieces of fabric, with raw edges aligned.
Stack the last insulation layer on top.
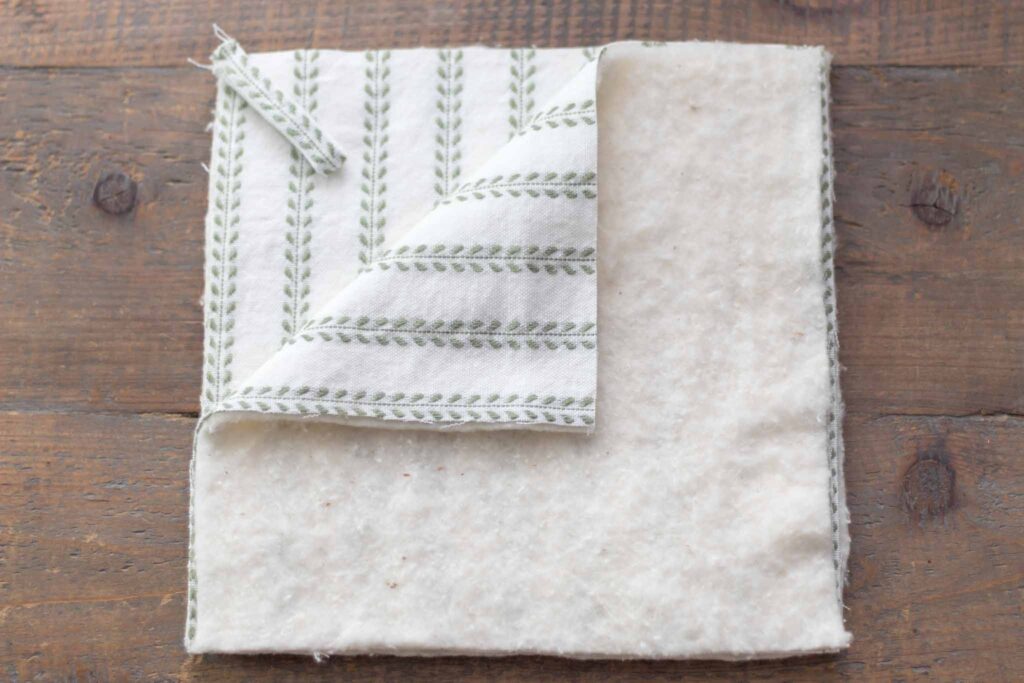
By placing the insulation layers on both the top and the bottom, I find it to help prevent the two fabric pieces in between from shifting and getting misaligned as the presser foot makes its way across the layers of materials. A walking foot should prevent this as well.
Secure the loop and all layers with pins.
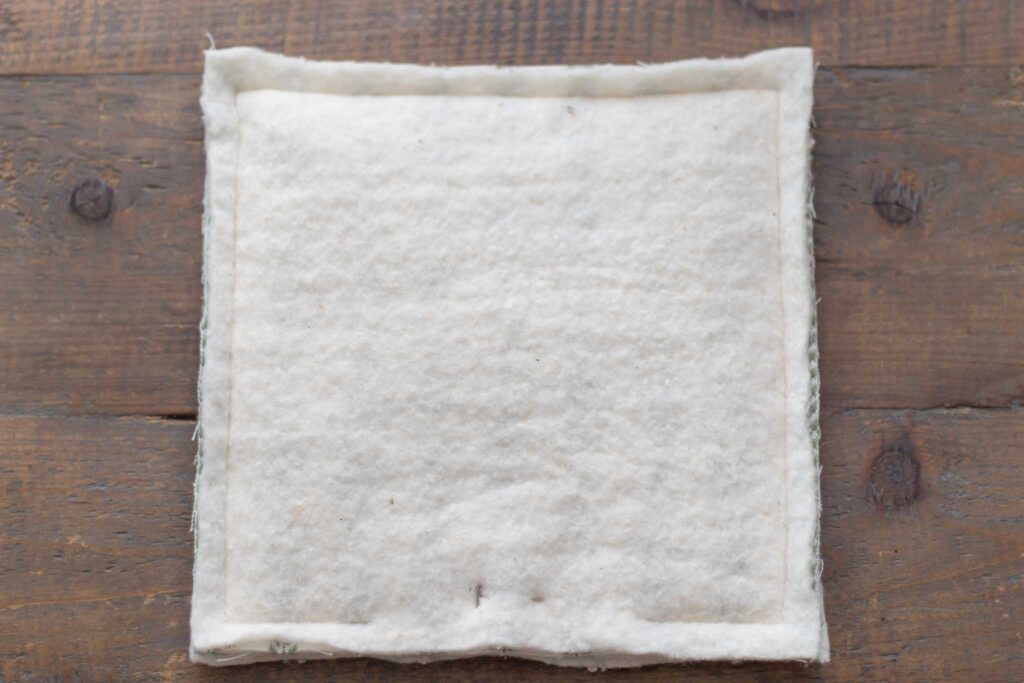
Sew 1/2″ seam around, leaving a 4″ opening along the bottom.
Forward and back stitch at start and finish of every stitching line. I also choose to do so at the loop to reinforce the stitches in this area.
Trim the corners and excess batting to reduce the bulk around the edges, keeping the 1/2″ fabric edges.
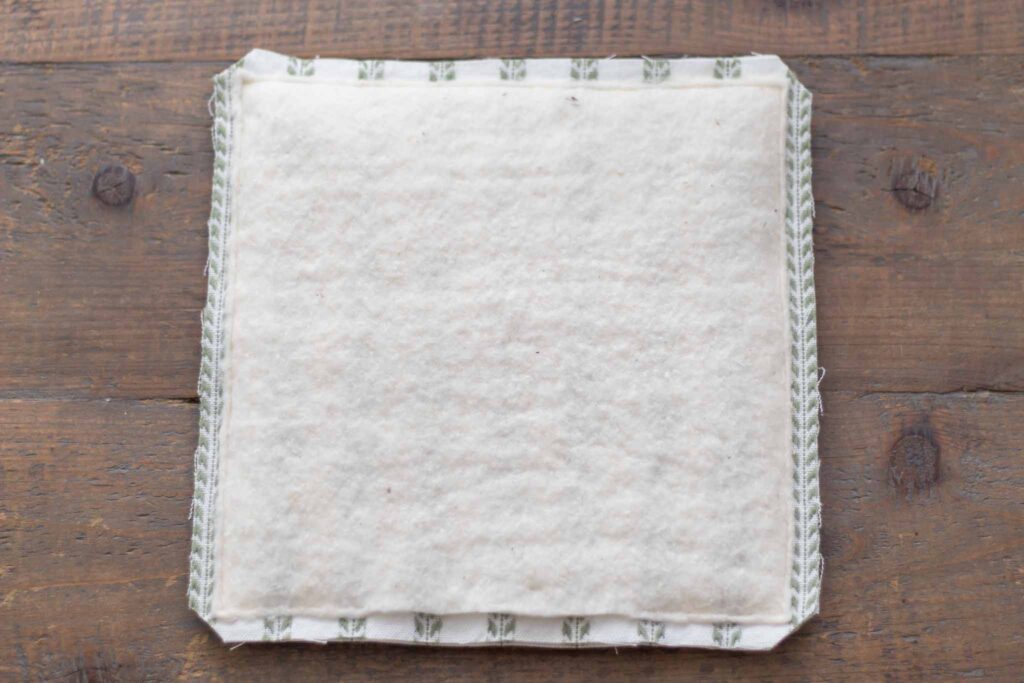
Turn the potholder right side out and push the corners out fully.
Tuck in the fabric edges of the opening, hiding the insulation materials, and pin the opening closed. Top stitch 1/4″ seam around to create a nice finished edge.
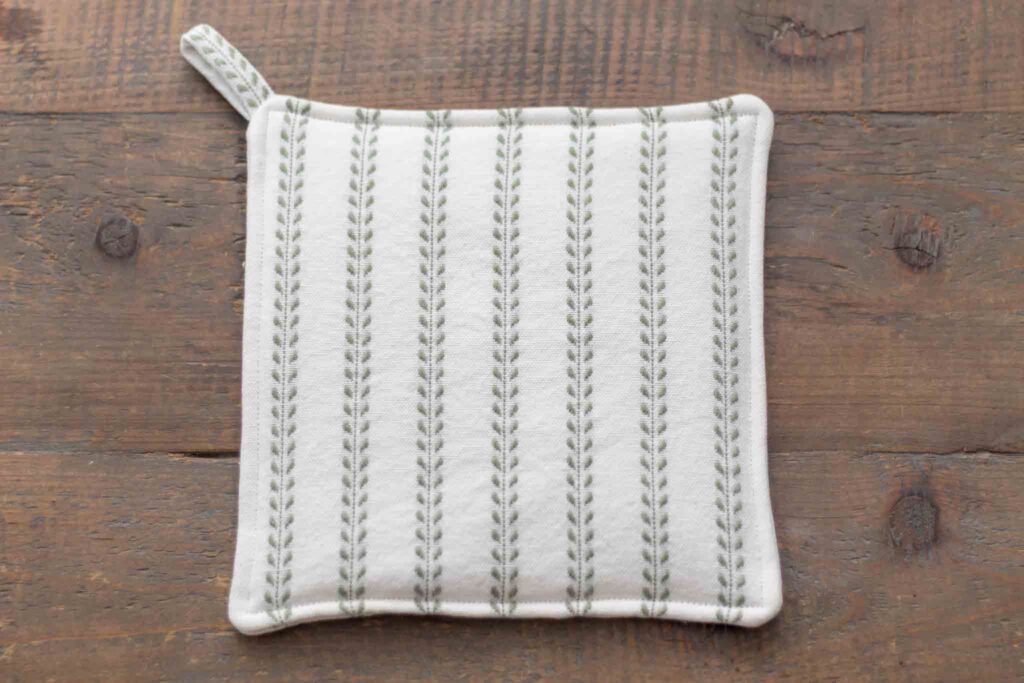
To prevent bunching of the batting, secure the batting layers by top stitching across the potholder at no more than 4″ apart, ideally 2-3” evenly spaced. A simple cross or grid pattern works great.
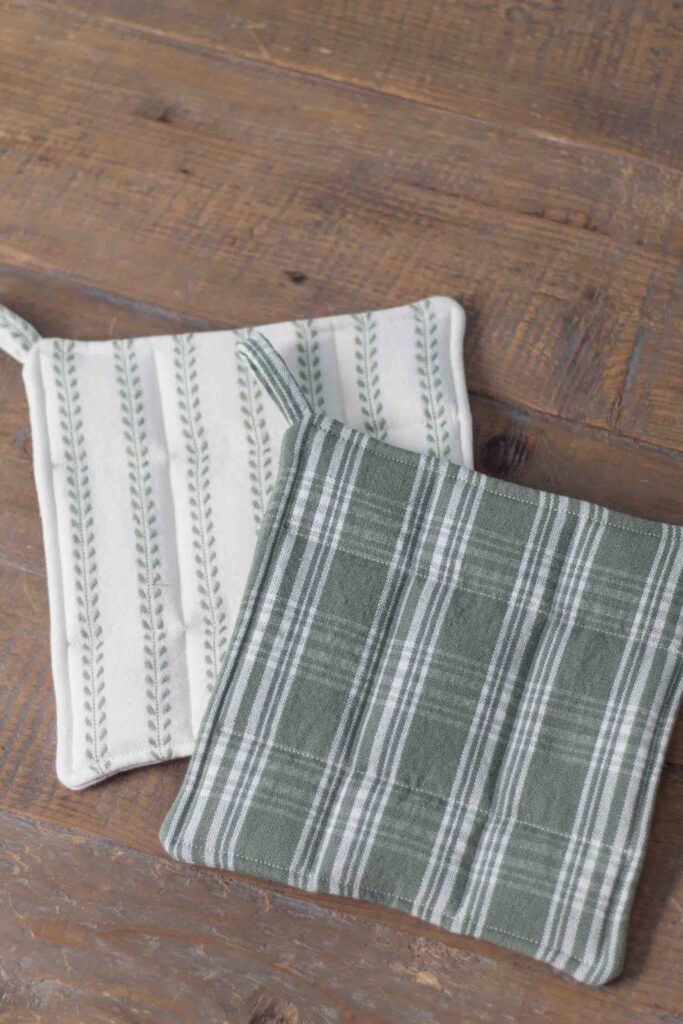
Enjoy your new handmade pot holders!
Printable tutorial available below!
More Sewing Tutorials:
- DIY Bassinet and Playard Waterproof Mattress Protectors
- How to Make a Waist Apron with Flour Sack Towels
- Simple Wool Felt Ball Trivets
- DIY Woodland Nursery Curtains
- How to Make a Hot Water Bottle Cover
If you try this project and love it, please let me know by leaving a comment below! Or tag me on social media to share your handmade creation!
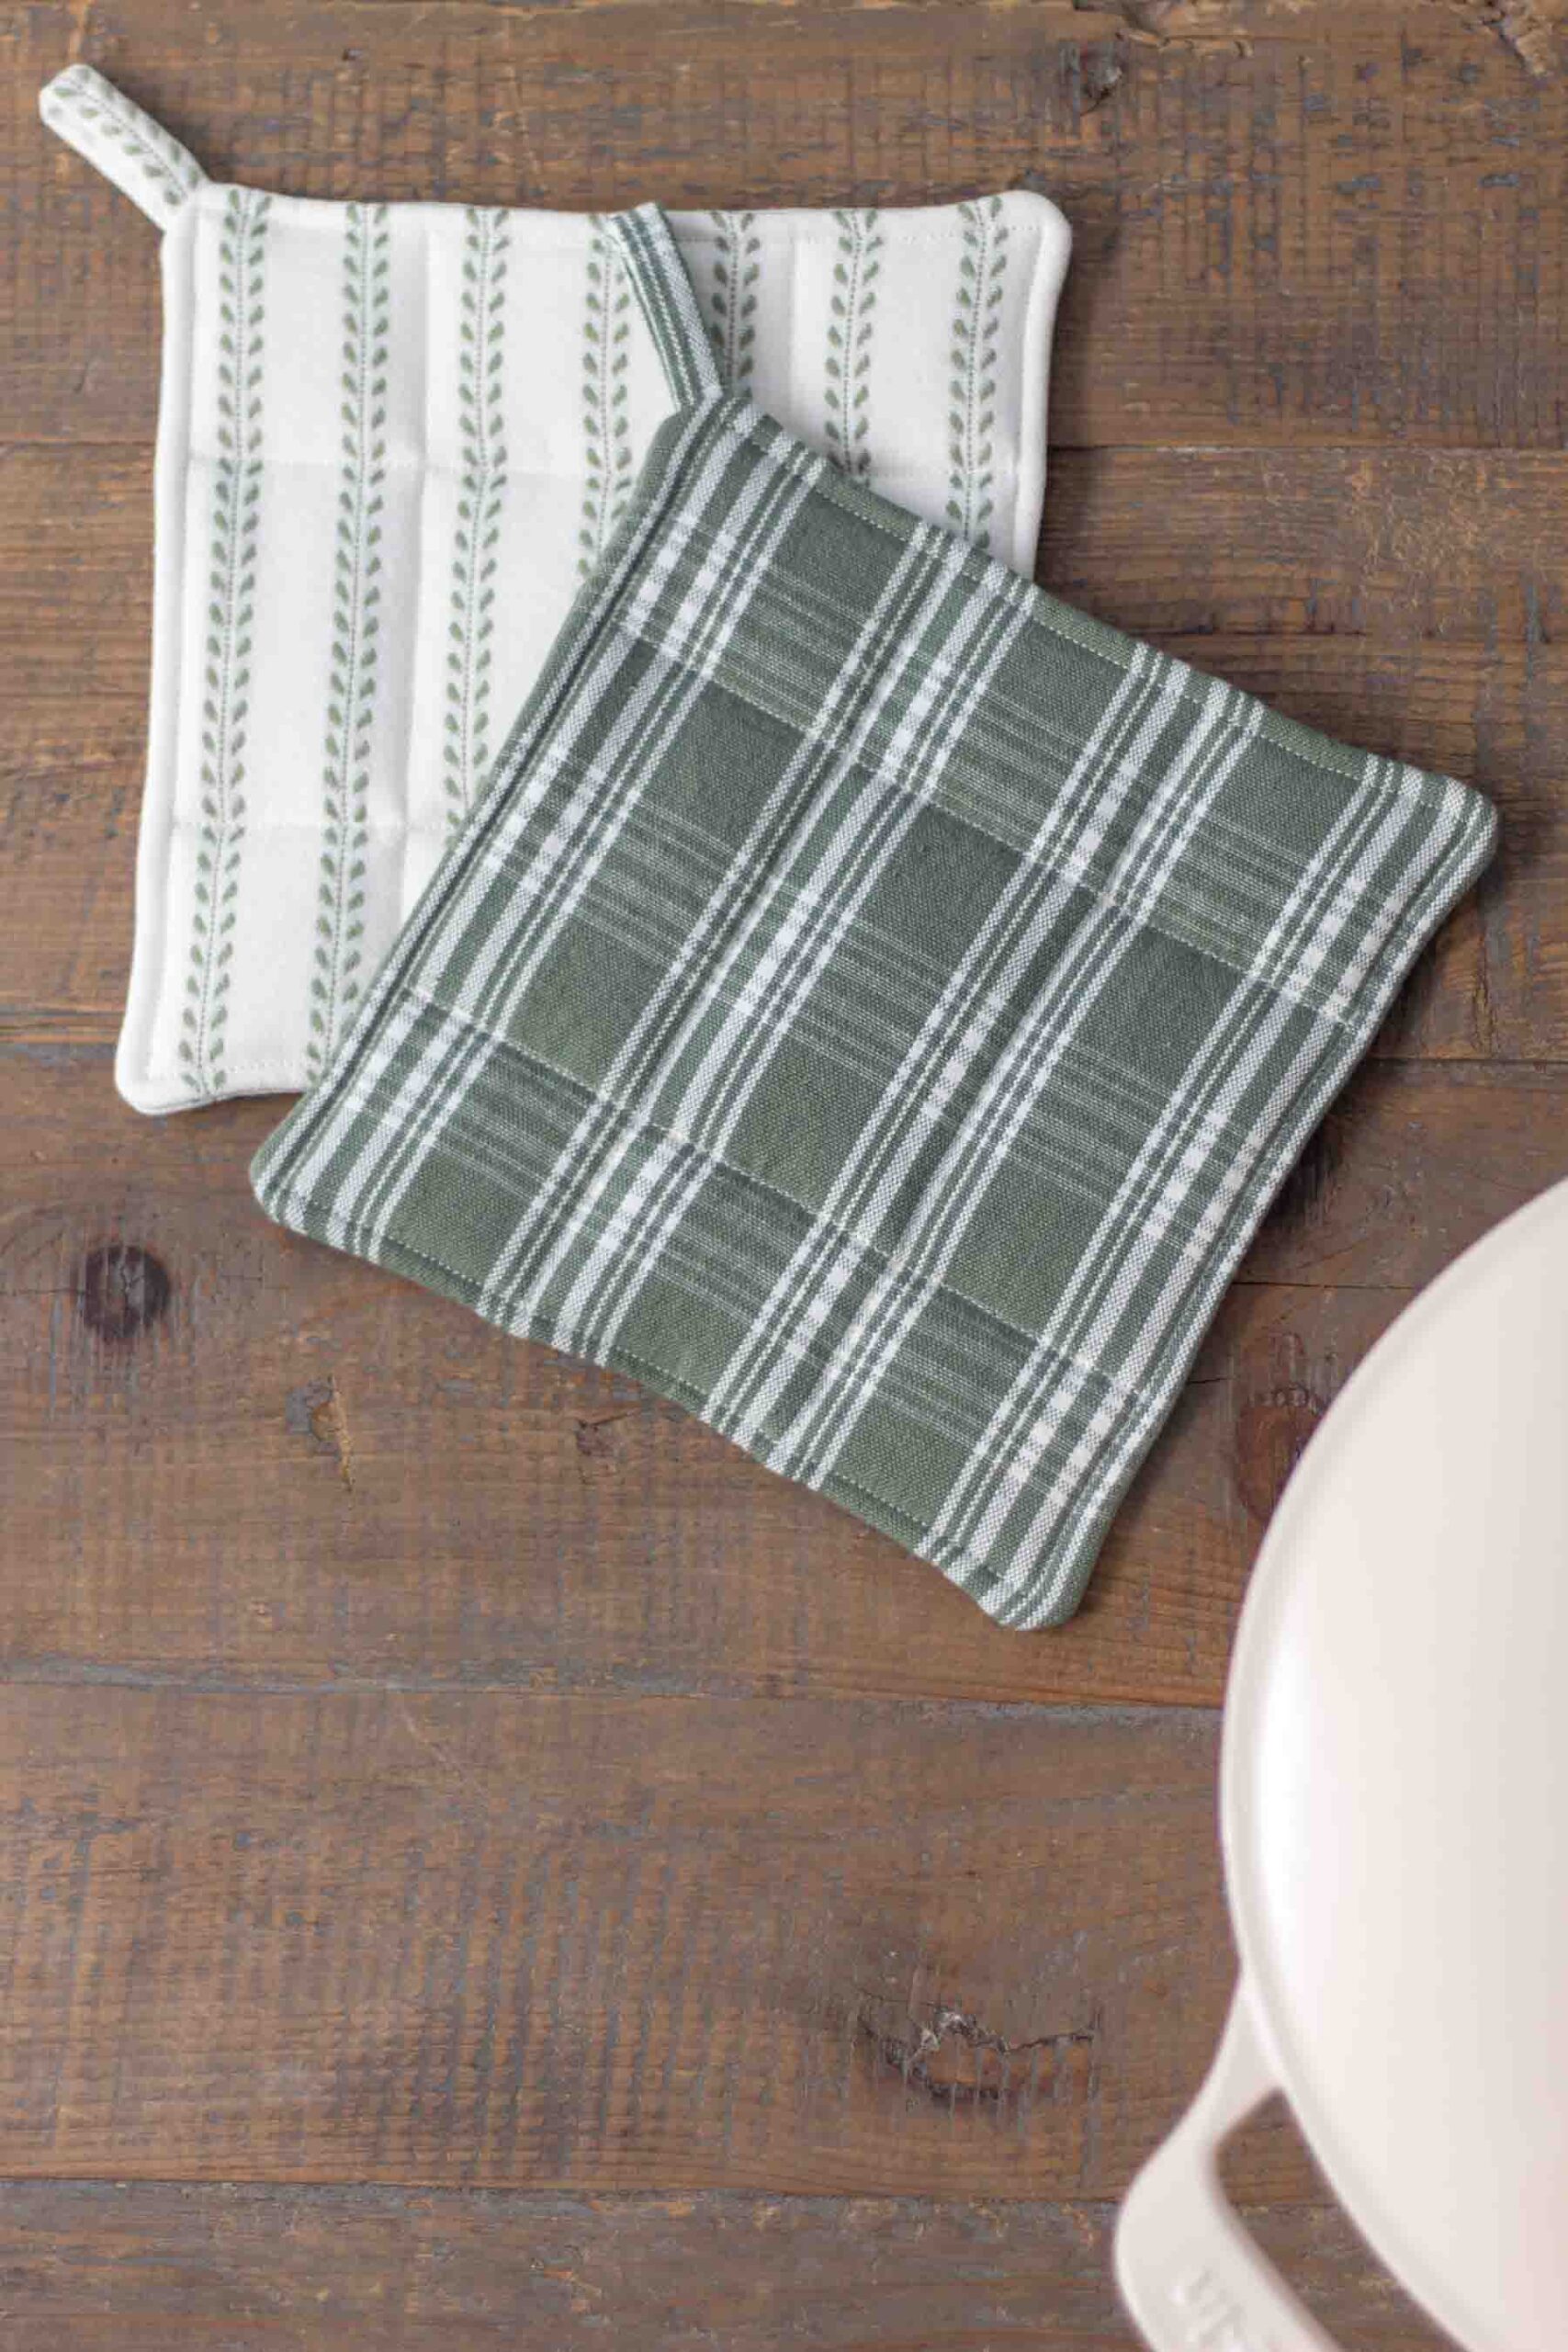
Simple DIY Pot Holders
Learn how to sew these simple and easy DIY pot holders, perfect for the beginner new to sewing. A kitchen essential, these pot holders make for both a beautiful and functional handmade gift.
Materials
- Fabric – cotton, linen, canvas/duck, drop cloth, etc.
- Insulation material – cotton batting, wool, flannel, old towels, Insul-Brite, etc.
- Thread
Tools
- Sewing machine
- Sewing shears
- Pins
- Soft measuring tape, yard stick, or acrylic ruler
Instructions
The first step is to measure and cut the following pieces of fabric:
- Fabric: two 9″ squares and 2″ x 5″ piece to be used for the loop
- Insulation material: three 9″ squares cotton batting – refer above for material choices and combinations.
All measurements account for a half inch seam allowance. The finished size is 8" x 8".
To Make the Loop
- Fold the 2″ x 5″ piece of fabric in half lengthwise with wrong sides facing out. Sew 1/2″ seam down the long side. Forward and back stitch at start and finish of the stitch line.
- Attach a safety pin to one of the small ends and pull through the inside of the loop to turn it right side out.
- Finger press or iron the loop piece. You can choose to top stitch along the seam for a more finished look, or leave as is.
To Make the Pot Holder
- Stack two of the insulation layers on the table and place the two 9″ squares of fabric with right sides facing together on top.
- Fold the loop piece in half and place in the corner sandwiched between the two pieces of fabric, with raw edges aligned.
- Stack the last insulation layer on top.
- Secure the loop and all layers with pins.
- Sew 1/2" seam around, leaving a 4" opening along the bottom. Forward and back stitch at start and finish of every stitching line. I also choose to do so at the loop to reinforce the stitches in this area.
- Trim the corners and excess batting to reduce the bulk around the edges, keeping the 1/2" fabric edges.
- Turn the potholder right side out and push the corners out fully.
- Tuck in the fabric edges of the opening, hiding the insulation materials, and pin the opening closed. Top stitch 1/4" seam around to create a nice finished edge.
- To prevent bunching of the batting, secure the batting layers by top stitching across the potholder at no more than 4" apart, ideally 2-3” evenly spaced. A simple cross or grid pattern works great.
- Enjoy your new handmade pot holders!
Notes
By placing the insulation layers on both the top and the bottom, I find it to help prevent the two fabric pieces in between from shifting and getting misaligned as the presser foot makes its way across the layers of materials. A walking foot should prevent this as well.


If I quilt with 2 batting then the fabric right side together will the pot holder still protect from heat if I quilt the piece after turning inside out
Can I layer my potholder 2 layers of batting then top and bottom right side together
Yes, you quilt the pieces together after turning inside out if you layer the batting and top and bottom pieces right side together on top. You could choose to stack in order of bottom, batting, and top and quilt together, but you would then need to add binding around the edges to finish. I personally use 2 or 3 layers of batting depending on how thick I want them to be, but I recommend testing your fabric and layer combinations with a hot skillet before sewing together to find out your preferred thickness and heat resistance.