
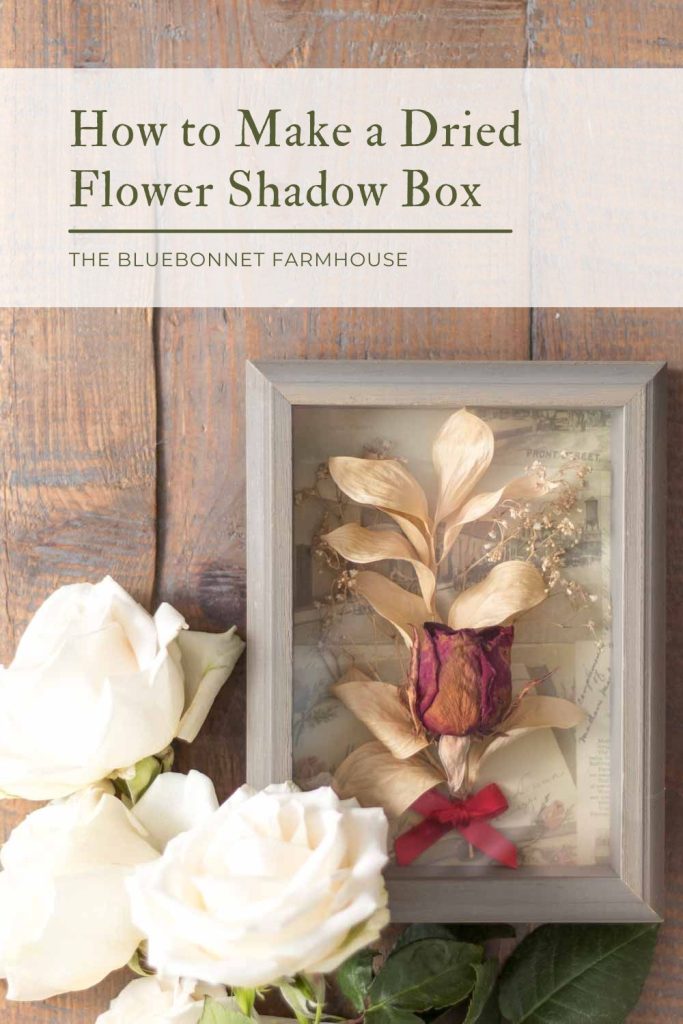
How to Make a Dried Flower Shadow Box
Learn how to dry and cherish your favorite flowers. Whether it be flowers from your wedding bouquet or first Valentine’s Day, this DIY dried flower shadow box is a timeless way to display those sweet moments.
It was our first Valentine’s Day together when my husband presented me with our first rose while dating.
To make it doubly as sweet, he began a tradition with this single flower. Every year he adds a rose to the bouquet he brings me to signify how many Valentine’s Days we have shared together.
Each time I look at that single rose I am reminded of the days of our blooming relationship, his sweet smile as he stood there holding the brilliant red rose, and the beautiful memories of our first Valentine’s Day together.
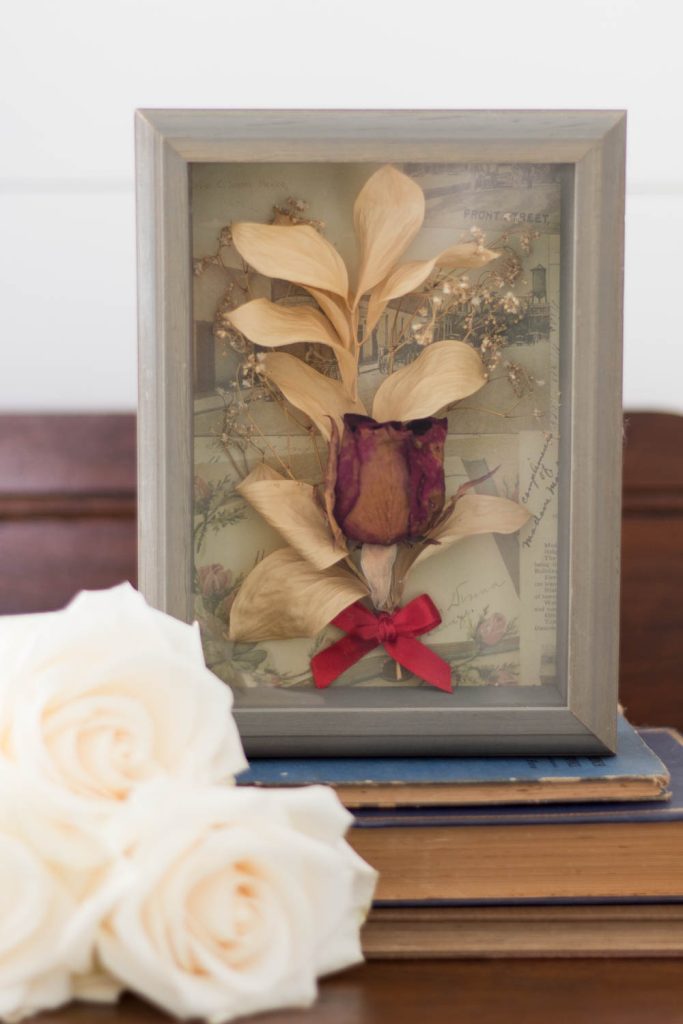
This DIY dried flower shadow box continues to be one of my favorite projects to this day. I love the simple beauty and daily reminder it brings each day; a reminder of where we began.
DIY Dried Flower Shadow Box
You can find written instructions below; however, I do not have pictures of the process for making this shadow box since I had made it some time ago. If you would like some visual aids along the way, check out this post.
How do I dry or preserve my flowers?
Wipe off any excess water from the stems and hang them upside down in a well-ventilated space for a few days to a week until thoroughly dry. I have tied mine onto a cabinet knob or clipped them onto pants hangers.
How do I prevent mold while drying flowers?
Hang the flowers in an area with plenty of air flow to help them both dry quicker in addition to preventing mold.
Will dried flowers color fade over time?
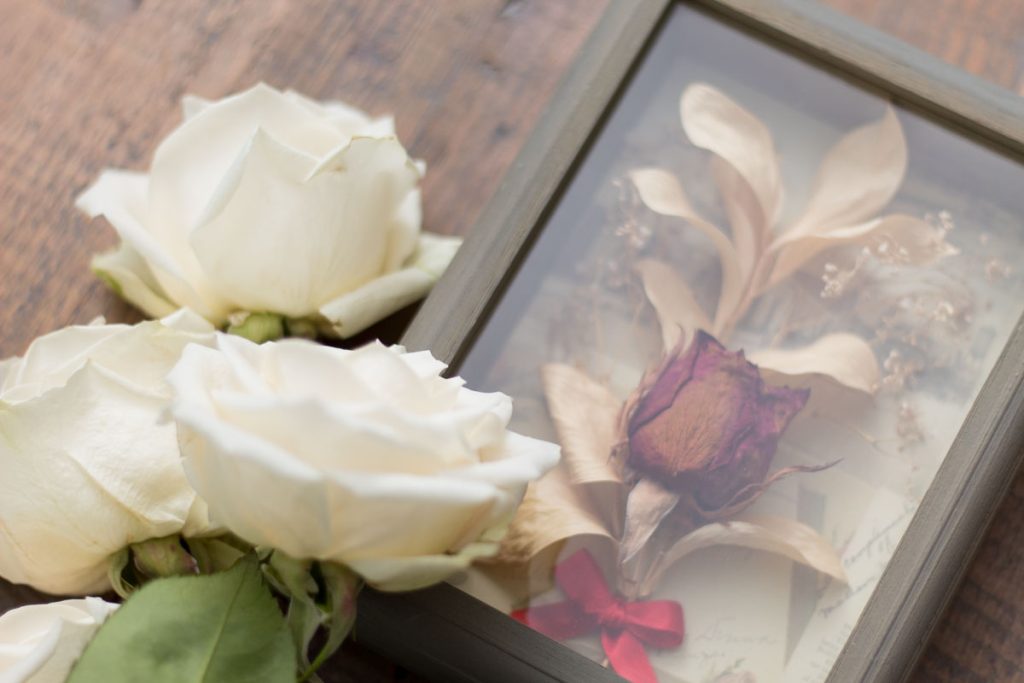
Yes, the color of the flowers will fade over time, but I think it adds to the beauty in the age of the arrangement. I have found the greenery, rather than the rose, in my floral arrangement to be the biggest culprit when it comes to color fading.
What kind of background is best for a dried flower shadow box?
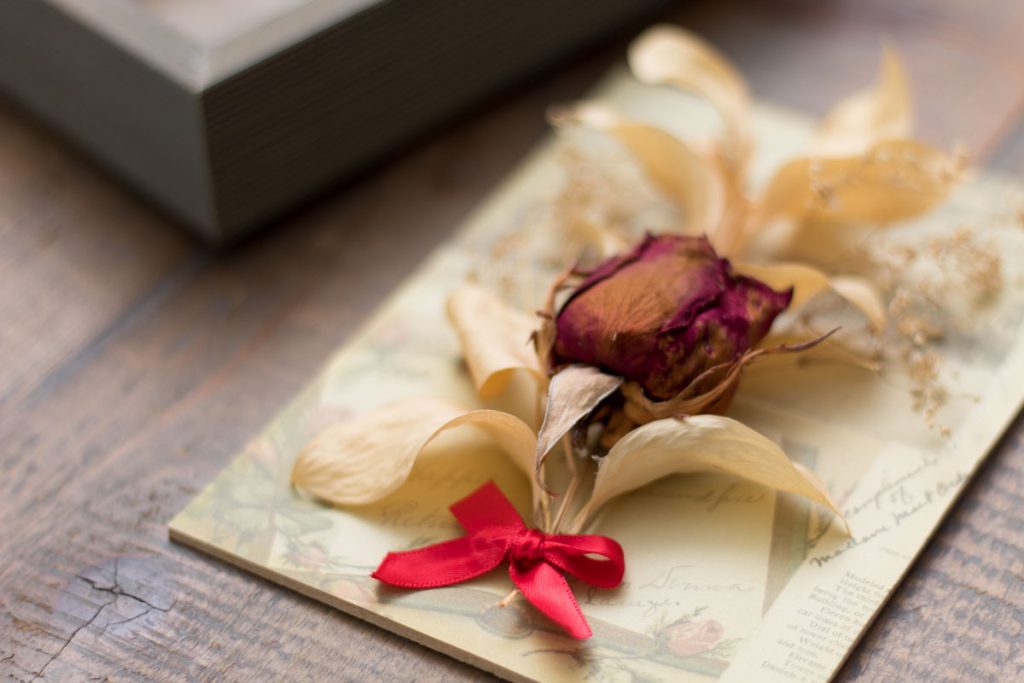
You want a background that compliments the dried floral arrangement. This can be fabric, scrapbook paper, wrapping paper, invitation, etc.
You can even use a portion of a paper bag with a sentimental logo on it; such as where you two went to dinner for a special date or a chocolate shop for Valentine’s Day.
To add to the sentiment, you can use the ribbon from a bouquet or gift to tie a bow around the dried flowers. I used the ribbon that was tied around the first bouquet from my husband.
Variations for a DIY Dried Flower Shadow Box:
- Place a wedding invitation as the background and floral from the bridal bouquet.
- Swap out the floral for twigs to create a family tree or memories keepsake like this one.
- Press the flowers and frame between two pieces of glass.
This post contains affiliate links. For more information, see my disclosures here.
Supplies:
- Shadow box (I used a 5″ x 7″)
- Flower arrangement
- Fabric, paper, invitation, etc. (refer to above for background material)
- Twine, cotton rope, ribbon, etc.
- Hot glue gun
- Glue stick
- Scissors
How to Make a Dried Flower Shadow Box:
This shadow box follows the same basic process as my other shadow box: you begin with the background first and then move forward towards the glass of the shadow box.
Background Panel
Cut the background material to fit the back panel of the shadow box and use a glue stick to attach. Using a glue stick for adhering the background will prevent any uneven or warped surfaces.
Dried Flowers
If the flowers are not already dried, wipe off any excess water from the stems and hang them upside down in a well-ventilated space for a few days to a week until thoroughly dry.
After adequate drying time, cut and arrange the flowers as desired. Take care to test the placement of the floral arrangement so it does not interfere with the 1/8-1/4” lip of the frame when assembling the shadow box.
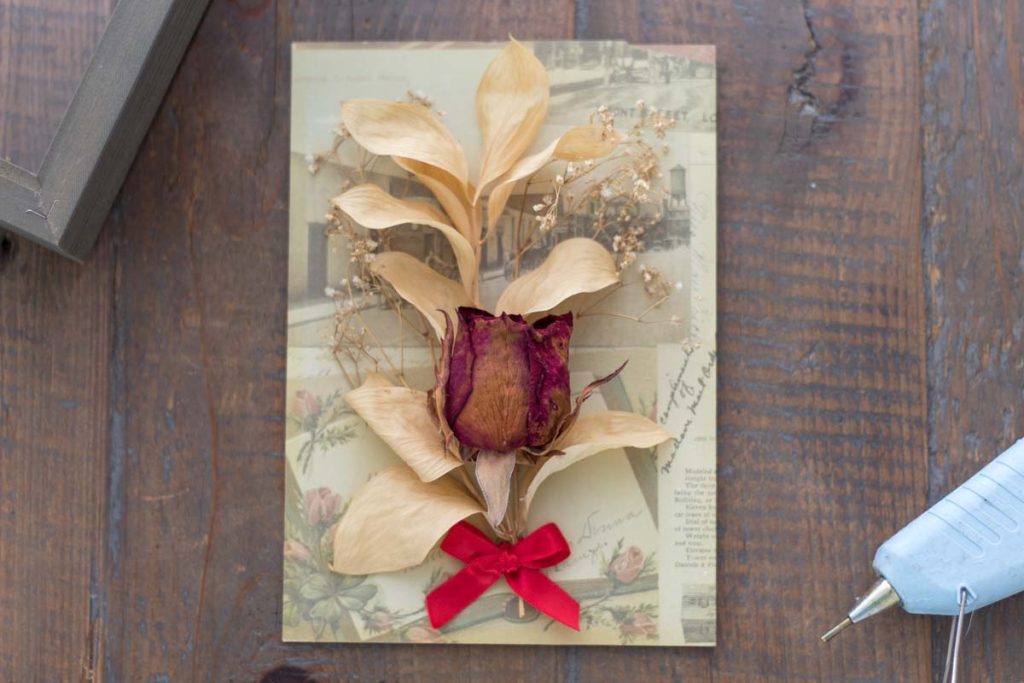
Attach the flowers to the previously assembled background panel with a hot glue gun. To make for an easier assembly, place small beads of glue in multiple locations to stabilize the flower arrangement.
Using a detail tipped hot glue gun helps prevent big blobs of glue under the delicate flower arrangement.
Cut and tie the ribbon into a bow and attach to the base of the flowers with the hot glue gun.

Assemble the Shadow Box
Before assembling the shadow box, first spray and wipe down the glass. The last thing you want is to find fuzz or fingerprints on the interior glass after carefully handling dried flowers… you can imagine how I know this.
Very gently set the back panel into place on the shadow box and close the latches.
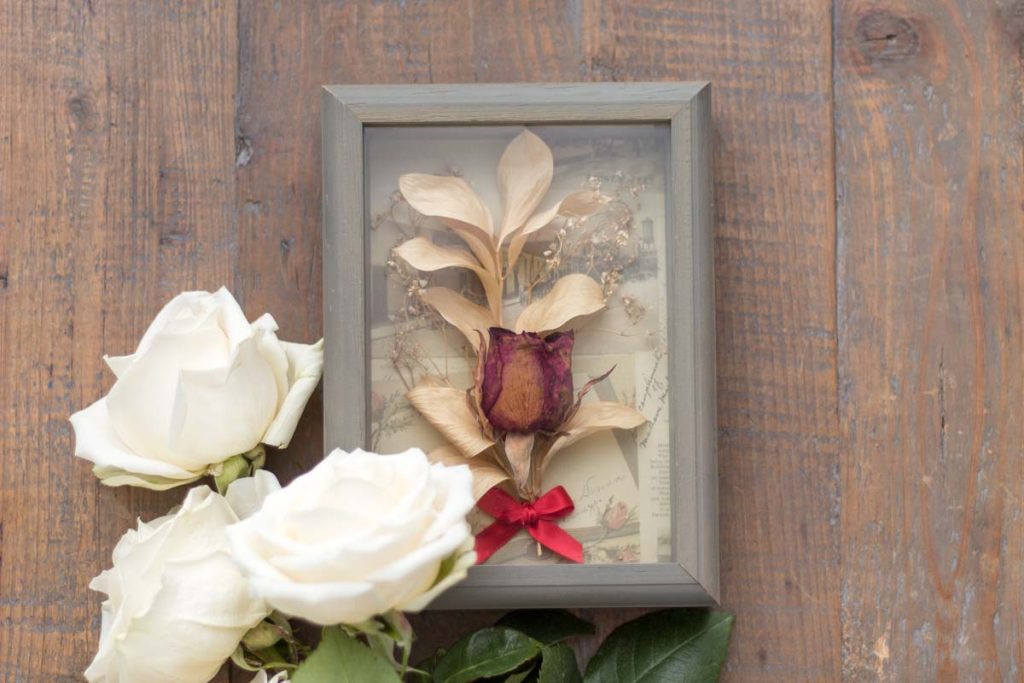
I hope you have enjoyed this tutorial and use your shadow box to always remind you of life’s greatest blessings!
Printable tutorial available below!
More Handmade Farmhouse Projects:
- DIY Tree Branch Shadow Box
- How to Make Indoor Wall Planters with Sconces
- DIY Chalkboard Serving Tray
- How to Paint Distressed Wood Letters
- DIY Ultrasound Picture Frame
Find more handmade projects here.
I hope you enjoyed this tutorial! Please share, comment, or tag me on Instagram @the_bluebonnet_farmhouse to share your creation!
Pin it for Later!
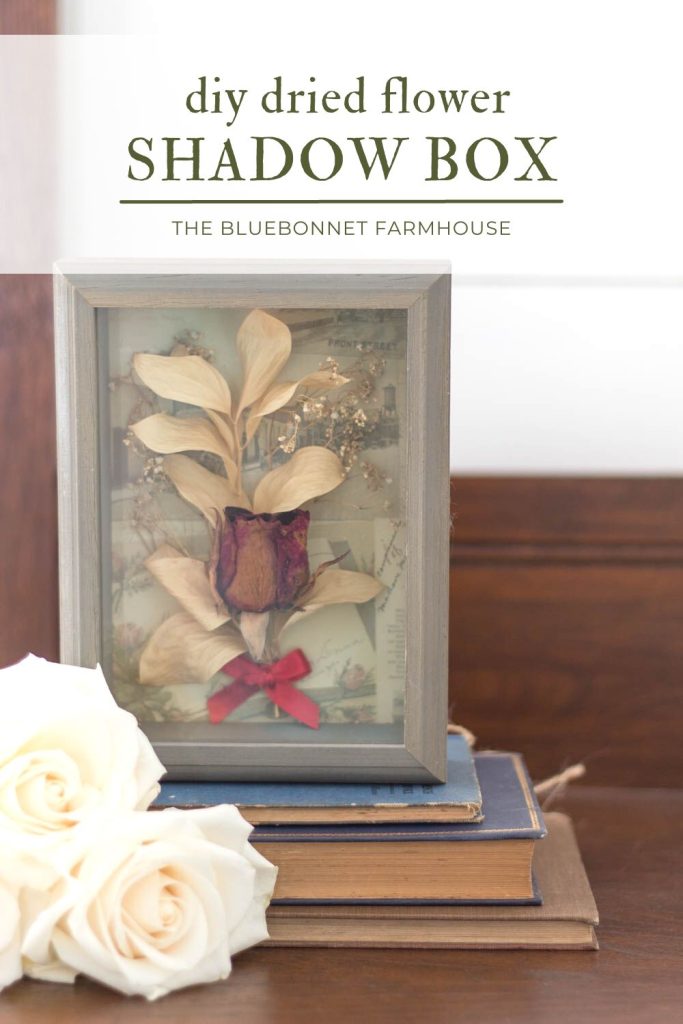
How to Make a Dried Flower Shadow Box
Equipment
- Hot glue gun
- Glue stick
- Scissors
Materials
- Shadow box
- Flower arrangement
- Fabric, paper, invitation, etc
- Twine, cotton rope, ribbon, etc
Instructions
- Cut the background material to fit the back panel of the shadow box and use a glue stick to attach. Using a glue stick for adhering the background will prevent any uneven or warped surfaces.
- If the flowers are not already dried, wipe off any excess water from the stems and hang them upside down in a well-ventilated space for a few days to a week until thoroughly dry.
- After adequate drying time, cut and arrange the flowers as desired. Take care to test the placement of the floral arrangement so it does not interfere with the 1/8-1/4” lip of the frame when assembling the shadow box.
- Attach the flowers to the previously assembled background panel with a hot glue gun. To make for an easier assembly, place small beads of glue in multiple locations to stabilize the flower arrangement.
- Cut and tie the ribbon into a bow and attach to the base of the flowers with the hot glue gun.
- Before assembling the shadow box, first spray and wipe down the glass.
- Very gently set the back panel into place on the shadow box and close the latches.

This is such a beautiful project! I love how romantic it looks!
Thank you so much!! This is certainly one of my favorites with the meaning behind it 🙂
Should I spray the flowers with a sealer or hairspray first?
Thanks
Karen
I left mine natural and simply let them air dry. I have not personally tried a sealer or hairspray.