HOW TO MAKE A BATHROOM CURTAIN
Learn how to sew a bathroom curtain the easy way! A simple way to add privacy with one curtain panel and one hemline.
This post contains affiliate links used to help support The Bluebonnet Farmhouse. For more information, please see my disclosures here.
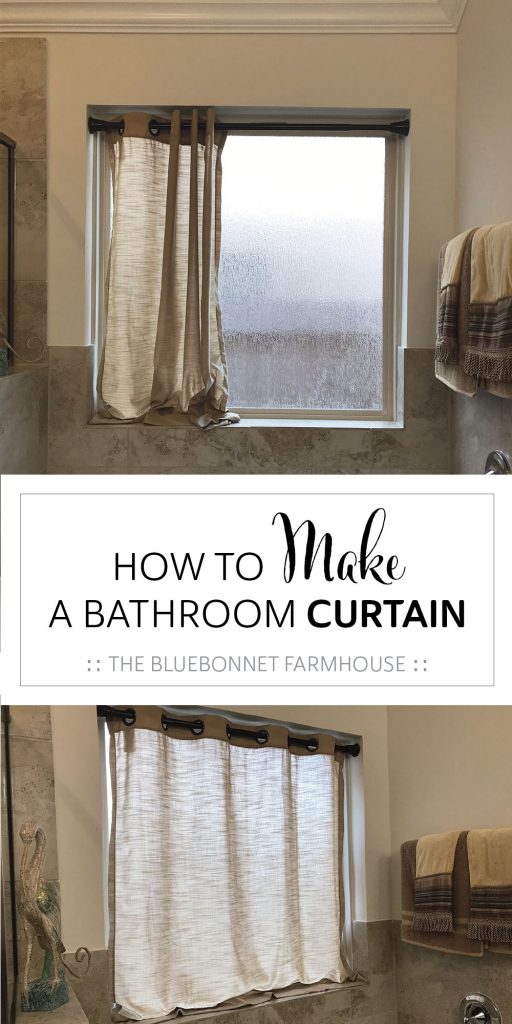
When it comes to a bathroom, privacy is preferred and a giant window tends to contradict that preference. The abundance of natural light is appreciated, but the lack of privacy is not.
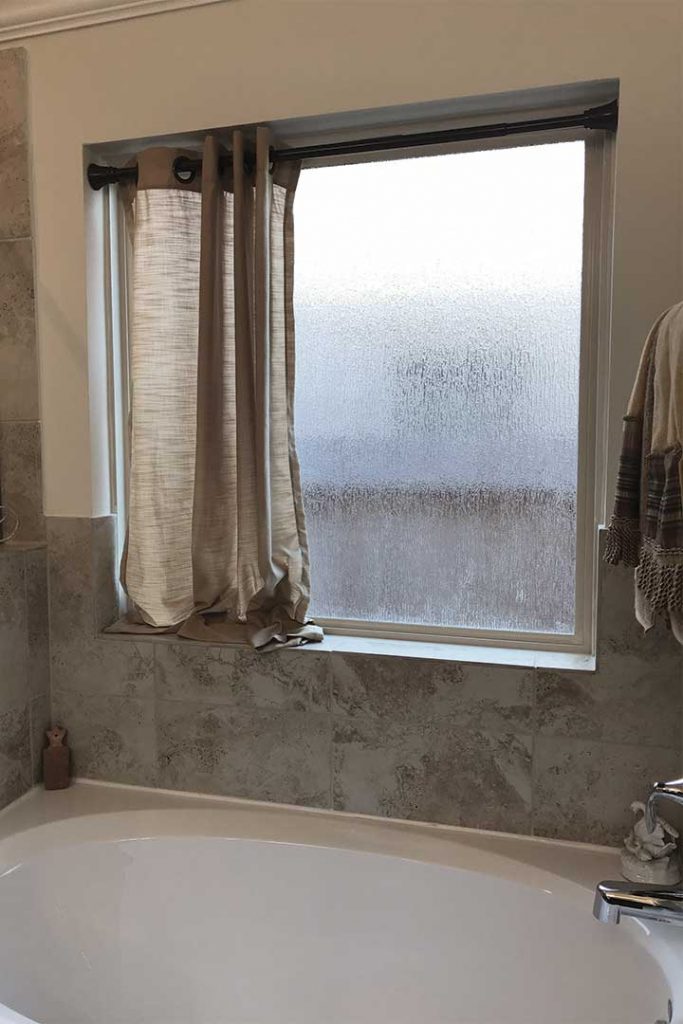
My grandma has this beautiful rain textured glass window in her bathroom, which is technically intended for privacy, but falls below her comfort level. She wanted to add a curtain that would still allow natural light to come through without feeling her neighbors can see her!
There was one problem… any bathroom windows are not standard windows and do not have compatible curtains to go with them.
She found a curtain on the clearance rack for just $5 and it was the right size to fit the width of the window. The only thing needing to be done was to shorten the curtain panel – a lot. That’s where I come in.
She asked if I could hem the curtain for her and of course I said yes – I love any excuse to sew! Plus, this was much easier than building thirteen jasmine trellises for us and both of my grandmas, which ironically was another project to enhance privacy.
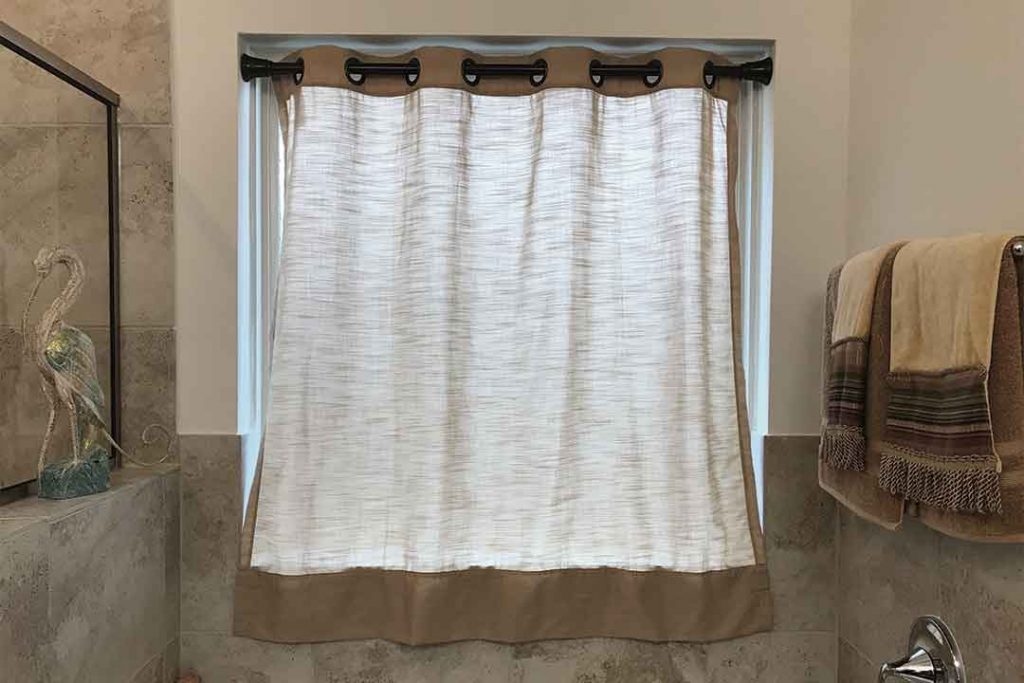
This bathroom curtain is a very easy project that provides a lot of functionality to the space. My grandma was ecstatic to hang her new curtain and said it makes the bathroom look finished.
Continue below for the super simple tutorial! All you need is about thirty minutes of time and you can have a custom curtain for the bathroom.
SUPPLIES
- One Curtain Panel
- Thread
- Pins
- Iron
- Measuring Tape, Yards Sticks, or Acrylic Ruler
- Fabric Scissors
- Sewing Machine
- Tension Rod
HOW TO MAKE A BATHROOM CURTAIN:
PIN + CUT THE FABRIC
With the curtain panel hanging up, determine the length you want the curtain to be by pinning up the excess. This method allows you to get a visual of the finished length before cutting or sewing.
Once you have determine the length, you now need to determine what size of hem. We decided on a broad 6 inch hemline which was the same as the window ledge depth. The 6 inch hem would be in excess of the window measurement to allow for some gathering at the bottom of the curtain.
Find your measurements:
For example, the window is 46 inches tall + 12.5 inches for the hem (6 inches + 6 inches + 1/2 inch).
Next, measure out the desired length starting from the top of the curtain and mark where the cut needs to be in several spots across the panel. Cut off the excess.
IRON THE HEM
Fold over the bottom edge 1/2 inch to the backside of the curtain and press. Then fold the bottom edge again – this time folding over 6 inches – and press. This hides the raw edges within the hem and leaves us to work with clean edges.
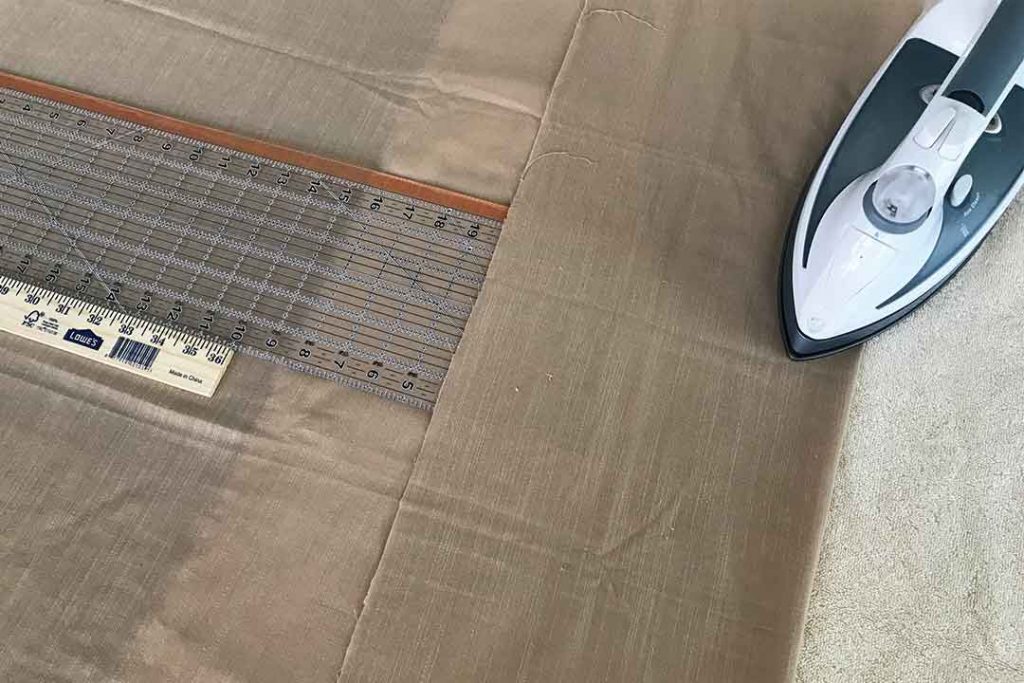
This is when I loved using my acrylic ruler. I simply measured where my fold needed to be, slid the ruler out from underneath the fold, and pressed. The ruler provided me with a straight 6 inch span to press and I repeated across the width of the curtain.
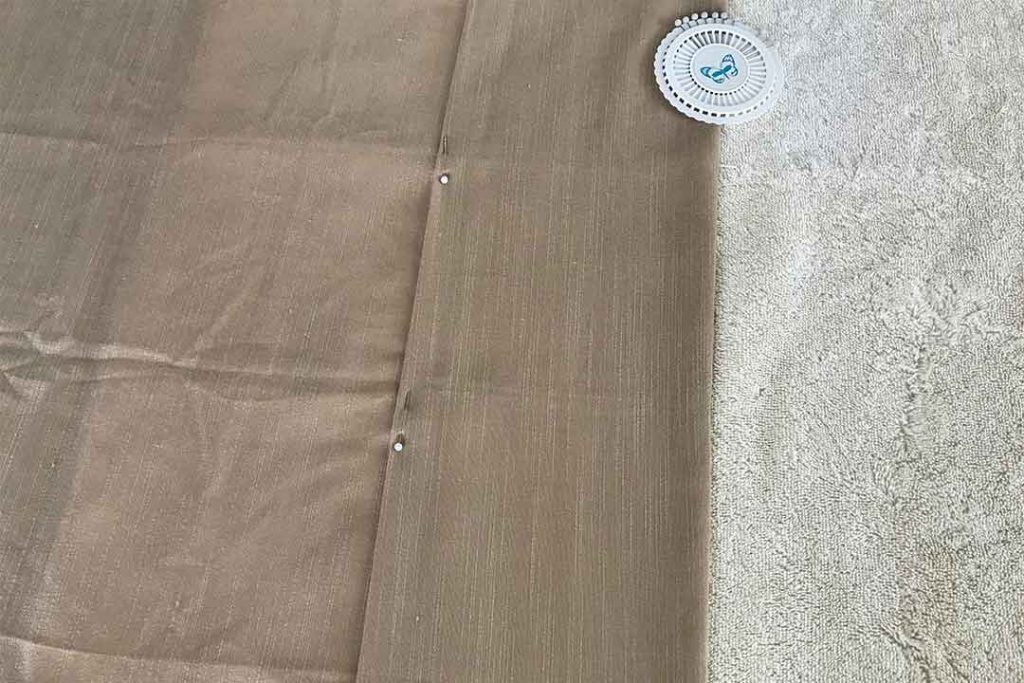
Pin the hem in place.
SEW THE HEM
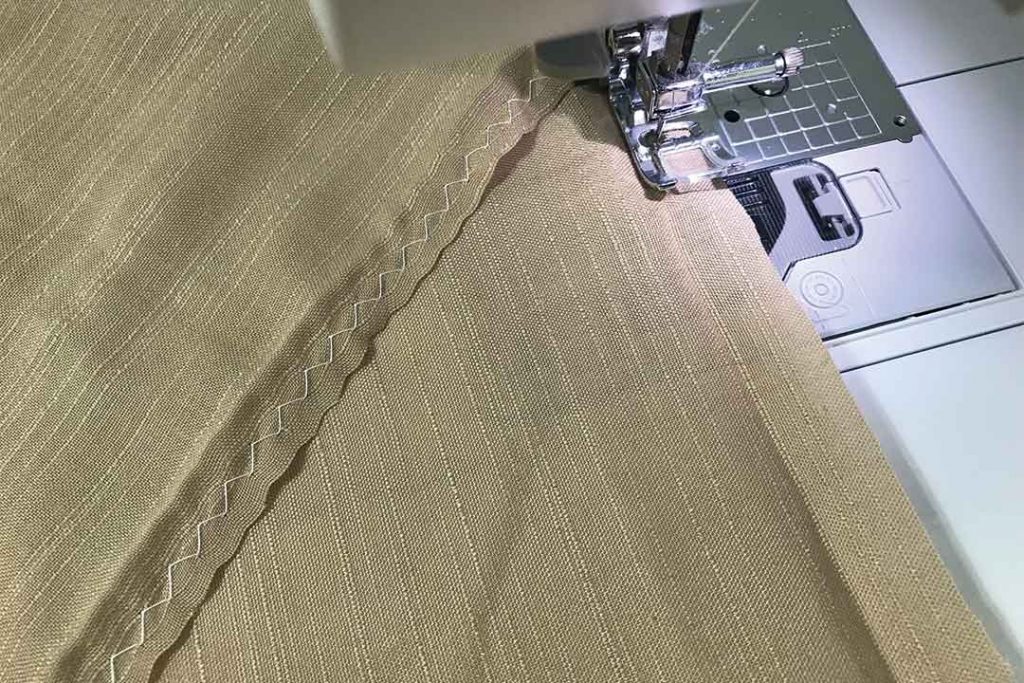
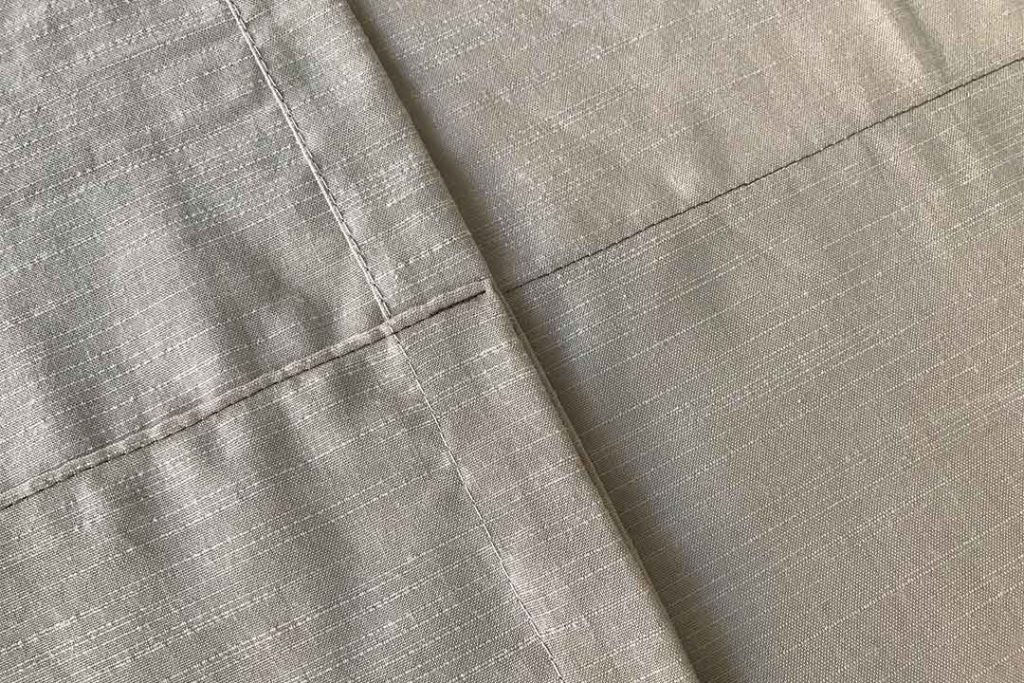
I chose to quickly sew a zigzag stitch down the raw edge of the fabric to help prevent the fabric from fraying. This step is not necessary, but something I chose to do as a precaution since I had not worked with this fabric before and did not know what to expect in regards to fraying.
Adjust your stitch length to match that of the existing stitches on the curtain. I like to test the stitch length on a scrap piece of fabric to avoid ripping out the thread from my project.
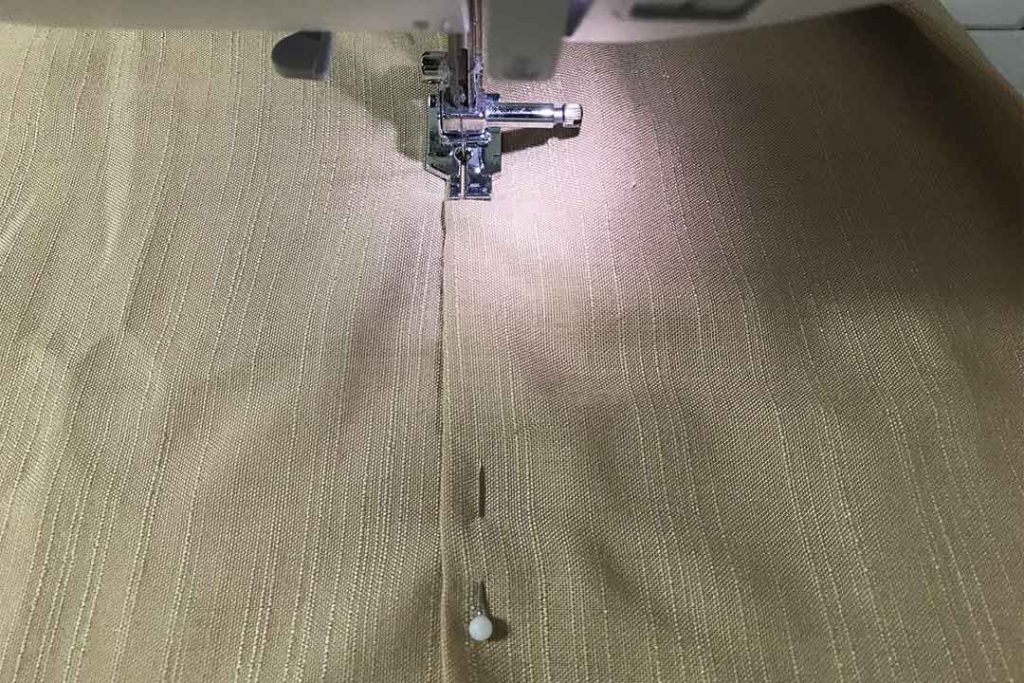
With the inside of the curtain facing up so you can see the folded hem, sew a few of reinforcement stitches. Continue sewing along the folded edge and finish off with a few more reinforcement stitches.
A reinforcement stitch is sewing backwards and forwards over the same stitch. I typically do anywhere from 3 to 5 reinforcement stitches together.
HANG THE CURTAIN
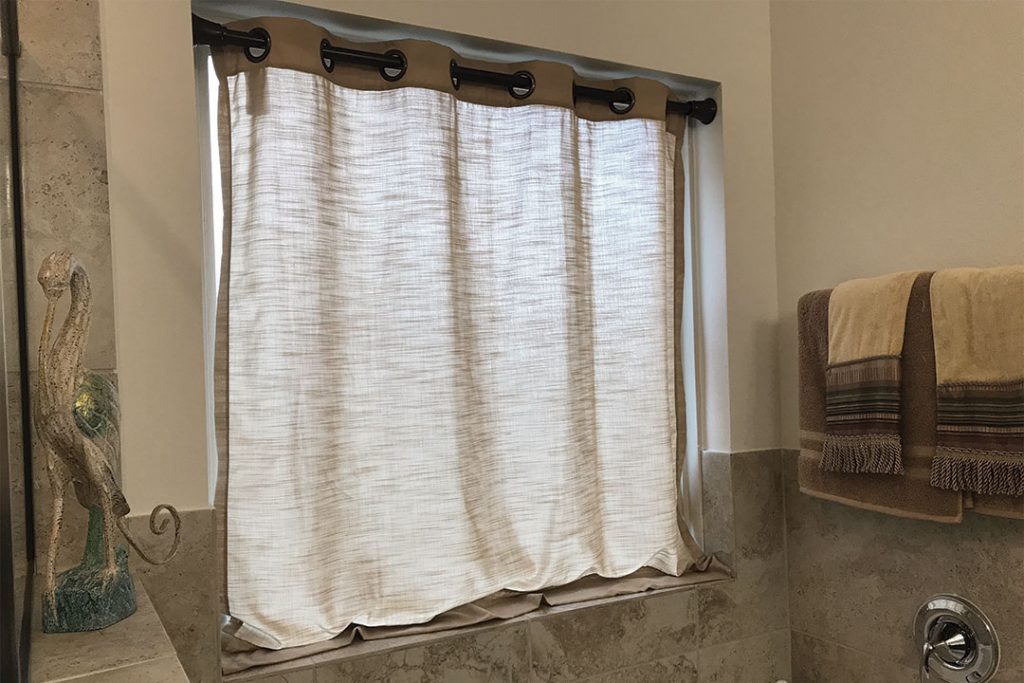
Iron or steam your finished curtain. If you have a bathroom window like this one, use a tension rod to quickly and easily install the curtain. Hang and enjoy your newfound privacy!
FIND MORE SEWING TUTORIALS:
- DIY Wedding Date Pillows
- DIY Hot Water Bottle Cover
Comment below or tag us on social media to share your latest sewing project with us! Happy Sewing!


