DIY FLOATING CORNER SHELVES
Optimize the space in the corner of your bedroom or nursery! Learn how to easily make these DIY floating corner shelves on a budget!
This post contains affiliate links used to help support The Bluebonnet Farmhouse. For more information, please see my disclosures here.
If you saw our post about the DIY pipe shelf we made, then you already know the so-called dresser we were using in our son’s nursery was rather small. With extremely limited counter space, we were wanting to add more storage and decorating space through shelving.
This project added the extra shelf space we needed for decor and didn’t cost us a penny!
Who doesn’t love a free project?! All of the shelves were made using scrap wood and stain we already had in our garage. In addition to that, we actually made more shelves than we needed!
We made four shelves with the intention of using two in each corner on either side of the crib. Instead, we ended up deciding on using three in one corner.
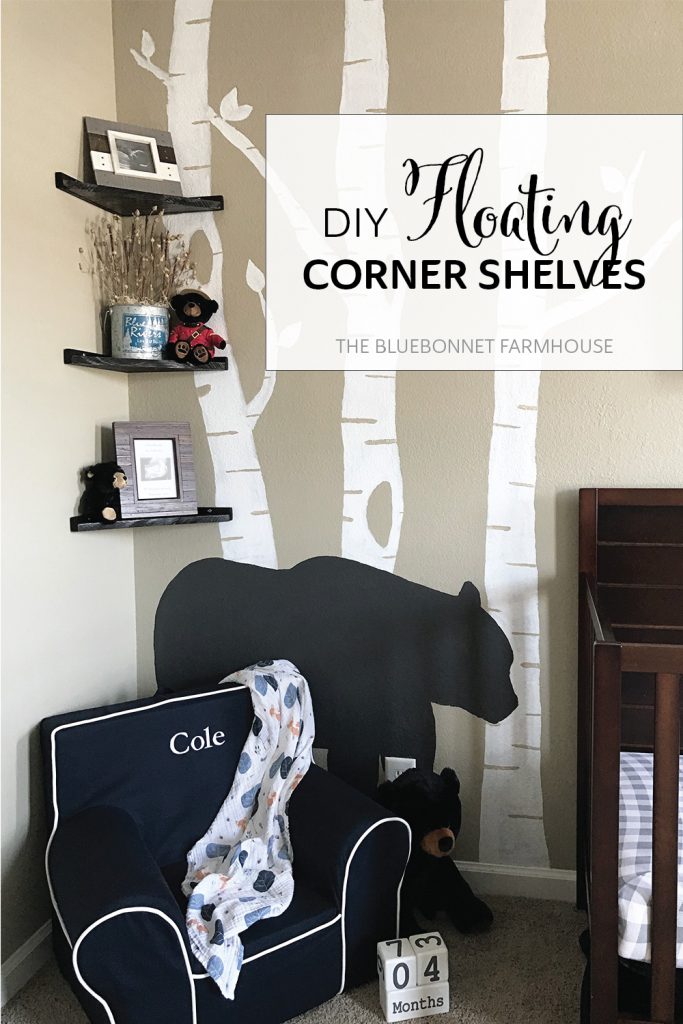
The three shelves were placed in one larger corner of the room above our son’s chair to create a decorative reading nook. Our goal had been to add some bookshelves on a nearby wall, but we moved before that ever happened. #militarylife
This corner ended up being my favorite corner in the house! It was just too cozy and adorable not to love! Find out how we easily made these DIY floating corner shelves along with details about how we decorated them below!
VARIATIONS OF THIS PROJECT:
- Turn the shelves upside down to have the 1×2 boards below the shelf line rather than above.
- Use 1×2 project boards for clean 90 degree edges.
- Rip the rounded edges off of 1×3 furring strips with a table saw to get clean 90 degree edges. Rip .25″ off each side. Boards will then be 2″ wide instead of 2.5″.
SUPPLIES:
- 1×12 Project Board
- 1×2 Furring Strips (or Project Board)
- Wood Stain (<< Our favorite!)
- Staining Rags
- Sandpaper (120 + 220 grit)
- Wood Shims
- 1.25″ Nails
- 1.5″ Screws
- Drill
- Level
- Hammer
- Circular Saw or Miter Saw
- Table Saw (Optional: used if ripping edges off 1×3 furring strips)
HOW TO MAKE FLOATING CORNER SHELVES:
STEP 1 – MAKE THE CUTS
1×12 CUTS
We began by drawing a line at the 11.25″ mark on the 1×12, then drawing the hypotenuse across the center of the 11.25″ x 11.25″ square.
If using a miter saw, you could simply make a 45 degree angle cut starting from one corner of the 1×12.
Granted, the walls might not make a perfect 90 degree angle and therefore shims will be needed later during installation. If you really want the shelves to be exact, measure the angle of your wall and make cuts accordingly.
Repeat until you have the number of shelves needed.
1×2 CUTS
For each shelf, we cut (1) 1×2 at 11.25″ and (1) 1×2 at 12″.
Repeat until you have two trim pieces for each shelf.
STEP 2 – ASSEMBLE THE SHELVES
To assemble the shelves, we went old-school and simply used a hammer and some nails.
You could choose to use wood glue as well, but we opted to go without.
Three nails were used in each of the two trim pieces to attach them to the shelf. Repeat for each shelf.
Assembly, done!
STEP 3 – STAIN THE SHELVES
Pick a tone and grab a rag, it’s time to stain these beauties!
Like I have mentioned in our ultrasound picture frame and DIY pipe shelf posts, we decided to use Minwax Red Mahogany for our stain color. This stain matched the top of the dresser perfectly and we already had a leftover bucket of it from my dad.
We have since switched to and highly recommend this non-toxic brand! They even have a craft stain that would work well for this kind of project.
Don’t forget to sand the shelves according to the staining instructions before eagerly reaching for that staining rag!
STEP 4 – INSTALLATION
Next up is installation!
As mentioned previously, the walls may not make an exact 90 degree angle and this is where the wood shims come into play. We just wedged an appropriately sized shim between the shelf and back wall for a tight fit. We couldn’t see it and everyone else was none the wiser.
Once we determined the spacing of each shelf, we drilled a total of (4) 1.5″ screws into each shelf (two screws in each trim piece) to prevent any torque. Repeat for each shelf.
Installation, done!
STEP 5 – DECORATE THE SHELVES
And now for the best part – decorating!
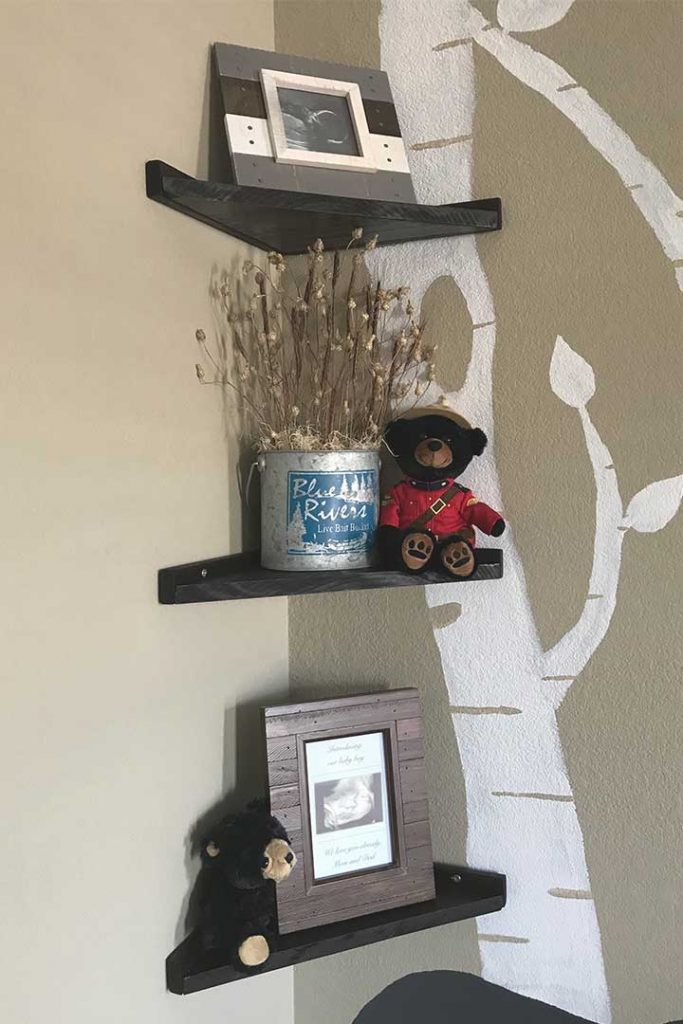
Of course, the first items to be placed on our new floating corner shelves were pictures of our growing little man! The frame colors were the inspiration for our son’s personalized wood letters.
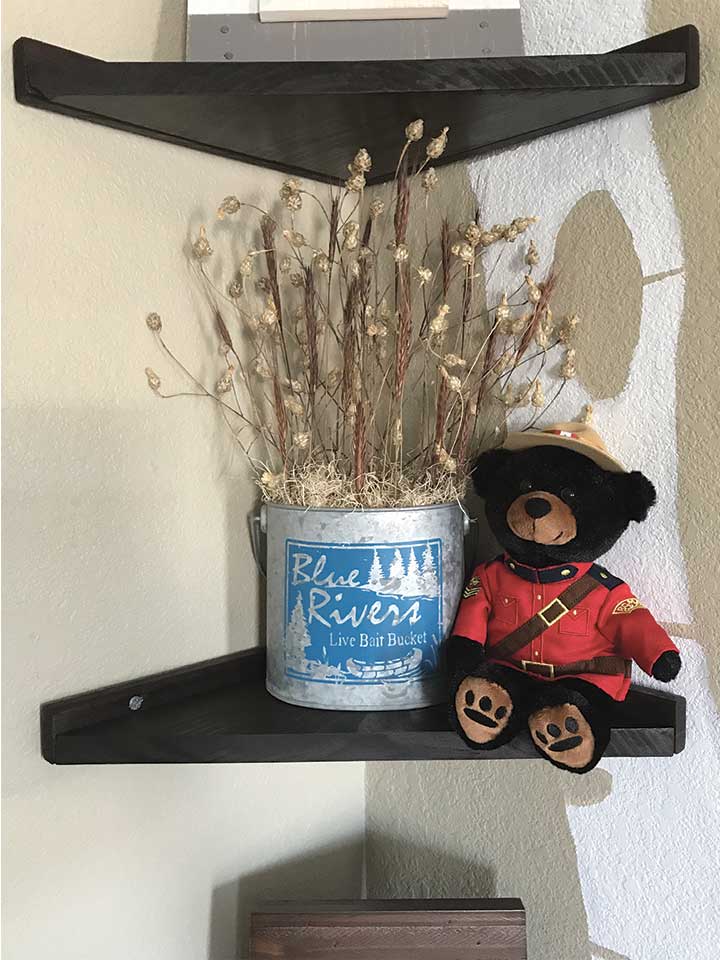
I had found this cute little galvanized metal pail that reminded me of our babymoon in Tennessee and it fit perfectly on these corner shelves. I filled the pail with some neutral color dried floral and straw for a bit more masculine look.
Lastly, are the precious little black bears. The black bears from our vacations to Tennessee were the inspiration for our woodland nursery, and I couldn’t resist adding them in the spare nooks and crannies of the shelves.
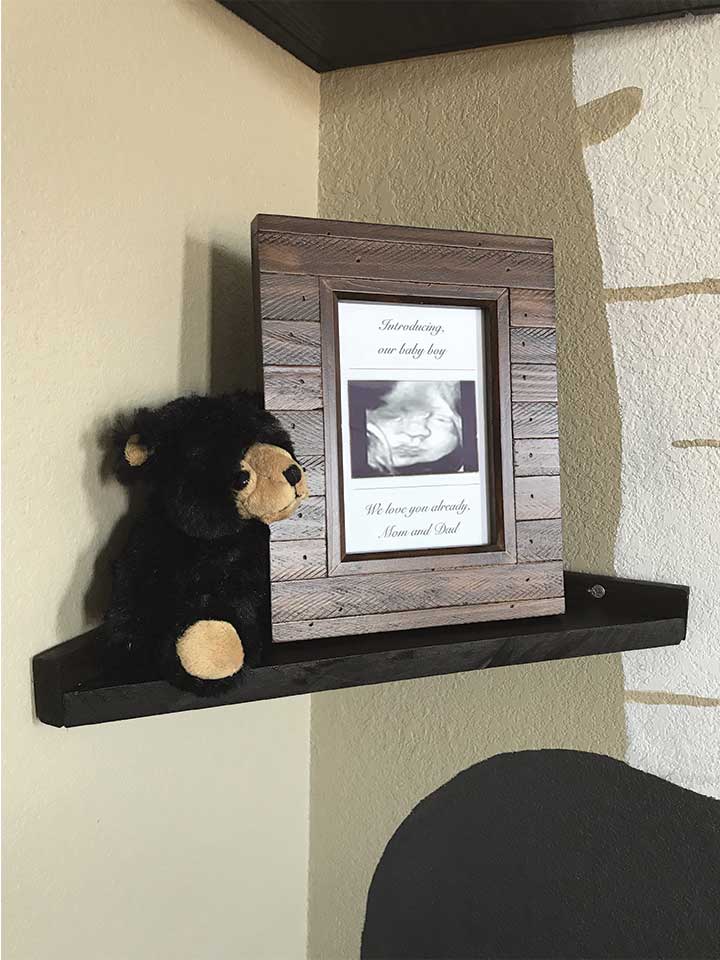
Every black bear in his nursery has sentimental value. Chris and I were having our babymoon in Tennessee at the same time my family was vacationing in Canada. The Canadian Mountie bear was a gift for Cole from my family and the black bear was a gift from sweet Miss Elvira from Elvira’s Cafe in Sevierville, TN.
If you are ever out in east Tennessee go to Elvira’s Cafe – it’s delicious and filled with good people! We stop by there at least once each time we are visiting!
That’s all there is to it!
We were so happy with how these floating corner shelves turned out and loved being able to utilize the large corner in the nursery! The fact that it didn’t cost us anything made it that much more of a win for us!
Looking for more budget-friendly DIY projects? Check out our posts below!
MORE NURSERY PROJECTS:
- Woodland Nursery Curtains
- Woodland Nursery Signs
- Industrial Pipe Shelf
- Ultrasound Picture Frame
- Painted Wood Letters
- Paper Mache Deer Head
- More coming over the next few weeks! Sign up for our email list or follow us on social media to be notified of new posts! Our social media accounts are listed below.
Thanks for stopping by! Happy Building!

How did you decorate your corner shelves? Comment below or tag us on social media to share with us!
- FACEBOOK: @TheBluebonnetFarmhouse
- INSTAGRAM: @the_bluebonnet_farmhouse (<< Don’t forget the underscores!)
- TWITTER: @TheBBFarmhouse
- PINTEREST: @thebluebonnetfarmhouse

