How to Find and Refinish an Antique Jenny Lind Bed
Learn how to find and refinish an antique Jenny Lind bed to cherish the classic, timeless look in any bedroom.
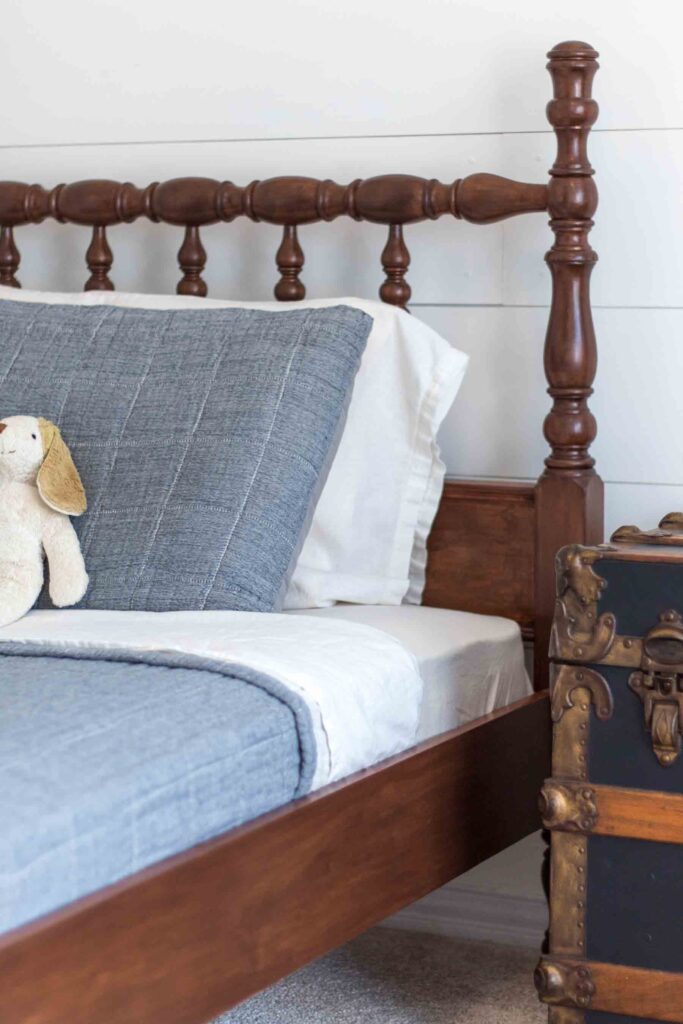
After moving into our new home, it took me a while to gain inspiration on designing a bedroom our son would love.
When inspiration struck, we signed up to participate in the One Room Challenge for the first time to transform our son’s room from a nursery into a big boy room.
You can find our nursery reveal here!
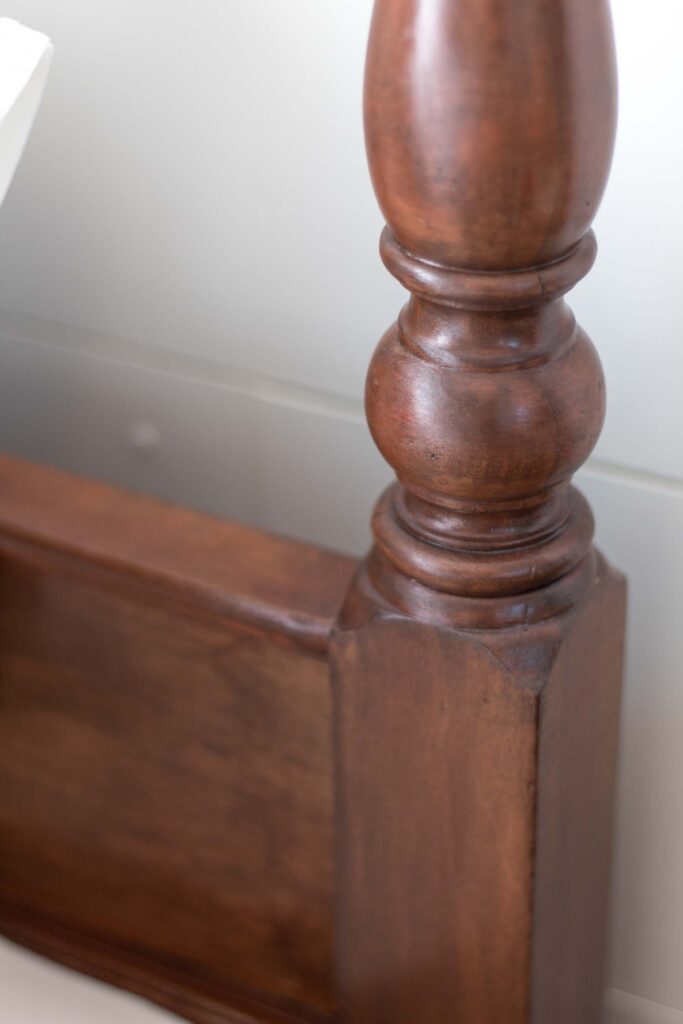
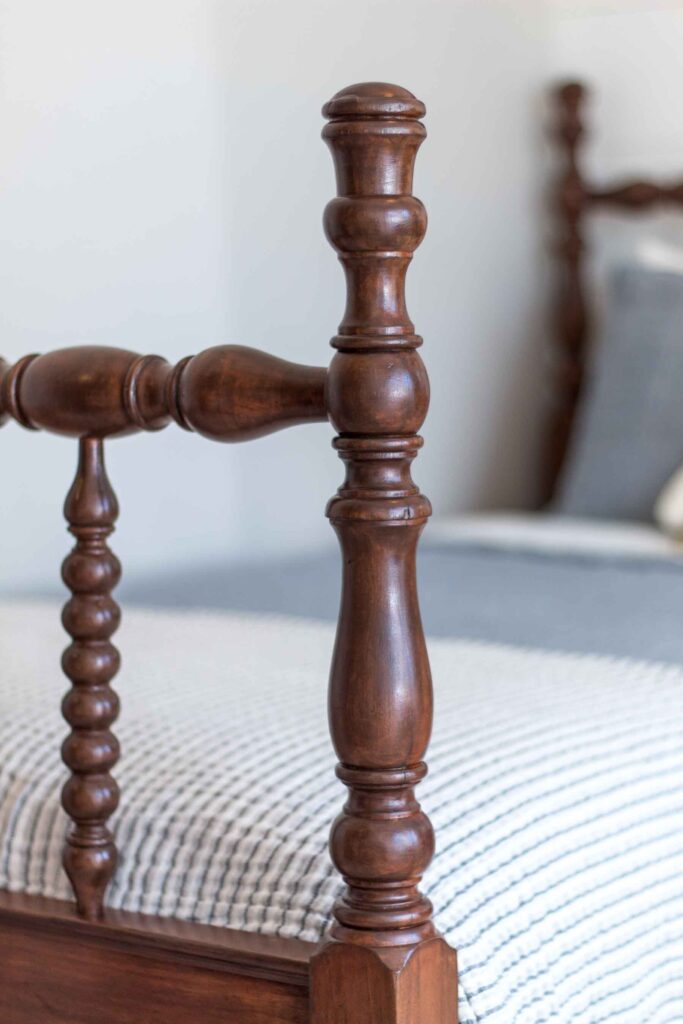
Per our vintage train bedroom inspiration, I fell in love with the timeless, classic design of the Jenny Lind style bed. Soon after, I began scouring through the selection of twin beds online, hopeful to find an antique spindle bed.
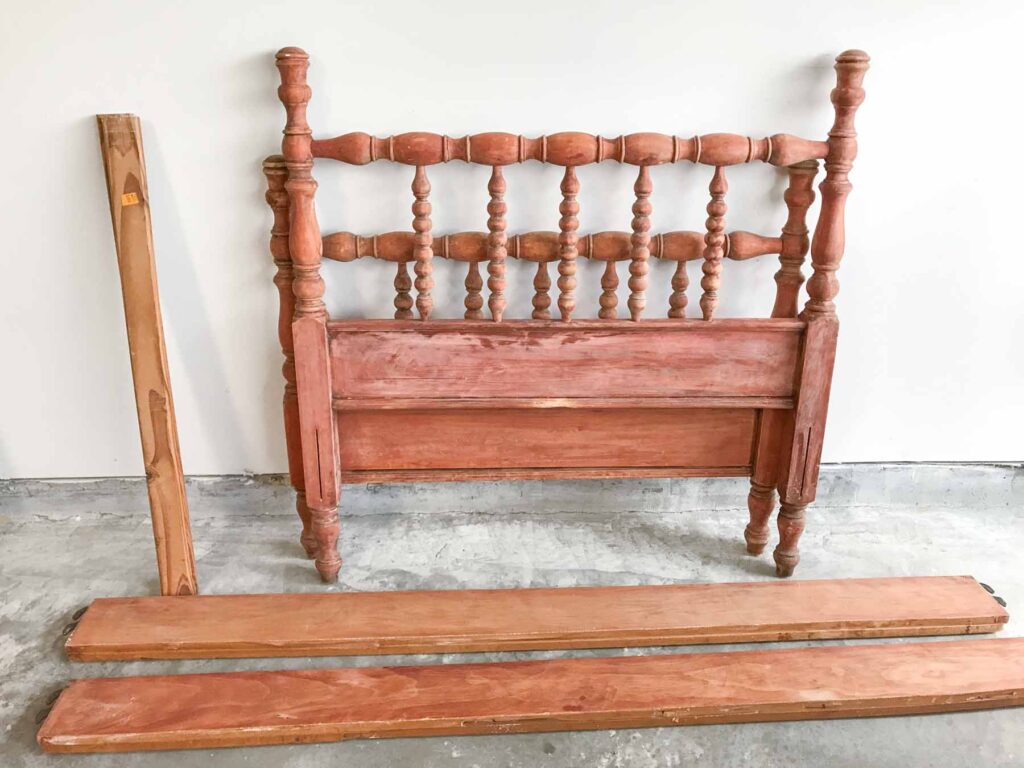
That is when I came across this thrifty gem for only $75 on Facebook Marketplace. The previous owner had stripped the bed to prepare it for painting; however, all I could see was the potential!
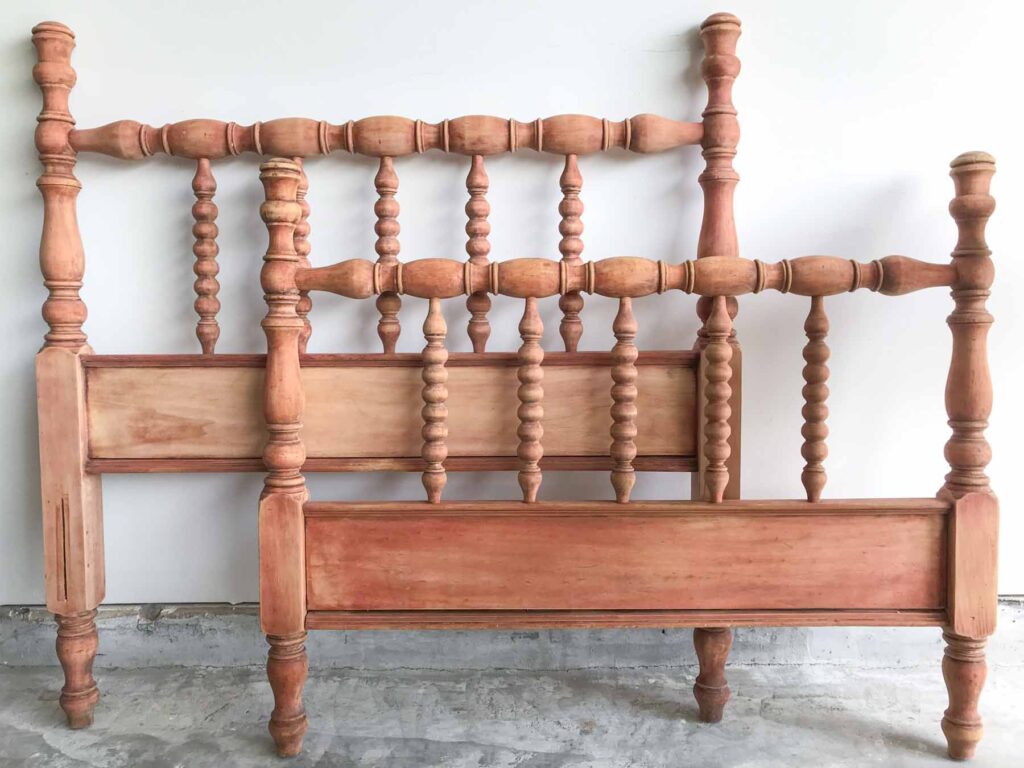
A thought on painting antique furniture…
My personal opinion is to never paint quality antique furniture as it is likely built of beautiful hardwoods, such as solid mahogany or walnut.
The inexpensive softwoods or composites used in furniture today are the ones worthy of paint. *Stepping off my soap box now.
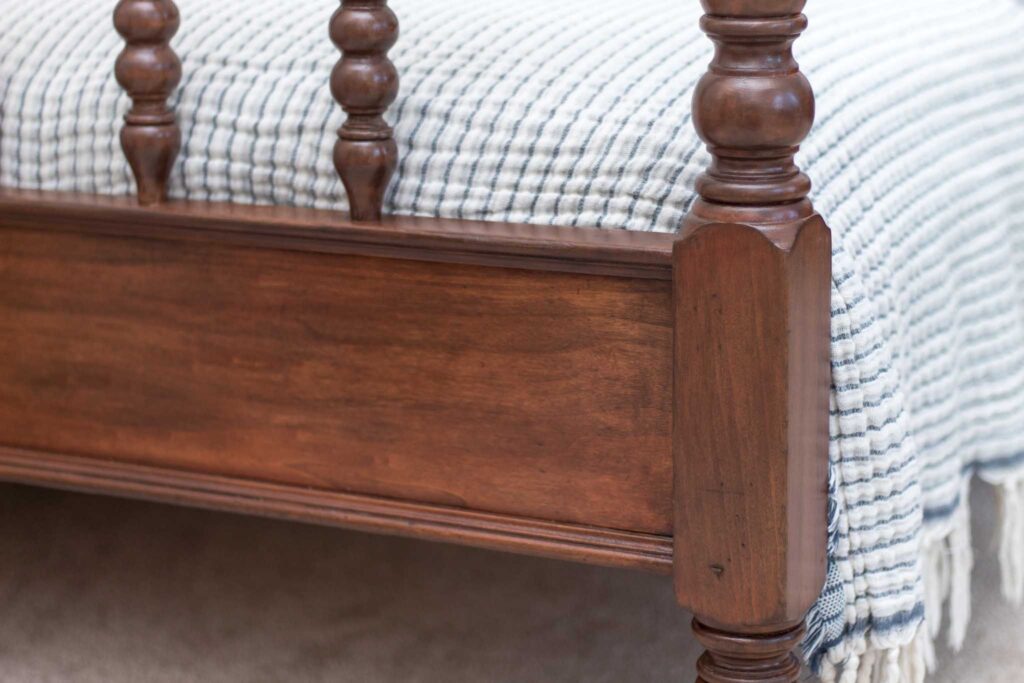
After obtaining our Jenny Lind twin bed, I managed to stumble across a listing of an identical full size one.
This particular bed had been in the same family for a century. Therefore, I was able to determine from the post that we had over a 100 year old bed, circa 1920. Happy dance.
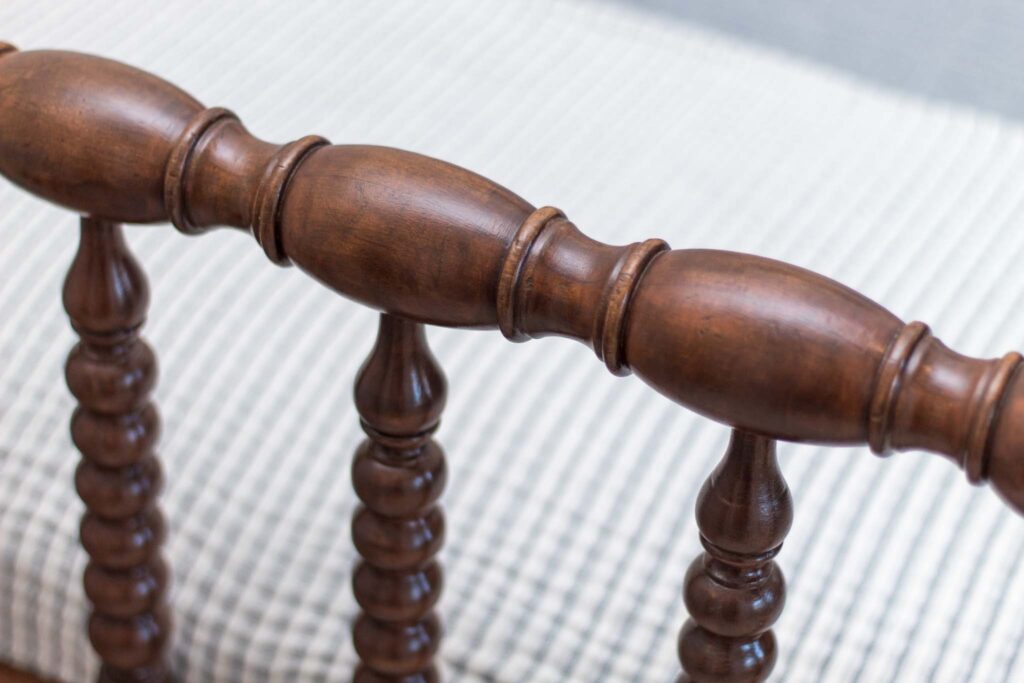
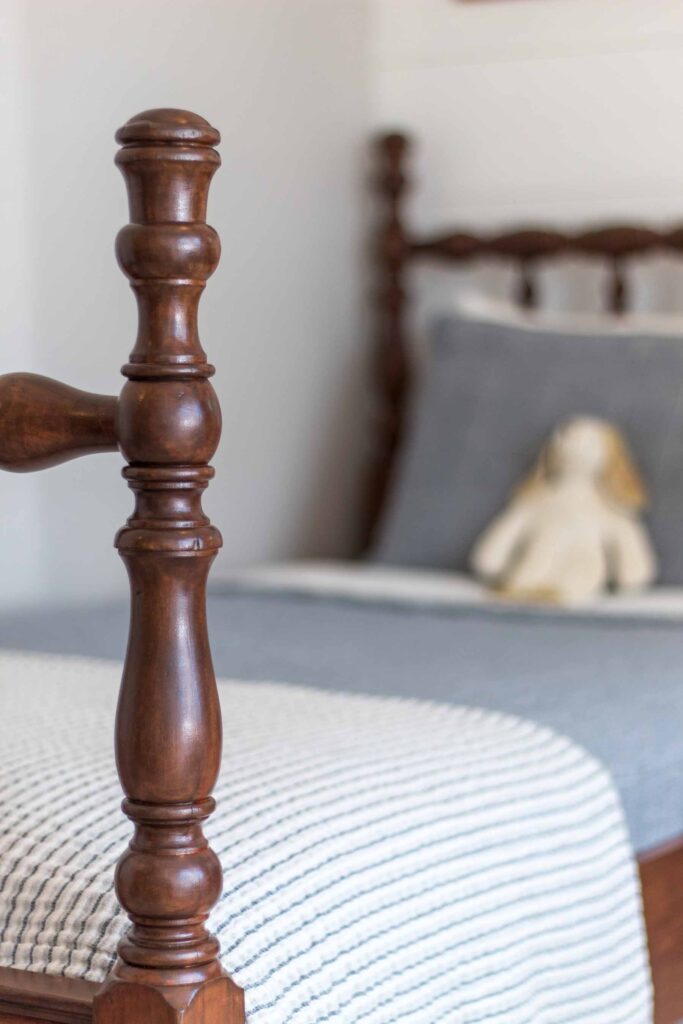
The thing about spindle beds is the obvious fact it has spindles… and lots of them. I can honestly say this project was a labor of love because of it. But the whole thing was 100% worth it in the end!
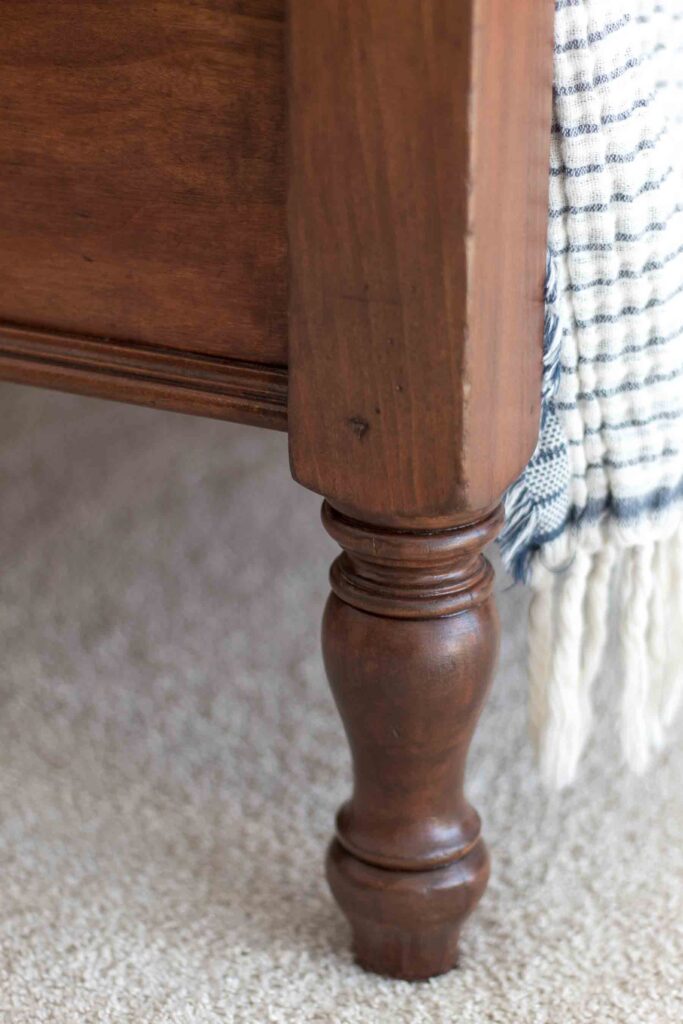
We couldn’t be more happy with how it turned out and agree it was the perfect piece to complete this bedroom makeover.
How to Find an Antique Jenny Lind Bed
Local Resale Shops
My absolute favorite places to find secondhand treasures, and the one I have the most success with, are local resale shops – specifically consignment.
We have a couple consignment shops in our area that only take in quality pieces, but list them for half the price of what you would normally find them. Some shops even have their items listed online to view before making the trip to the shop!
Personally, I don’t have much success with our local thrift shops, but that’s not to say you couldn’t find some treasures. Local flea markets are another option as well.
Facebook Marketplace
One of my top three go-to places is Facebook Marketplace. I have found lots of wonderful items at amazing prices through there.
A side caveat is that, although I love Facebook Marketplace, as a mom of little ones I do appreciate the ease of resale shops. Being able to walk in and view items at my own leisure as opposed to coordinating a time with individual owners is extremely helpful. Not to mention the distant driving it can sometimes entail.
Online Local Classifieds
If you have a trustworthy classifieds listing in your area, this can be another good option. Oftentimes people are listing quality items for a bargain due to moving, renovating, redecorating, etc.
Online Auctions
Many consignment and antique shops host online auctions. The downside to these; however, is you are unable to see the item and its condition in person before purchase.
Local Antique Stores and Shows
The only thing with this route is antique dealers know the value of their items and price accordingly. Therefore, it can be tricky to find a good deal. But depending on your budget and the local antique shops in your area, it can certainly be worth a shot!
Estate Sales
As with antique shops, estate sales can vary on items being priced according to value or priced for a good deal and quick sale.
Retail Stores for Reproductions
Although buying new reproductions is ultimately an option, I much prefer the antique version. Antiques carry history and added charm with them, in addition to being built of exceptional wood, as opposed to their newer counterparts.
Tips When Shopping for an Antique Bed
- Check inner dimensions of the frame to confirm it will hold a modern mattress. Many antique beds were made smaller than current ones.
- Ideally, try to find a bed with the original bed rails. Many antique beds no longer have their side rails and will often be just the headboard and footboard. If your bed doesn’t have side rails, you can find out how to make side rails in this post.
- Assemble the bed before purchasing to ensure that it has a sturdy frame. If not, see if it is able to be reinforced.
This post contains affiliate links, which means I make a small commission at no additional cost to you. For more information, see my disclosures here.
Tools You May Need
Miter saw – if needing to cut support slats for under the mattress.
Supplies
Sandpaper – 80, 120, 220, and 320 grit
Wood conditioner – helps to create a more even stained finished rather than a splotchy stain job.
Wood stain – the only paint and stain company I have found that is non-toxic and doesn’t give me migraines – I cannot recommend this brand enough! We used the color Early Americana.
Staining rags and brush
1×4 boards – if needing to make support slats for under the mattress.
Liquid stripping gel – if you choose to go this route instead of sanding everything off by hand.
Wood glue – if any repairs are needed
Hammer and nails – if any repairs are needed.
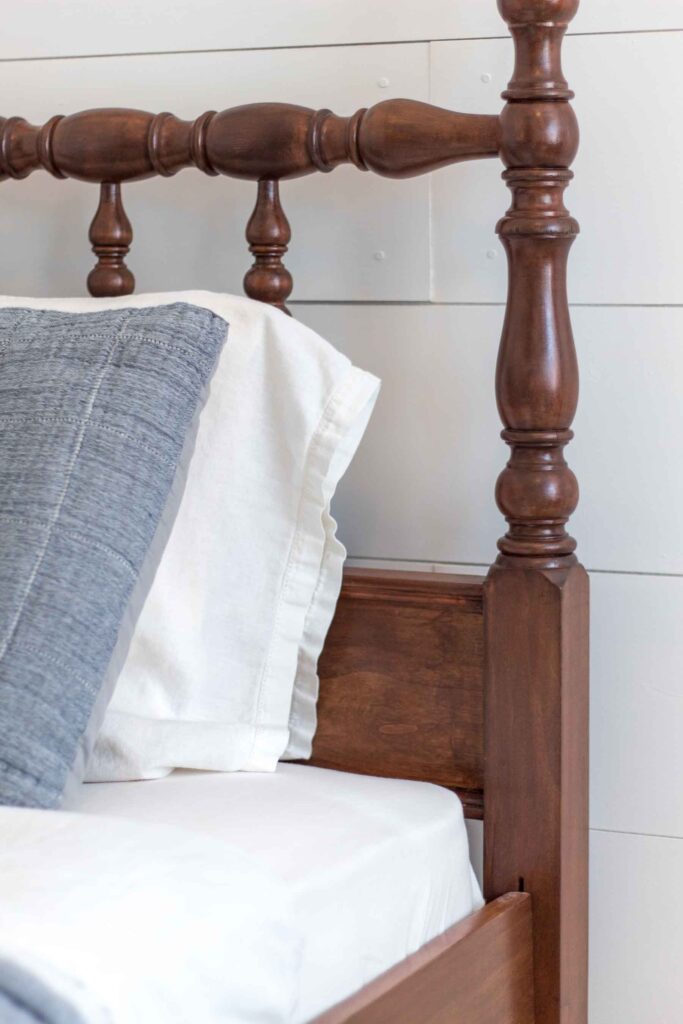
How to Refinish an Antique Jenny Lind Bed
Stripping and Sanding
Whether the finish is in need of some TLC or you desire a different stain color, the first thing to do is strip the bed of its original finish.
As I mentioned, our particular bed came to us already stripped. From what I know, the previous owner of the bed had used a liquid chemical stripper such as CitriStrip.
Although this is not my preferred method due to the use of chemicals, I did greatly appreciate the fact it was already stripped down for the most part.
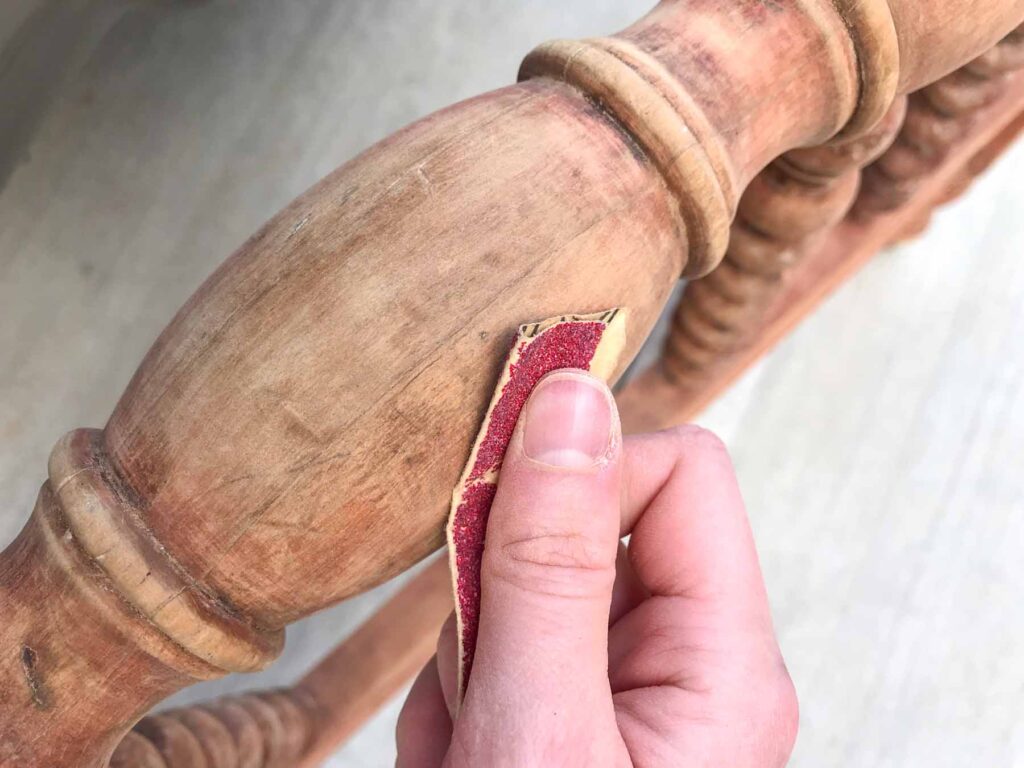
Use the 80 grit sandpaper for the areas where full finish is still present, the 120 grit for areas with partial finish, and the 220/320 grit for the overall finishing prep work before and between coats if needed.
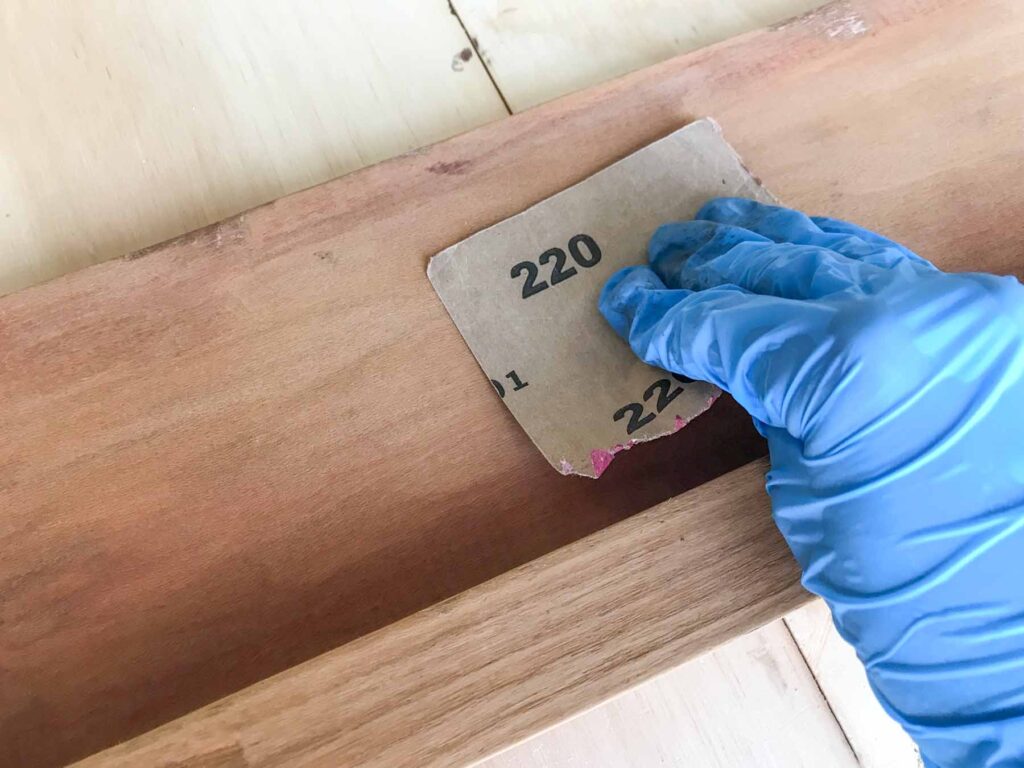
If you choose to fully sand everything by hand rather than using a liquid stripper, you will need to use the 80 grit to remove the full finish and work your way to 220 or 320 grit.
Finally, wipe down the bed frame to remove any sawdust and you are ready for stain.
Staining and Sealing
Once each and and every spindle is sanded down, prep the wood for staining with wood conditioner.
I recommend using a brush for application and following it up with a rag to wipe off any excess within 15 minutes of applying.
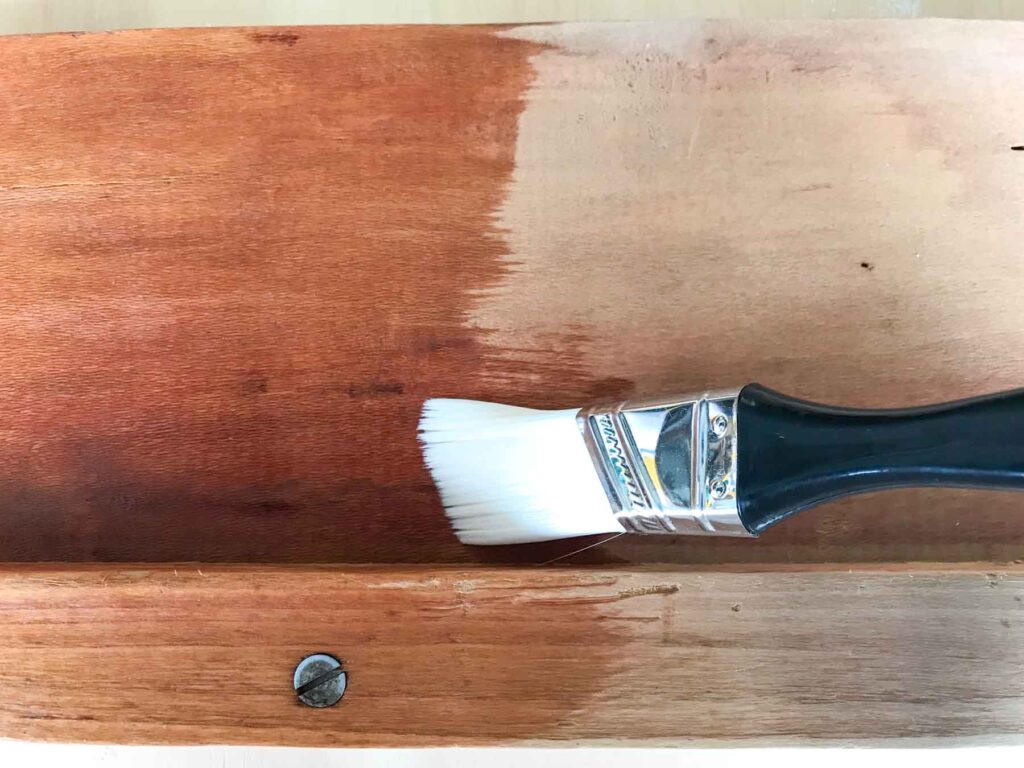
Wood conditioner aids in the absorption of the stain to create a more even finish in the stain coloring and preventing any blotchy appearance.
After the wood conditioner has dried, do a full wipe down with 220 grit sandpaper to smooth any raised grains in preparation for the first coat of stain.
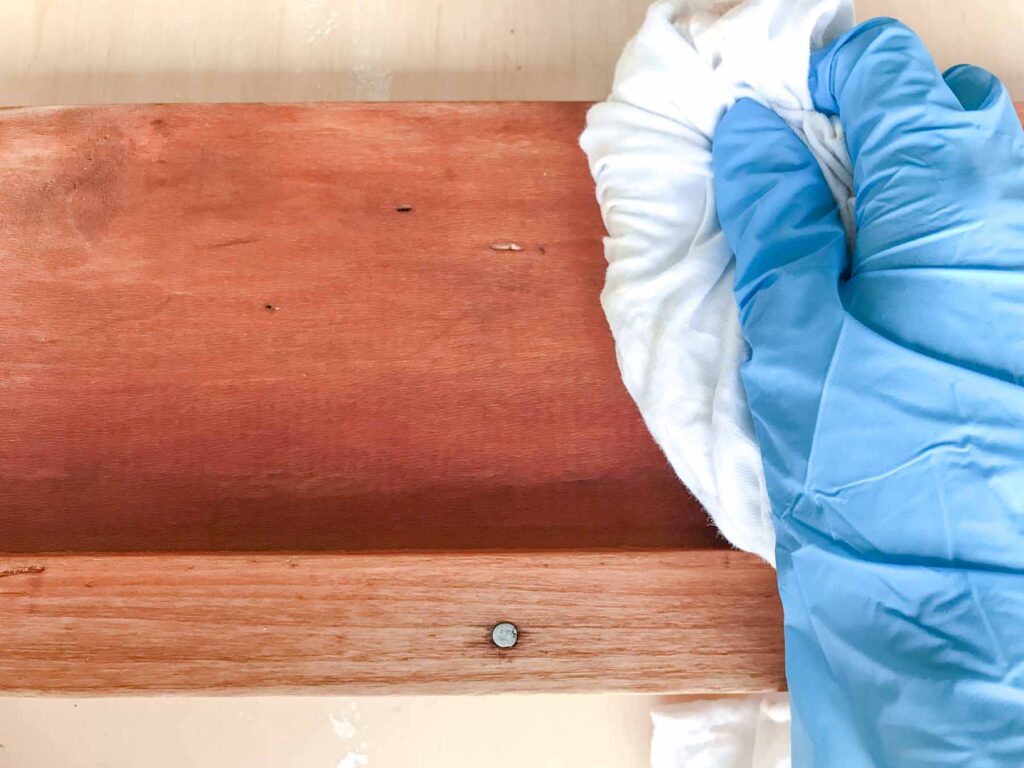
It is a good idea to always first test the stain in an inconspicuous area as different wood species will result in different shades.
I recommend testing stain samples on a flat surface. This way the samples are able to be easily sanded down after selecting a stain color.
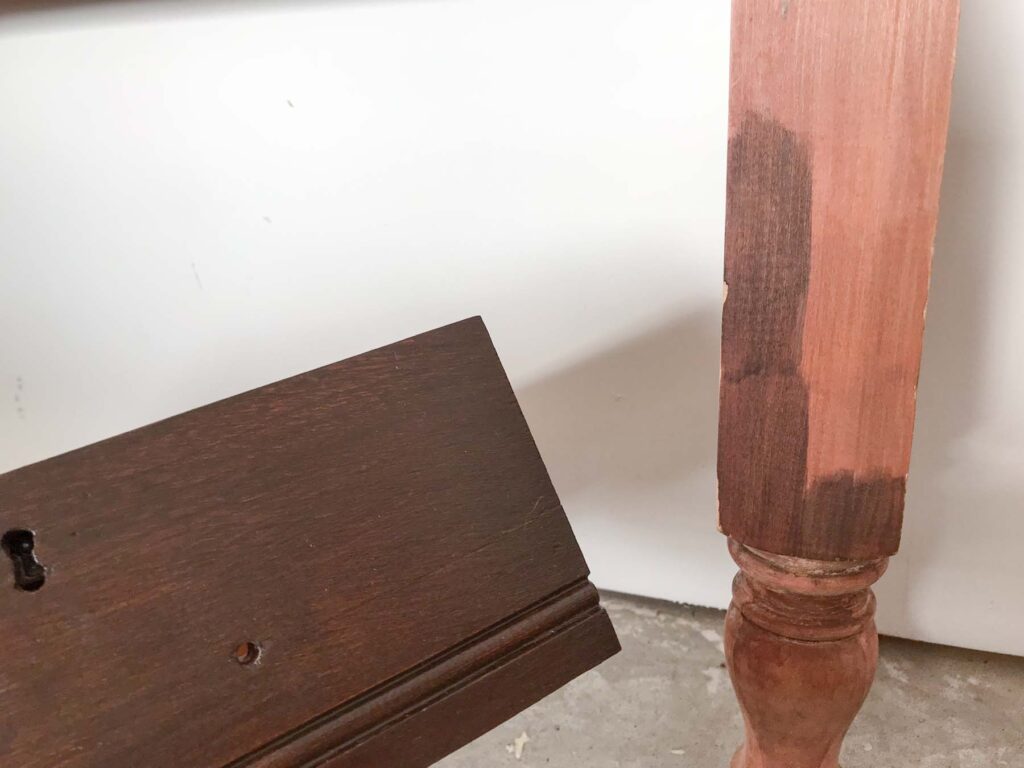
We chose to go with Early Americana, a medium to dark stain, to match the antique dresser.
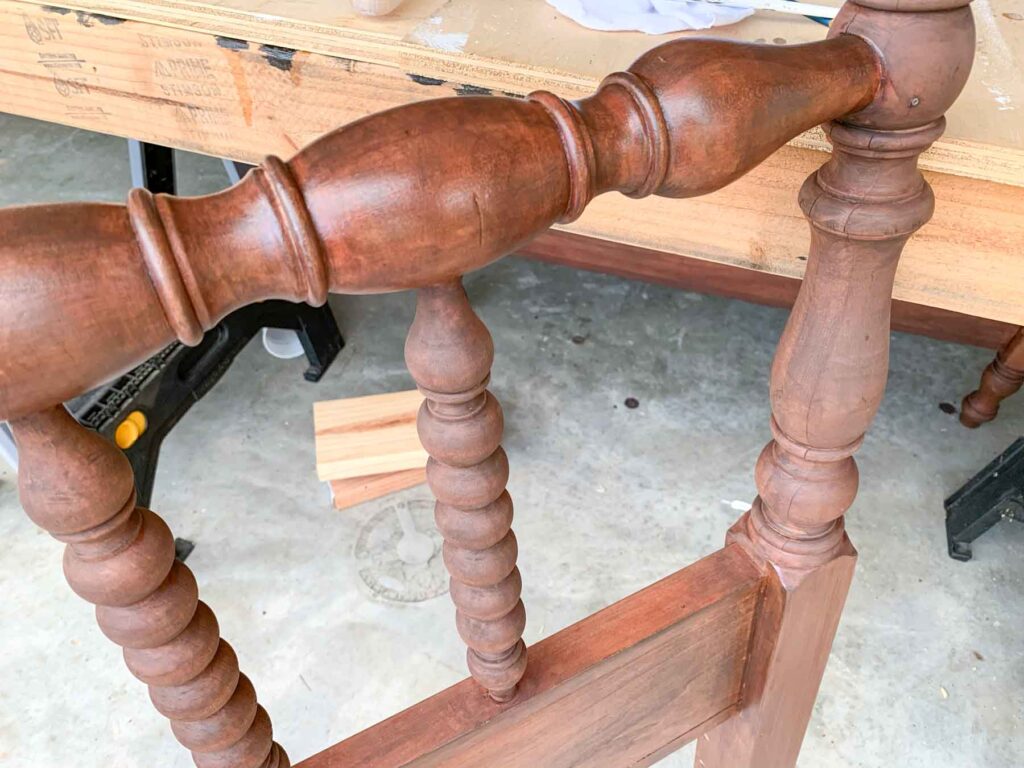
We found the easiest way to apply the stain was by using staining rags rather than a brush. It seemed to lend well to an easier and more even application with the spindles, preventing any puddling of the stain in the grooves.
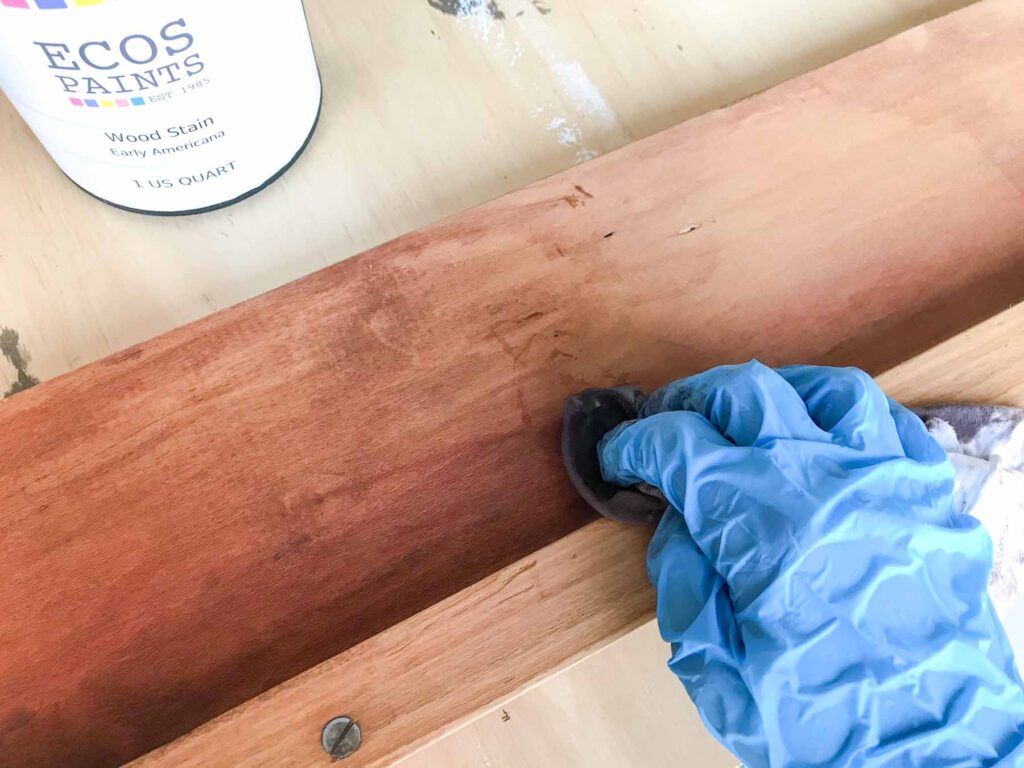
Follow up the freshly stained areas with a clean, lint-free rag to wipe off any excess stain within 5 minutes of applying.
Depending on the wood type and your desired stain color, more than one coat of stain may be required.
When you achieve the desired color, follow it up with a thin coat of varnish for protection and a lustrous smooth finish.
Bed Support Slats
The last thing we needed to do when refinishing our antique Jenny Lind bed was to cut bed slats for underneath the mattress.
If you only have a headboard and footboard, you can find out how to make some DIY side rails in this post.
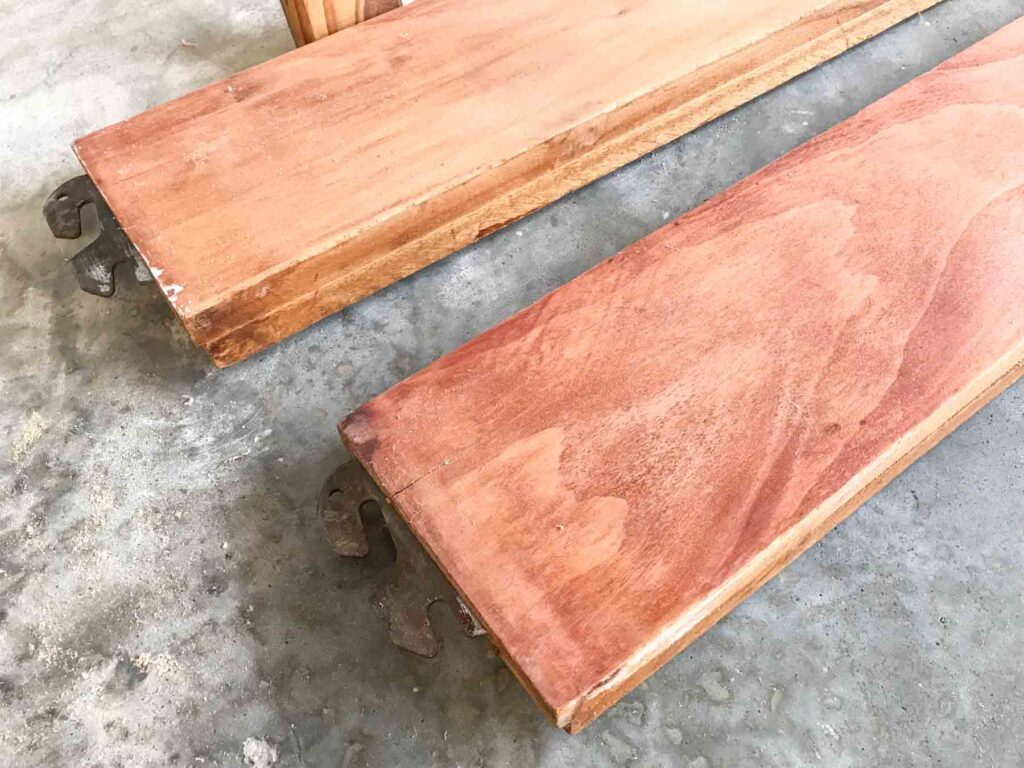
We were fortunate in that our bed still had its side rails intact. This can be hard to come by with many vintage and antique beds. All we needed to do was repair part of the support board with some nails and simply cut some bed slats.
We opted out of purchasing a box spring mattress because we liked the idea of the mattress being lower to the ground for our little man. Not only does it allow for the stunning headboard to be more visible, but it also serves as a great transition from a toddler bed to a big boy bed.
Fully assemble the bed frame and measure the interior width span where the mattress will sit.
Cut 1×4 boards 1/8 – 1/4 inch shorter than the interior width measurement to provide some flex in the frame.
Space the boards a couple inches apart and place the mattress on top.
FAQ
More Farmhouse Bedroom Projects and Inspiration
- Antique Train Themed Boys Bedroom – Design Plan
- DIY Bassinet and Playard Waterproof Mattress Protectors
- Easy DIY Cube Storage to Organize Kids Closets
- Woodland Nursery Reveal
- How to Make a Dried Flower Shadow Box
- How to Make Indoor Wall Planters with Sconces
If you enjoyed this tutorial, please let me know by leaving a comment below! Or tag me on social media to share your antique find!





I am looking at having a custom mattress made because my inside dimensions are 50“ x 76“ ugh. Help lol
Oh no! Yes I definitely recommend checking interior dimensions if looking to buy an old bed. But if inherited and not the size for modern mattresses then a custom mattress, a new frame paired with just the headboard, or any way to alter the original frame to be smaller or larger would be the best options.