DIY Woodland Nursery Signs
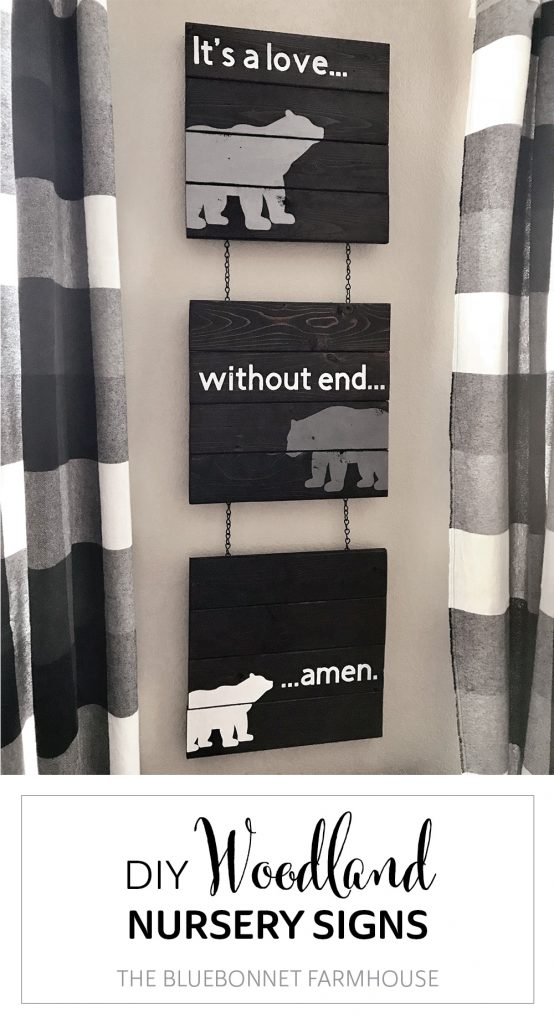
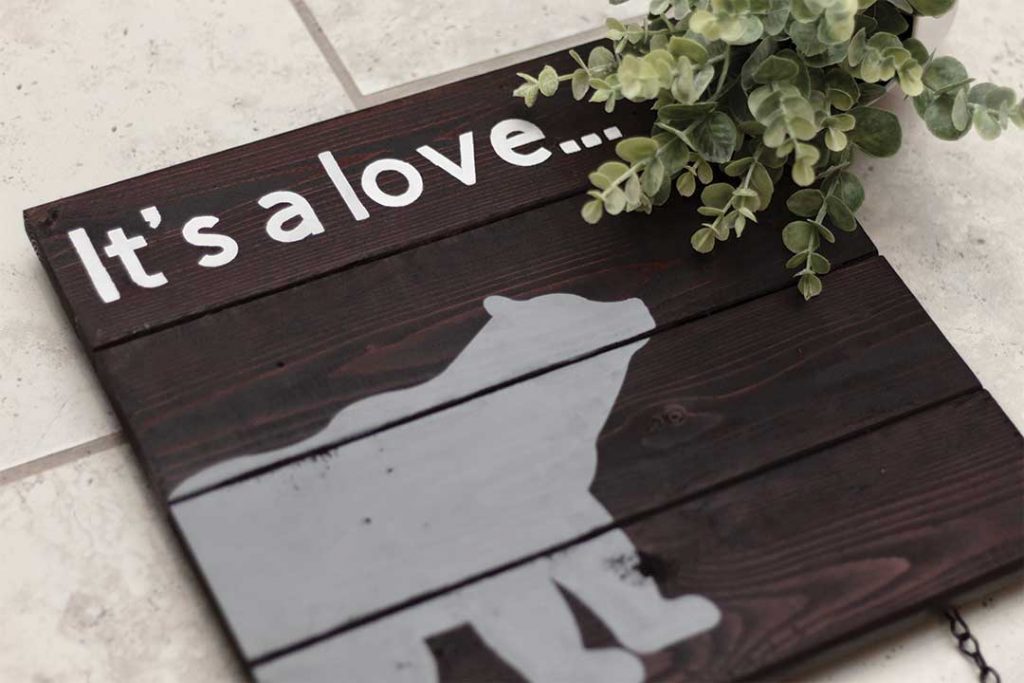
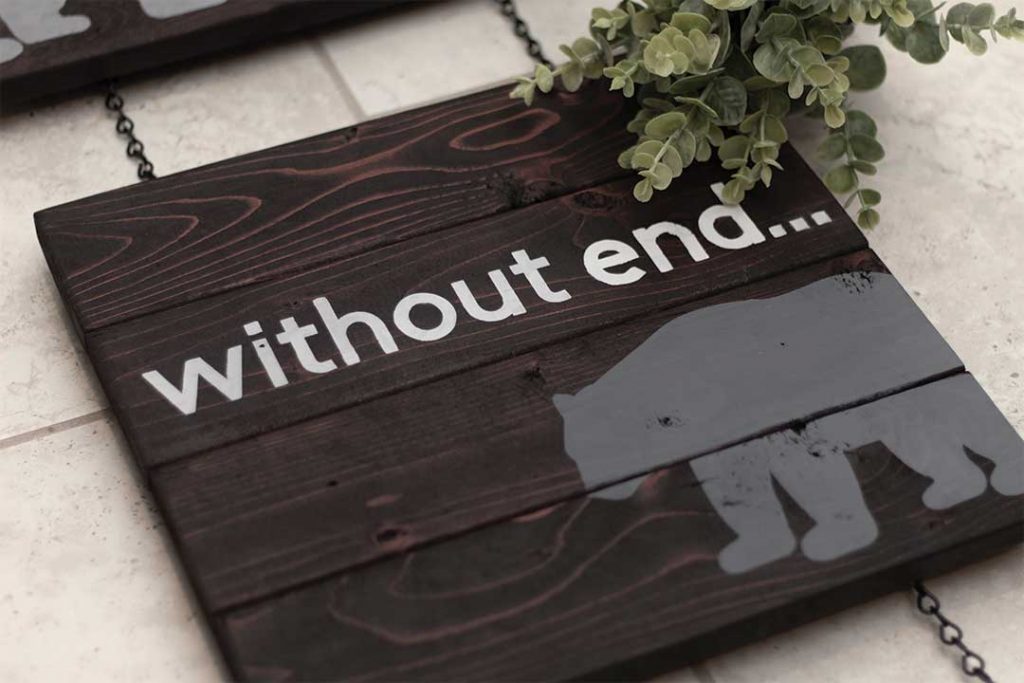
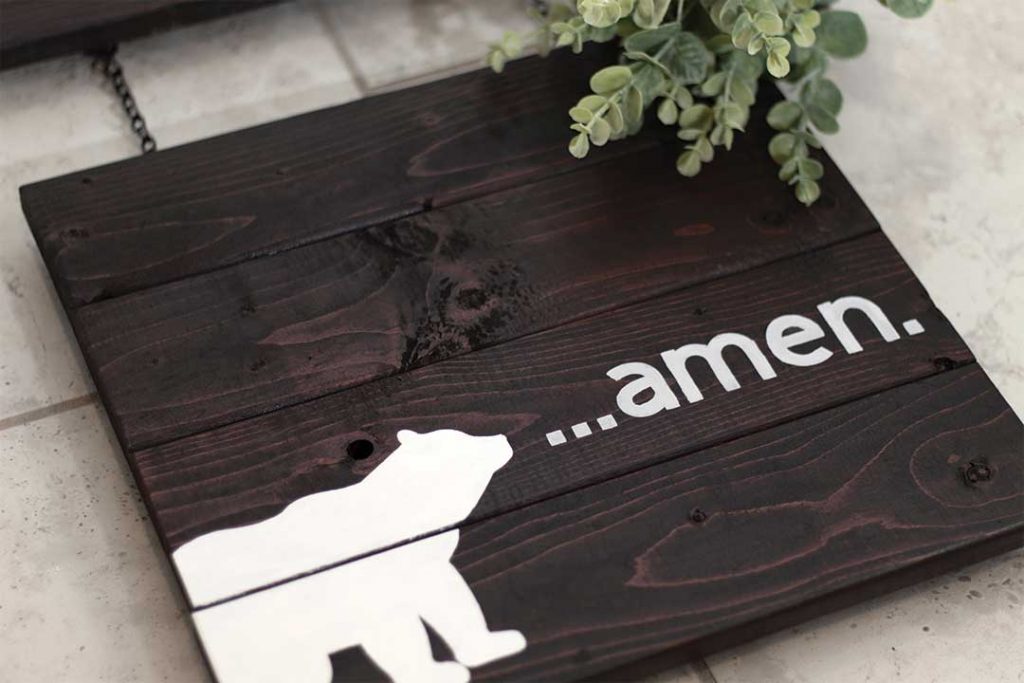
Learn how to make these DIY woodland nursery signs! Inspired by George Strait’s song – Love Without End, Amen – and the endless love shared between a parent and their child.
This post contains affiliate links used to help support The Bluebonnet Farmhouse. For more information, please see my disclosures here.
When designing our son’s nursery, I had been seeing all sorts of wood signs available on Etsy with cute phrases and woodland animals. Being a natural-born DIYer, I had instantly already made the decision to make our own woodland nursery signs.
For me, DIY isn’t always about saving money, but putting in the time and love to make it. This is one of those instances.
We wanted something special that served as a reminder of a simple, yet cherished truth each day.
And that is how these woodland nursery signs came to be.
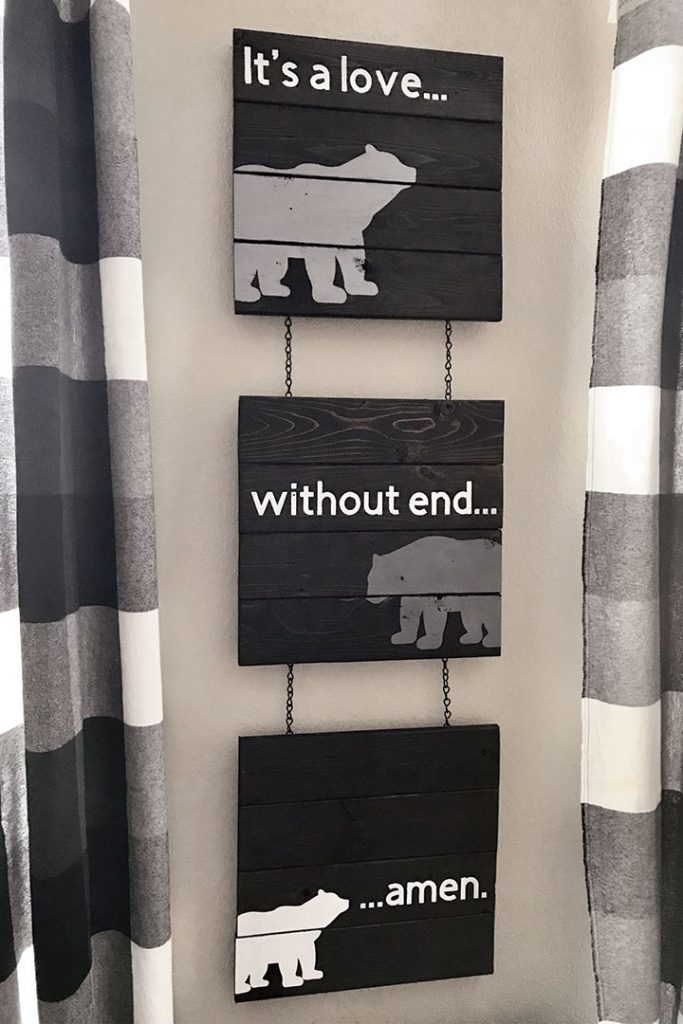
Country + Christian. That pretty much sums up the genre of music that plays in this household. So when I was trying to figure out what words to paint onto our son’s woodland nursery signs, I thought what better words than those from George Strait’s song – Love Without End, Amen.
Those four words say everything. Everything about the endless love shared between our son and his daddy, mommy, and Heavenly Father.
After having completed our floating corner shelves, we made sure to add some black bears to continue on with the woodland theme in our son’s nursery and even made custom woodland curtains to match.
VARIATIONS OF THIS PROJECT:
- Use vinyl instead of paint and a stencil.
- Customize the signs with a different animal, flowers, trees, etc.
- Forego the chains and hang the signs arranged either horizontally or vertically.
- Use 1×4 project boards for clean 90 degree edges.
- Rip the rounded edges off of 1×4 furring strips with a table saw to get clean 90 degree edges. Rip .25″ off each side. Boards will then be 3″ wide instead of 3.5″.
TWO WAYS TO MAKE THE STENCILS:
There are two different ways to make the stencils: using a Cricut or by hand with an X-Acto knife (or something similar).
If making the stencils by hand, you can download your free printable here and follow along below. But I personally would highly recommend the Cricut seeing as how it is much easier and will save you a lot of time!
SUPPLIES:
Both the printable bear template and svg file for Cricut can be found in my free subscriber library, fill out the form below to get the password!
- (2) 1x4x8 Furring Strips (or Project Board)
- (1) 1x2x8 Furring Strip
- 2’6″ #14 Black Jack Chain
- (10) #8 Steel Eye Screws
- Wood Stain (<< Our favorite!)
- Staining Rags
- Sandpaper (120 + 220 grit)
- Chalk Paint
- Paint Brush or Sponge Brush
- Cardstock Paper
- Cricut Machine
- Cutting Mat
- Project File (see supplies note above)
- Design Space
- 1.25″ Screws
- Nails or Screws + Drywall Anchors for hanging
- Needle Nose Pliers
- Drill
- Circular Saw or Miter Saw
How To Make Woodland Nursery Signs:
Step 01 – Make the Cuts
1×4 cuts
We used the width of the 1×4 to help determine the size of the signs. Going based off of the 3.5″ width of the boards, we cut the 1x4s to be 14″ long and placed 4 boards together for each sign to make a 14″ x 14″ square.
Using the 1×4, we cut (4) 14″ boards for each sign, giving us a total of 12 boards.
1×2 cuts
Rather than having the signs lay flat against the wall, we chose to float them using 1×2 furring strips.
Using the 1×2, cut (2) 11.5″ boards for each sign. There will be a total of 6 boards.
Step 02 – Prep the Hardware
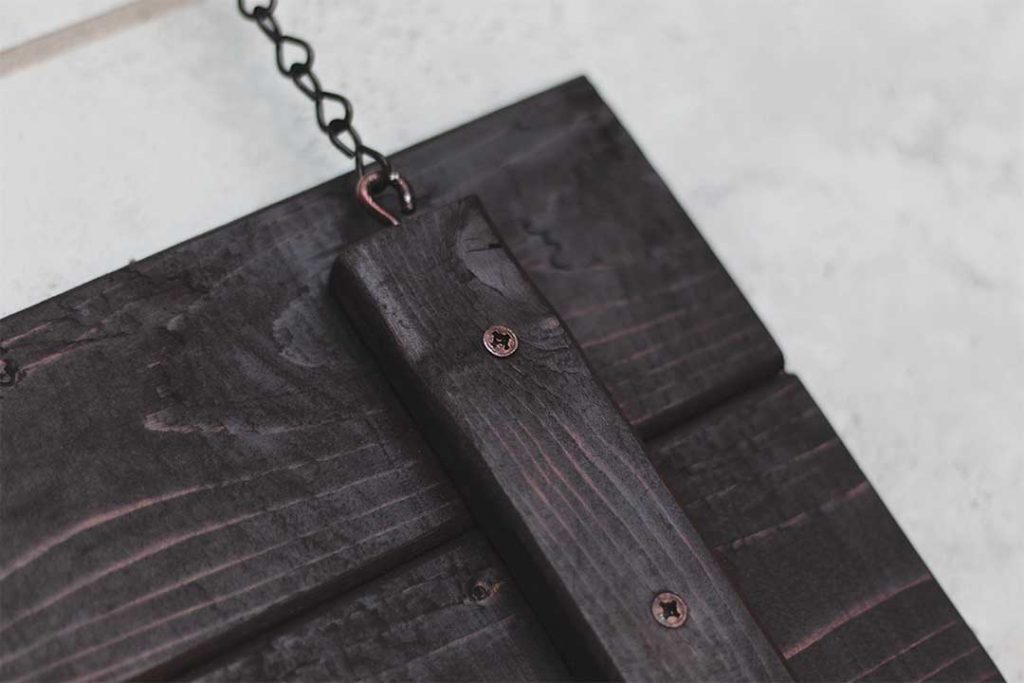
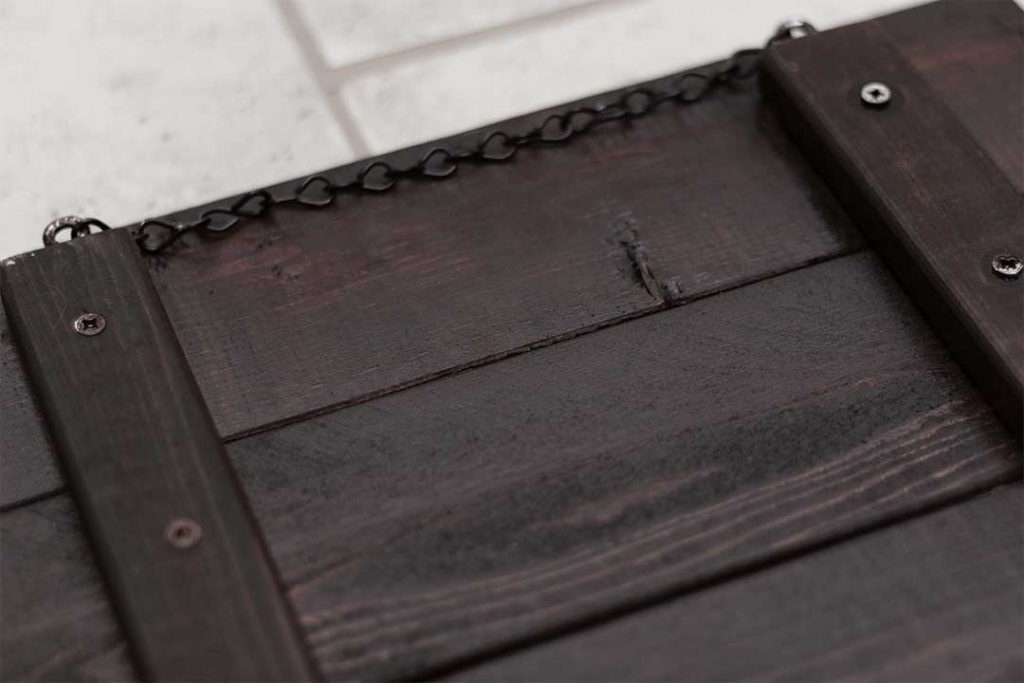
Before assembling the signs, I attached one eye screw into the top and bottom of each 1×2 board.
NOTE: The bottom sign will not need eye screws on the bottoms of the 1×2 pieces.
I went ahead and measured out (4) 4.75″ strands of the chain to go between the signs, and (1) 8.25″ strand to go across the top for hanging. Using needle nose pliers, I opened the links of the chain to separate the strands.
Step 03 – Assemble the Signs
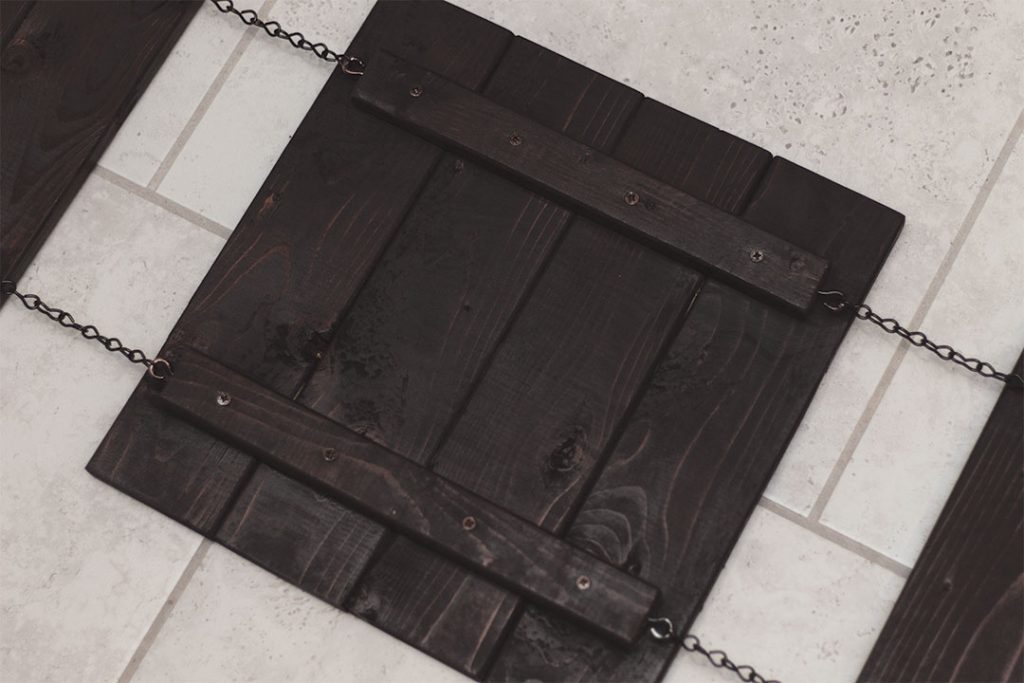
Laying 4 of the 1×4 boards on the ground, I placed 2 of the 1×2 boards perpendicular along the back – 2″ in from each side and 1.25″ from top and bottom.
Using a drill, we screwed (4) 1.25″ screws through each 1×2 board to attach the 1×4 boards.
You could choose to attach the chains now or wait until after staining and painting.
Step 04 – Stain the Signs
If you have seen our ultrasound picture frame and DIY pipe shelf posts, then you already know we decided to use Minwax Red Mahogany for our stain color in the nursery. This stain perfectly matched the top of the dresser we were using, not to mention we already had a leftover bucket of it from my dad, and eliminating the need to buy new stain!
We have since switched to and highly recommend this non-toxic brand! They even have a craft stain that is made for this kind of project.
Don’t forget to sand the signs according to the staining instructions before eagerly reaching for that staining rag! Something we have failed to do in the past and have since learned from our mistakes.
Step 05 – Make the Stencils
To make the stencils, I simply used some cardstock paper and my Cricut to easily make custom designs specifically for this project.
If you do not have a Cricut, you can get the printable version here and cut them out with an X-Acto knife. But I personally would highly recommend the Cricut seeing as how it is much easier and will save you a lot of time!
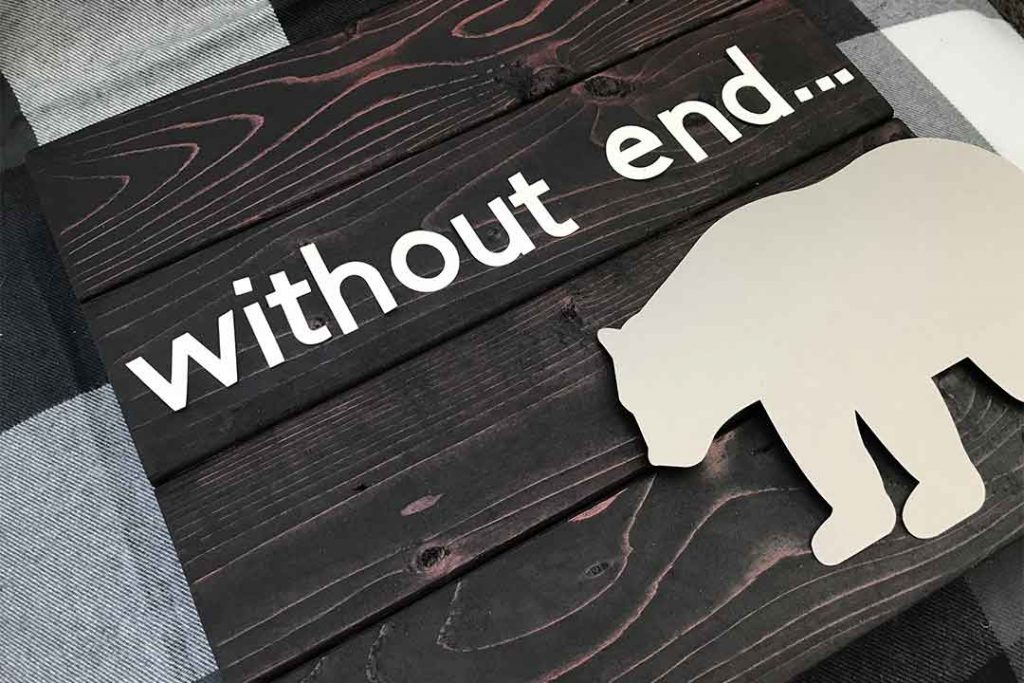
To get started with your Cricut, you will need the Cricut Design Space app on your computer and the Woodland Nursery Signs project file.
If you need help setting up the file and going through the cutting process, check out this post for a step-by-step tutorial.

Step 06 – Paint the Signs
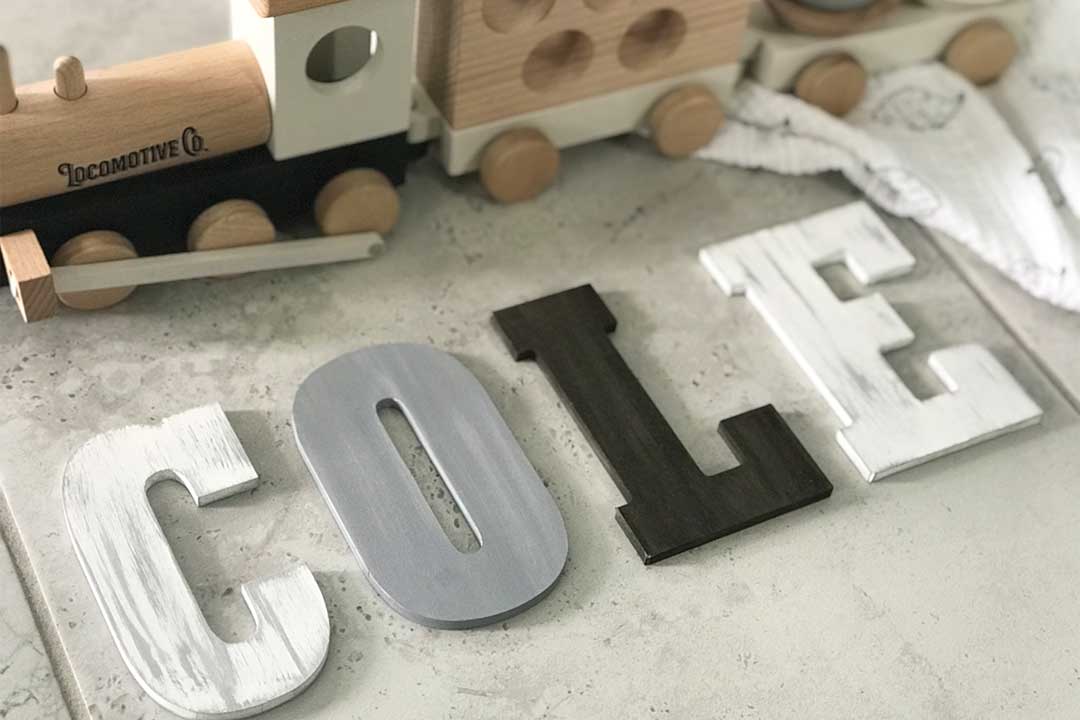
The colors chosen were the same as those used in our nursery painted wood letters. All I did was mix white and black chalk paints to get the desired shades of gray. Below are the colors used:
- Martha Stewart Chalk Paint – Wedding Cake
- Martha Stewart Chalk Paint – Beetle Black
Once I had my paint colors, I laid the paper stencils in place on each sign and began to paint.
I was careful to keep paint out of both the seams and knots in the wood as I wanted those to remain stained and highlight the natural character of the wood and signs.
Step 07 – Installation
At this point is when I chose to attach the strands of chain to the signs.
When our son was just a baby, we did not have the 8.25″ chain along the top of the sign in order to hang it. We simply used some nails to hang the signs by the eye screws at the top of the first sign.
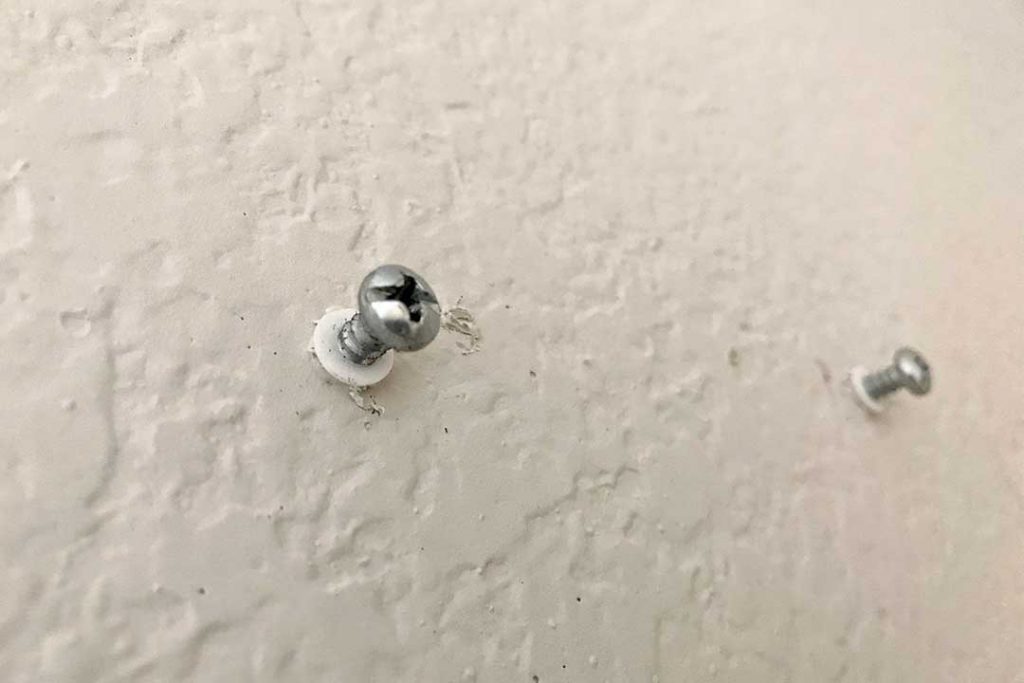
Once our son became mobile and getting into everything, we wanted the signs to be more childproof. So we added the 8.25″ chain along the top and swapped out the nails for two drywall anchors and screws. Then we used the needle nose pliers to open two of the chain links of the hanging strand to wrap them around the head of the screw.
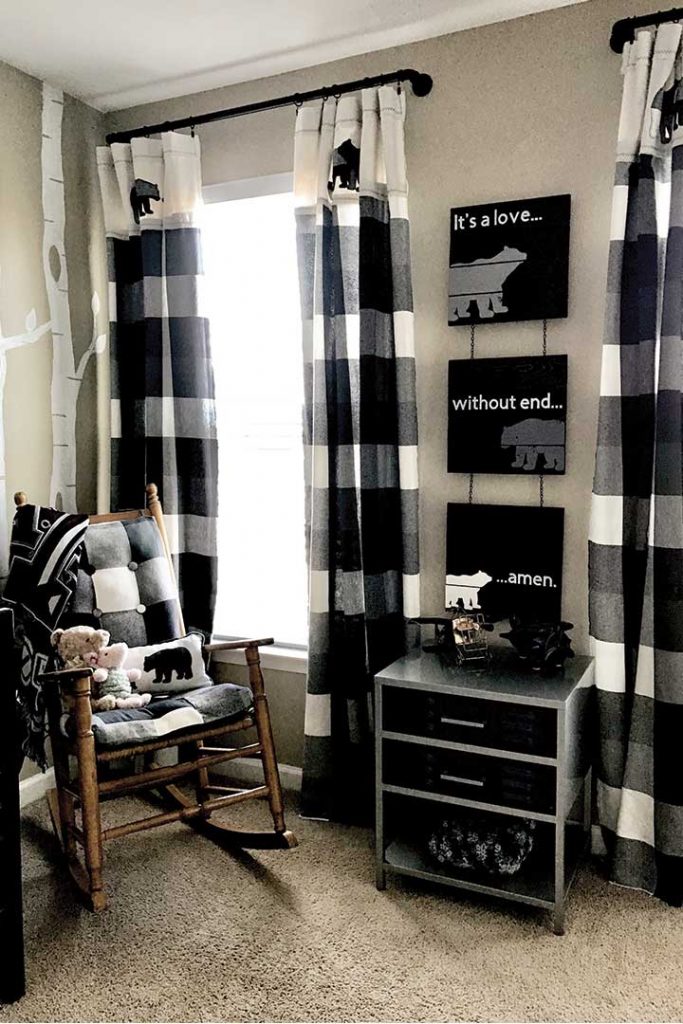
These signs make me beary happy (sorry, I had to) and I love that they have so much meaning to them.
I am a big advocate of decor having meaning or a story behind it, otherwise how much purpose does it serve? If there is no sentiment, there is no sentimental value. Therefore, it is essentially just there for looks and easily replaceable.
I treasure these woodland nursery signs and I hope they bring inspiration for your own treasured nursery decor.
Looking for more budget-friendly DIY projects? Check out our posts below!
More DIY Nursery Projects:
- Woodland Nursery Curtains
- Floating Corner Shelves
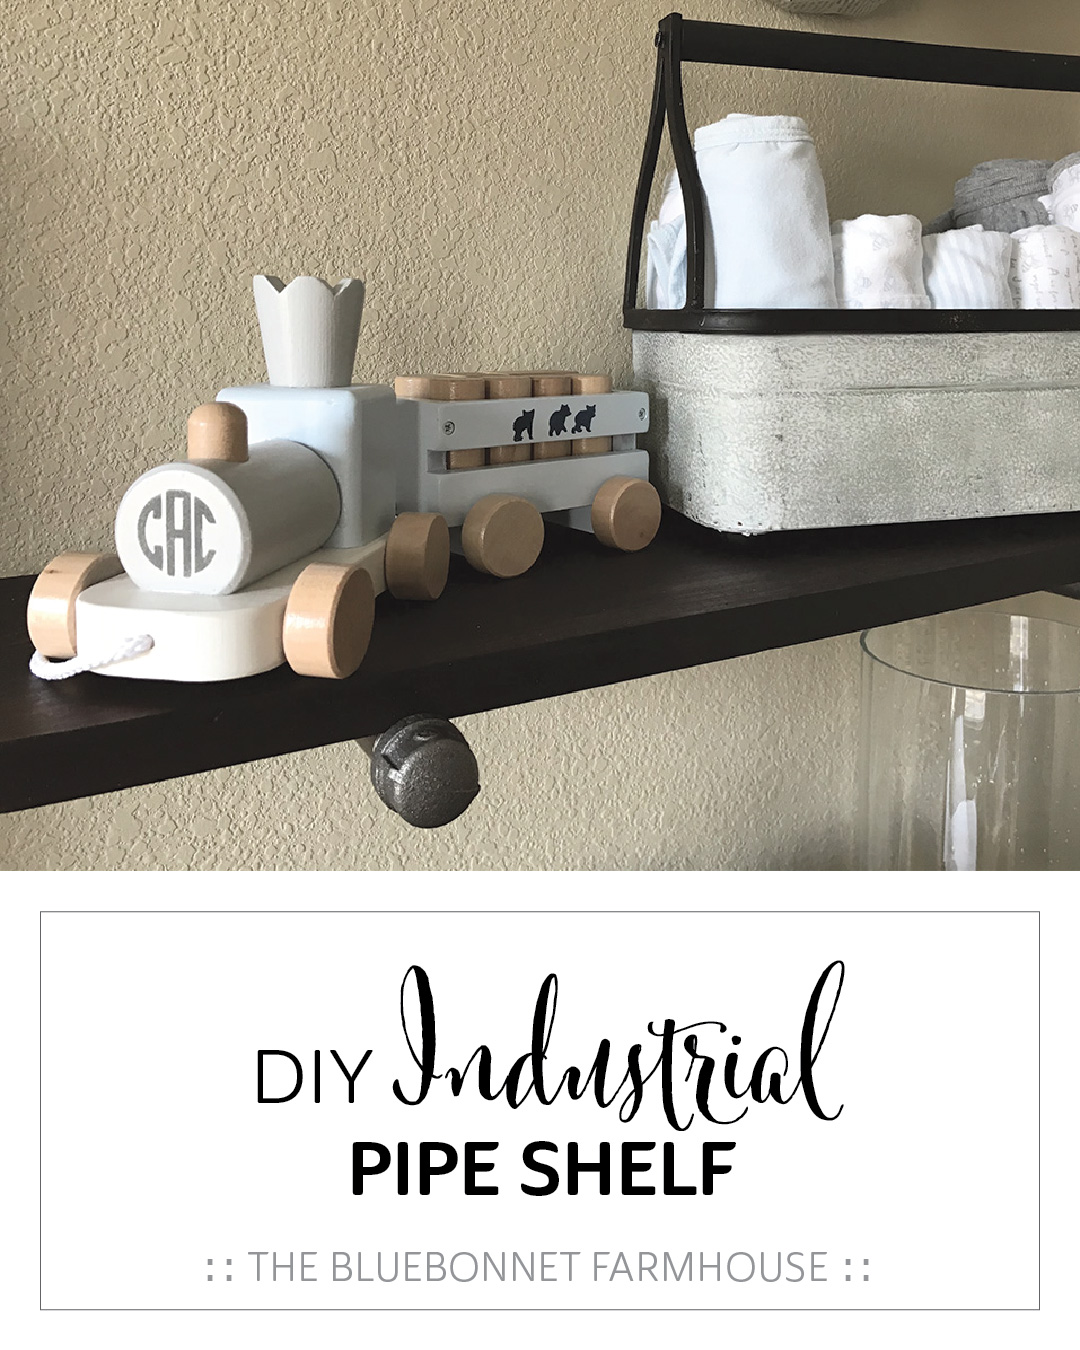
- Industrial Pipe Shelf
- Ultrasound Picture Frame
- Painted Wood Letters
- Paper Mache Deer Head
Share your finished signs with us! Comment below or tag us on social media to share with us!

