DIY Woodland Nursery Curtains
Learn how to easily make DIY woodland nursery curtains. Perfect for any nursery with the optimal balance between light filtering and blackout curtains.
Let’s just start off with what might be a controversial topic. Blackout curtains in a nursery, or no?
How about we meet in the middle and get the best of both worlds!
My logic was, if my son can fall asleep in the car or stroller in the blaring sun, then he should be capable of falling asleep in a semi-dark room with blinds and curtains.
The goal was to have curtains that darkened the room some in hopes of helping make nap time a little easier, but also let in just enough light so that our son would not grow accustomed to only being able to sleep in a pitch black room.
Some may say that the blackout curtains help little ones to nap during the day or sleep longer in the mornings and not be woken up by the sun… if only that were true. Three years later and our son still wakes up like clock work no matter how late he stayed up or if the sun is still sleeping.
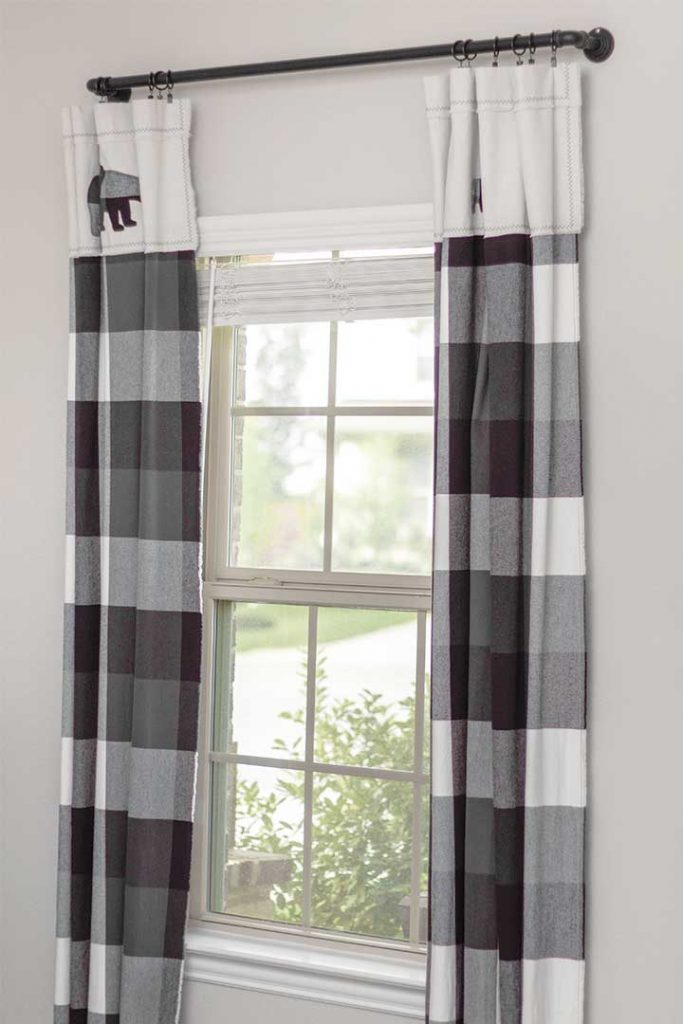
Seeing as how I have a slight obsession with flannel and it is a heavy weight fabric that could work great for curtains, I decided to try it out. I have never seen nor heard of flannel curtains, but that didn’t stop me from giving it a go and I am so glad it didn’t!
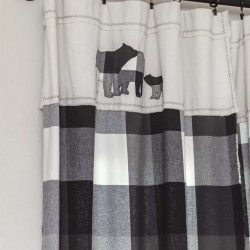
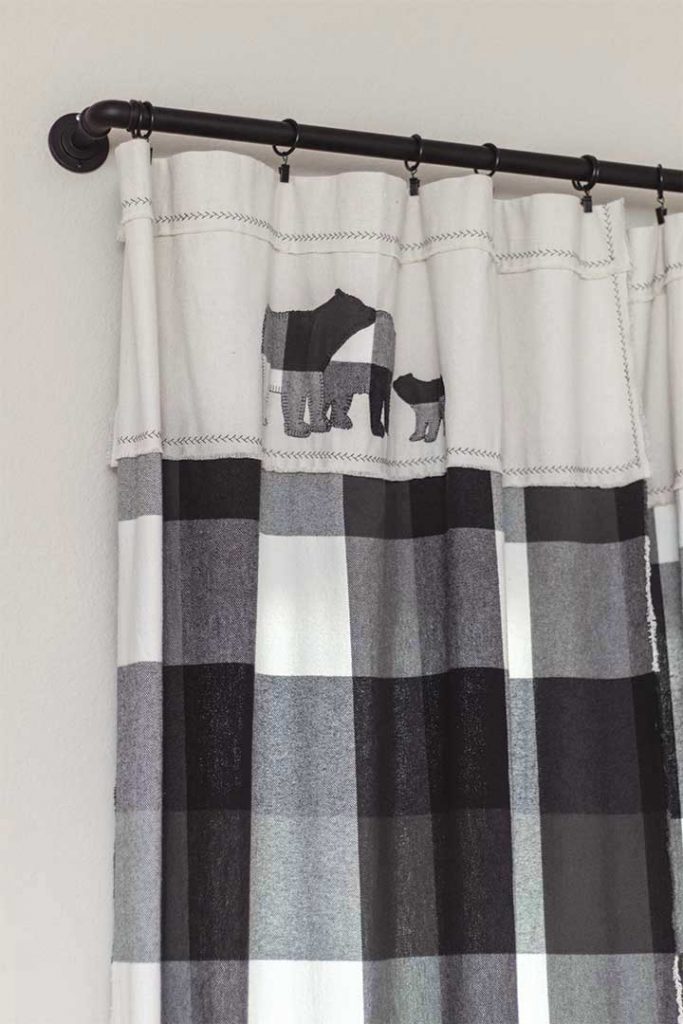
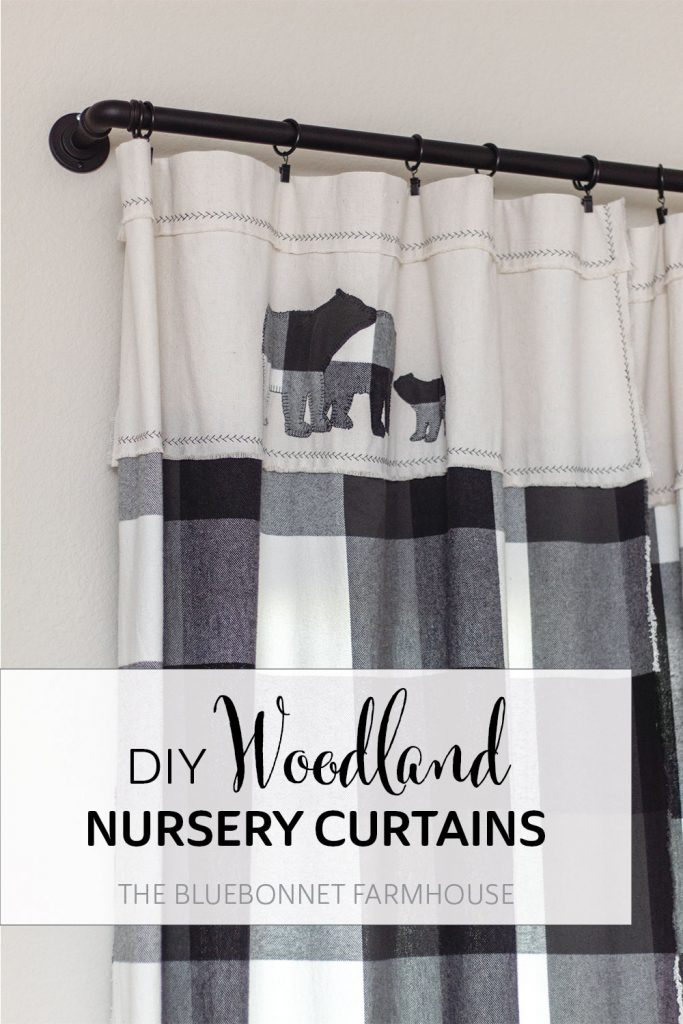
The flannel fabric ended up being the best choice for our woodland nursery curtains! Not only is the pattern adorable, but the fabric provides the optimal balance in my opinion between light filtering and blackout curtains. The curtains are heavy and dark enough to block most of the light, but the lighter portions of the flannel allowed for subtle filtered light to peak through.
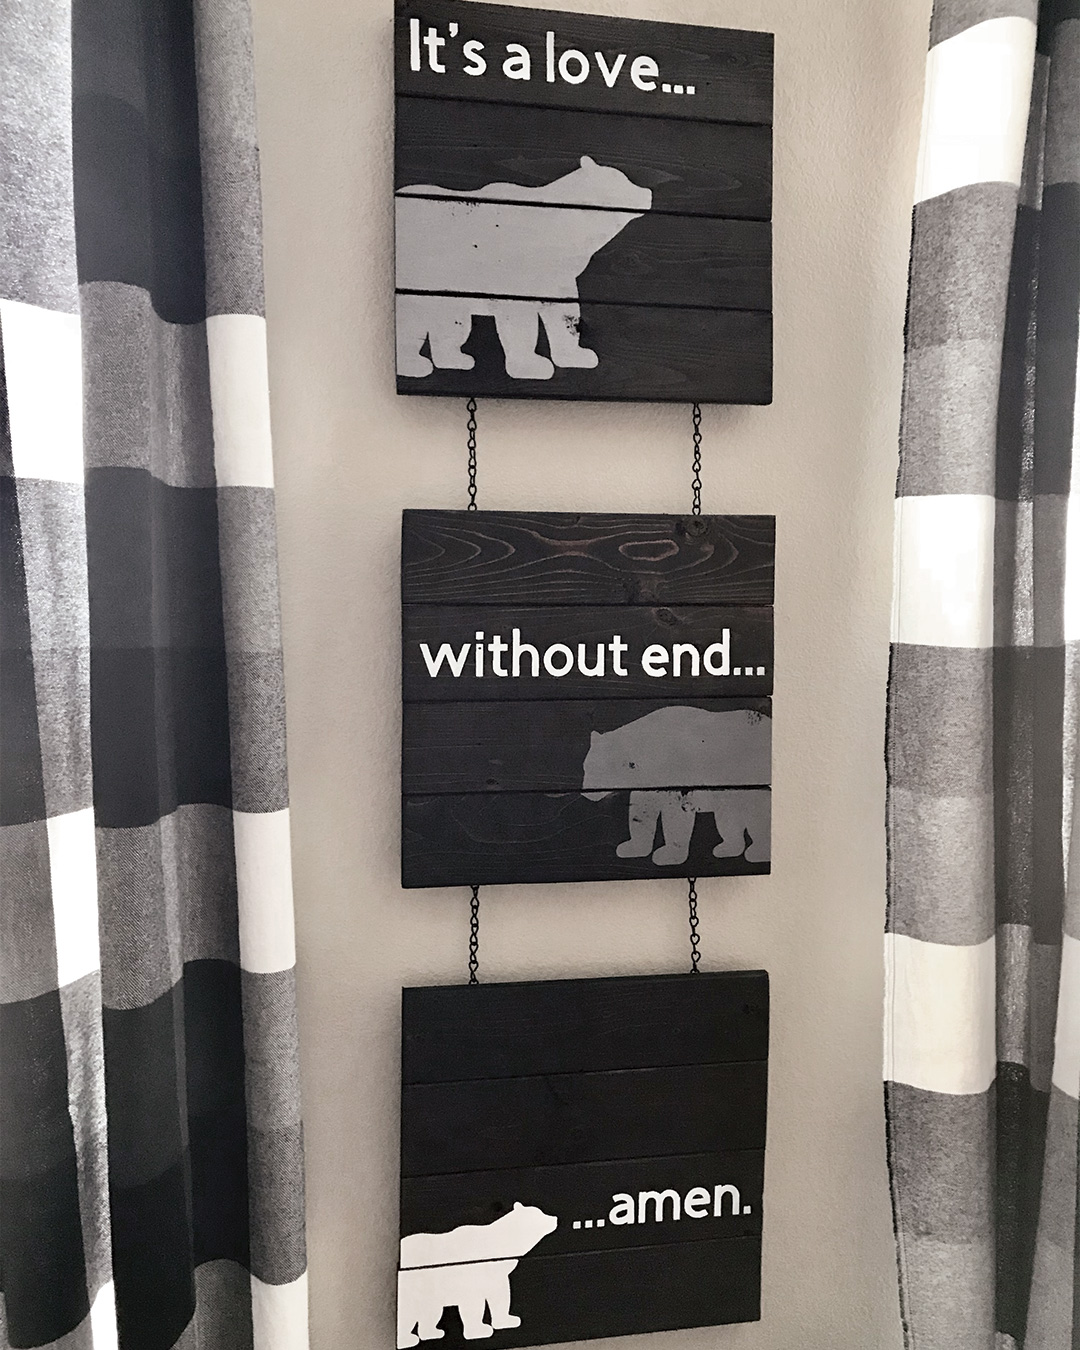
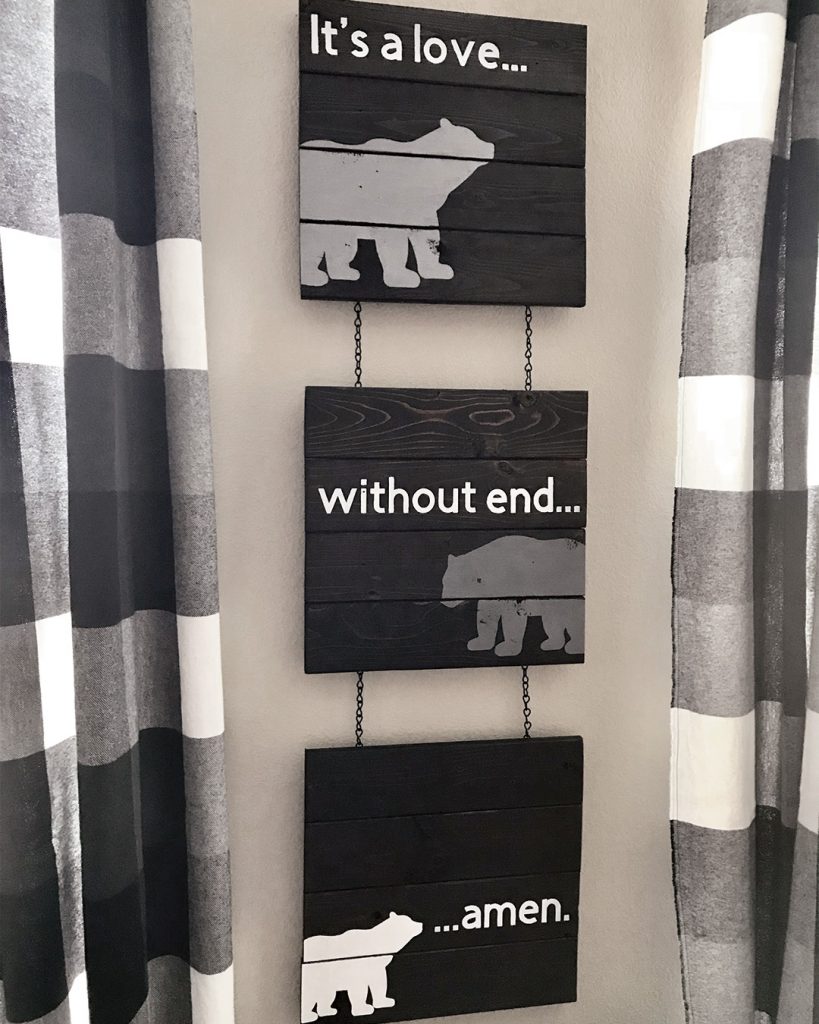
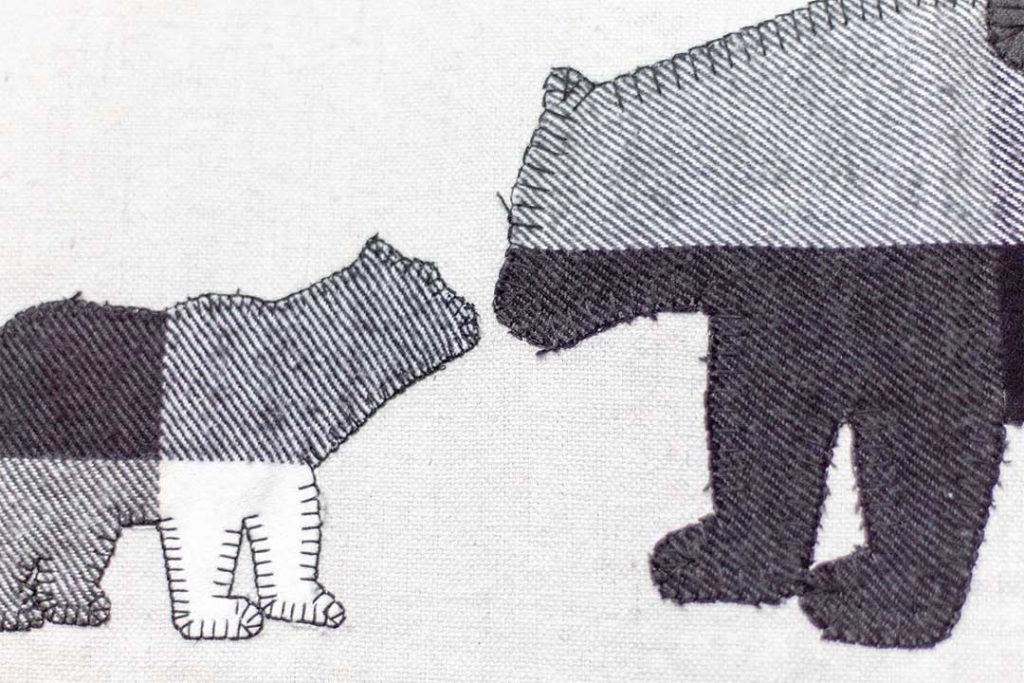
These DIY woodland nursery curtains were the finishing touch and beautifully framed our woodland nursery signs, which we matched by using the same bear template.
Helpful tips for making custom curtains:
- Wash all fabric before sewing to account for any shrinkage.
- Measure your windows to determine the length of curtain desired while keeping in mind placement of the curtain rod.
- Double and triple check all measurements before cutting! Curtains use a lot of fabric and you don’t want to accidentally make a wrong cut.
- Make one full panel to be used as a template before continuing to make others.
How do you hang the curtains?
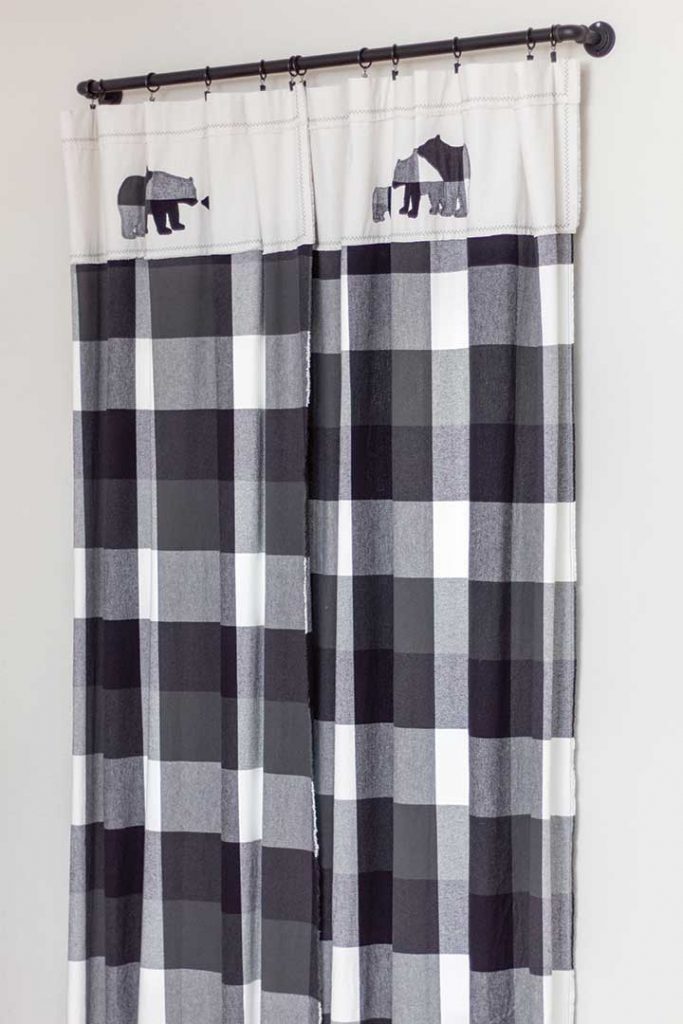
The curtains are designed to provide two different ways of hanging – a rod pocket or clip rings.
You could also choose to sew tabs or loops onto the back of the panel for a different hanging option and more tailored look.
Variations of this Project:
- Add tabs to the back for a different hanging option.
- Customize the appliques with a different animal, flowers, trees, etc.
- Keep it simple and skip the appliques.
This post contains affiliate links. For more information, see my disclosures here.
Supplies:
Both the printable bear template and svg file for Cricut can be found in my free subscriber library, fill out the form below to get the password!
- Flannel fabric (the amount needed for the desired height and number of panels)
- Drop cloth (This one is 100% cotton canvas)
- Bear template (see supplies note above)
- Vanishing marking pen
- Paper
- Thread
- Fabric scissors
- Measuring tape
- Pins
- Iron
- Sewing machine
Optional Supplies:
- Bear template Cricut file (see supplies note above)
- Cricut machine
- Cutting mat
- Design Space
How to Make DIY Woodland Nursery Curtains:
Measure and Cut Fabric
Begin by laundering and ironing all fabric to be used for the curtains.
All of the bedrooms in our base housing were on the second floor, which had 8′ ceilings. With that being said, I custom made these curtains to be hung by clip rings and not gathered on the floor. Therefore, my curtains are 92″ (7’8″) long.
The full width of the fabric was used to determine the curtain width. In my case, the width was 44″ based off of the flannel fabric used.
All measurements stated in this tutorial are based off of this length and width (44″ x 92″). Simply add or subtract some fabric to either the drop cloth or flannel portion to get the length that works for your space.
Measure and cut 81″ panels from the main fabric – I used flannel.
Measure and cut 44″ x 15″ pieces from the drop cloth. You will only need one for each curtain panel.
Since our son’s nursery had two windows, I cut four pieces of both the flannel and drop cloth.
Iron all of the fabric pieces to be used. Next, fold over the top 3″ of the drop cloth and iron down. This is going to create the rod loop for the curtains.
Bear Applique
There are two ways to cut out the bear applique stencils:
- print and cut the pattern from the computer
- or cut the pattern using a Cricut.
Need help setting up the file in Cricut Design Space? Check out my tutorial on how to do so here.
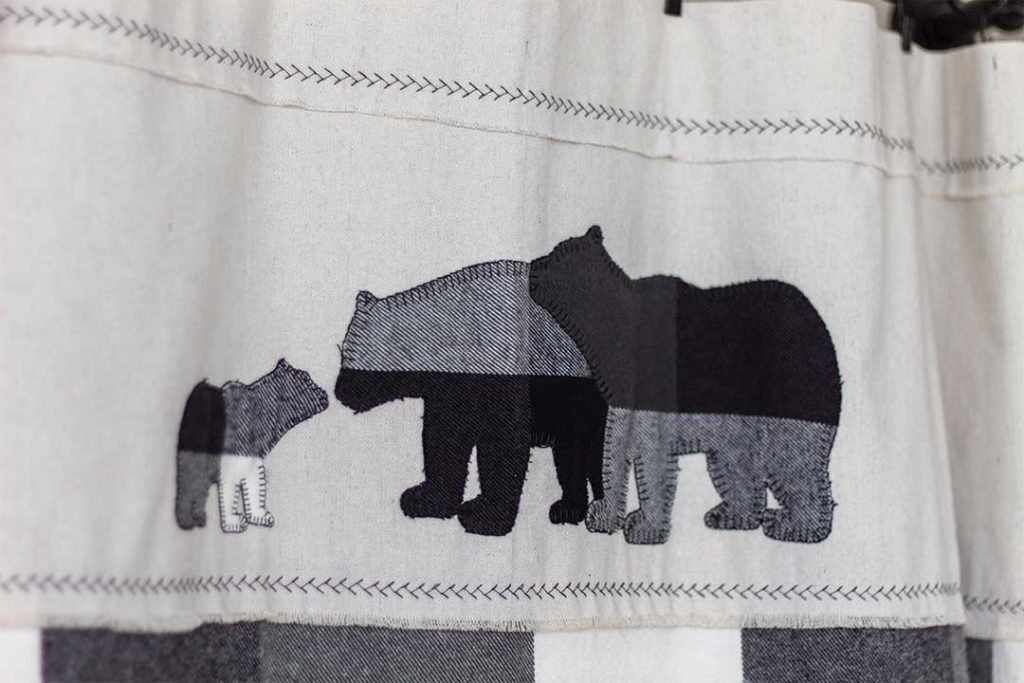
Once you have the bear patterns cut out of paper, lay them on the leftovers of your main fabric, trace the pattern with a vanishing marking pen, and cut out one of each bear for each curtain panel. Again, I had four panels so I needed four of each bear – papa, mama, and baby.
Pin the bears onto the drop cloth and stitch around each using the overcasting stitch on your machine. I recommend doing a test stitch to see what size stitch width and length you like for this application.
Sew the Main Piece
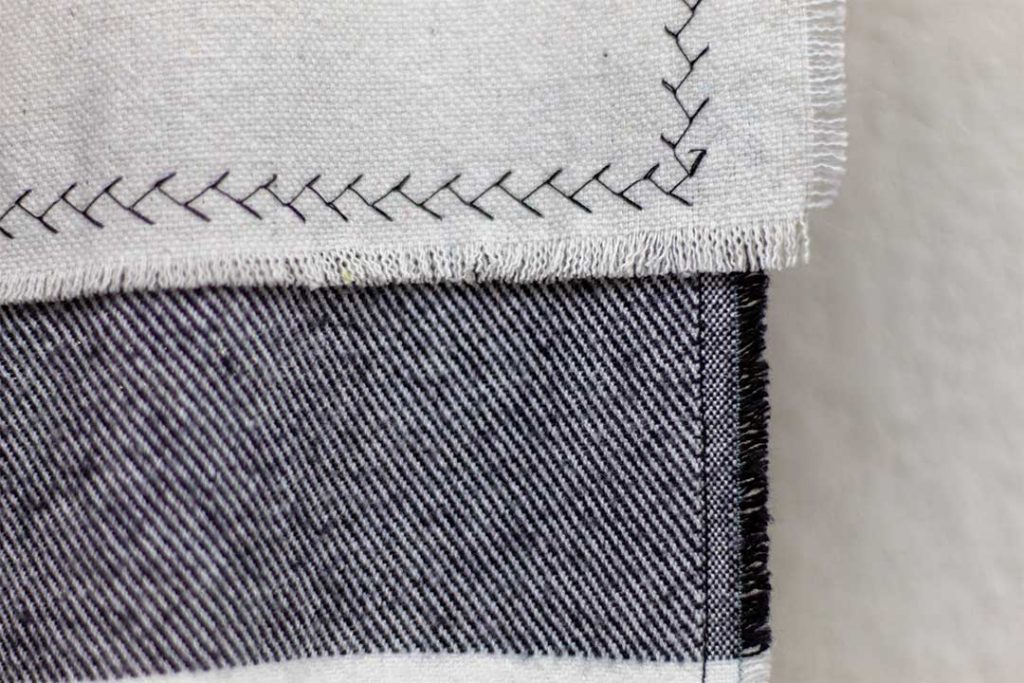
Instead of a true hem, I chose to leave frayed edges around the curtains.
Using the straight stitch, sew 1/4″ from the edges around the main fabric. Slightly fray the fabric all around.
Sew the Header
Pin the top of the main fabric to the bottom of the drop cloth on the backside with a 1″ overlap.
Drop cloth has a tendency to fray easier than other fabrics. Because of this, I elected to sew 1/2″ away from the edges to allow for any excess fraying to take place.
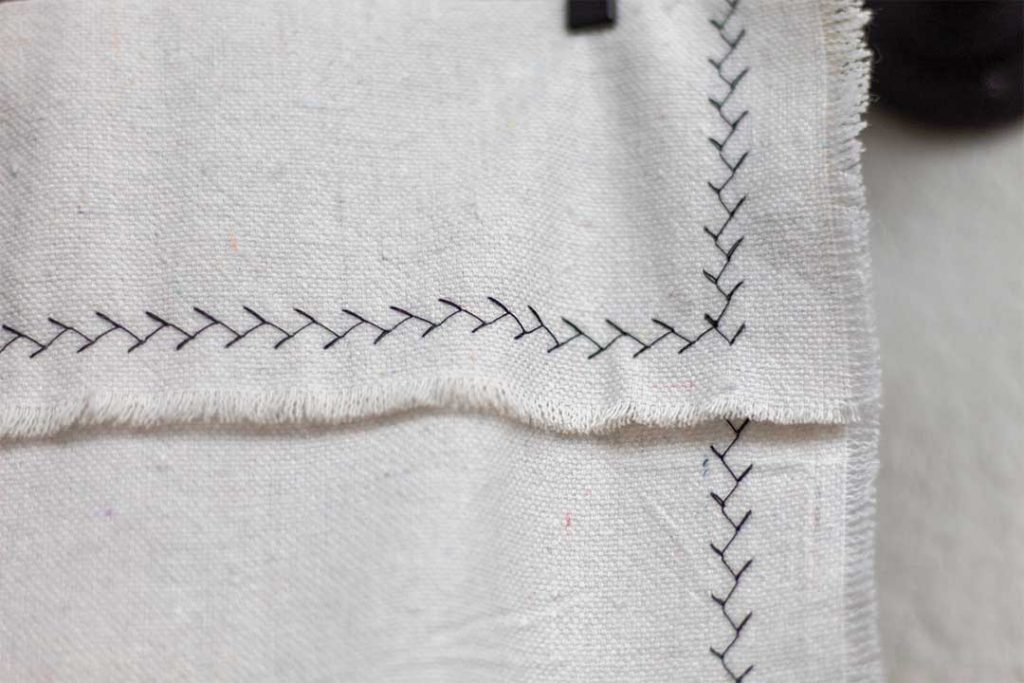
Using a decorative stitch and a contrasting thread color, sew 1/2″ from the edges around the drop cloth. Again, I recommend doing a test stitch to see what size stitch width and length you like for this application.
My decorative stitching is 1/4″ wide with the outer edge being 1/2″ away from the edge of the drop cloth.
Make sure to sew along the bottom of the rod pocket (3″ fold over) and not the top edge. Slightly fray the fabric all around.
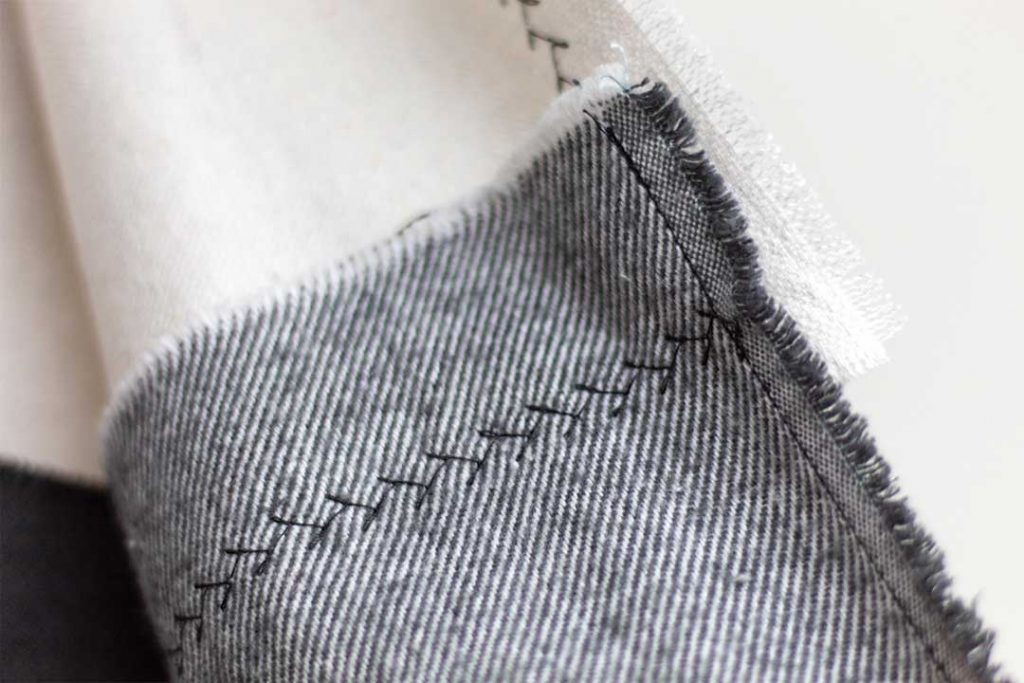
Use clip rings or the rod pocket to hang your beautiful new curtains.
Simple, right?! I have to admit, I was nervous to try and take on the task of sewing curtains. Due to the fact that curtains consist of very large pieces of fabric and are a focal point in a room, I really didn’t want to mess them up. Thankfully, they ended up being incredibly easy and the hardest part was measuring out the long panels to make sure the pattern wasn’t crooked.
We have enjoyed these curtains hanging in our son’s nursery for the last three years, and my hope is that you can do the same with yours!
Printable tutorial available below!
More DIY Nursery Projects:
This nursery was loaded with budget-friendly DIY projects. You can find the full nursery reveal here and individual projects below.
- Woodland Nursery Signs
- Floating Corner Shelves
- Industrial Pipe Shelf
- Ultrasound Picture Frame
- Painted Wood Letters
- Paper Mache Deer Head
We wanna see those sewing skills! Comment below or tag us on social media to share your curtains with us!
Pin it for Later:
DIY Woodland Nursery Curtains
Equipment
- sewing machine
- fabric scissors
- measuring tape
- pins
- iron
Materials
- flannel fabric (the amount needed for the desired height and number of panels)
- drop cloth
- bear applique (template available on blog post)
- vanishing marking pen
- paper
- thread
Optional Supplies:
- Cricut machine
- machine mat
- Cricut Design Space
Instructions
Measure and Cut Fabric
- Begin by laundering and ironing all fabric to be used for the curtains.
- All measurements stated in this tutorial are based off of the fabric width and custom length (44″ x 92″). Simply add or subtract some fabric to either the drop cloth or flannel portion to get the length that works for your space.
- Measure and cut 81″ panels from the main fabric – I used flannel.
- Measure and cut 44″ x 15″ pieces from the drop cloth. You will only need one for each curtain panel.
- Iron all of the fabric pieces to be used. Next, fold over the top 3″ of the drop cloth and iron down. This is going to create the rod loop for the curtains.
Bear Applique
- There are two ways to cut out your bear applique stencils: print and cut the pattern from the computer or cut a pattern using a Cricut. Need help setting up the file in Cricut Design Space? Check out my tutorial on how to do so on my blog post – DIY Heart Garland.
- Once you have the bear patterns cut out of paper, lay them on the leftovers of your main fabric, trace the pattern with a vanishing marking pen, and cut out one of each bear for each curtain panel.
- Pin the bears onto the drop cloth and stitch around each using the overcasting stitch on your machine. I recommend doing a test stitch to see what size stitch width and length you like for this application.
Sew the Main Piece
- Instead of a true hem, I chose to leave frayed edges around the curtains.
- Using the straight stitch, sew 1/4″ from the edges around the main fabric. Slightly fray the fabric all around.
Sew the Header
- Pin the top of the main fabric to the bottom of the drop cloth on the backside with a 1″ overlap.
- Drop cloth has a tendency to fray easier than other fabrics. Because of this, I elected to sew 1/2″ away from the edges to allow for any excess fraying to take place.
- Using a decorative stitch and a contrasting thread color, sew 1/2″ from the edges around the drop cloth. Again, I recommend doing a test stitch to see what size stitch width and length you like for this application.
- My decorative stitching is 1/4″ wide with the outer edge being 1/2″ away from the edge of the drop cloth.
- Make sure to sew along the bottom of the rod pocket (3″ fold over) and not the top edge. Slightly fray the fabric all around.
- Use clip rings or the rod pocket to hang your beautiful new curtains.

