How to Paint Distressed Wood Letters
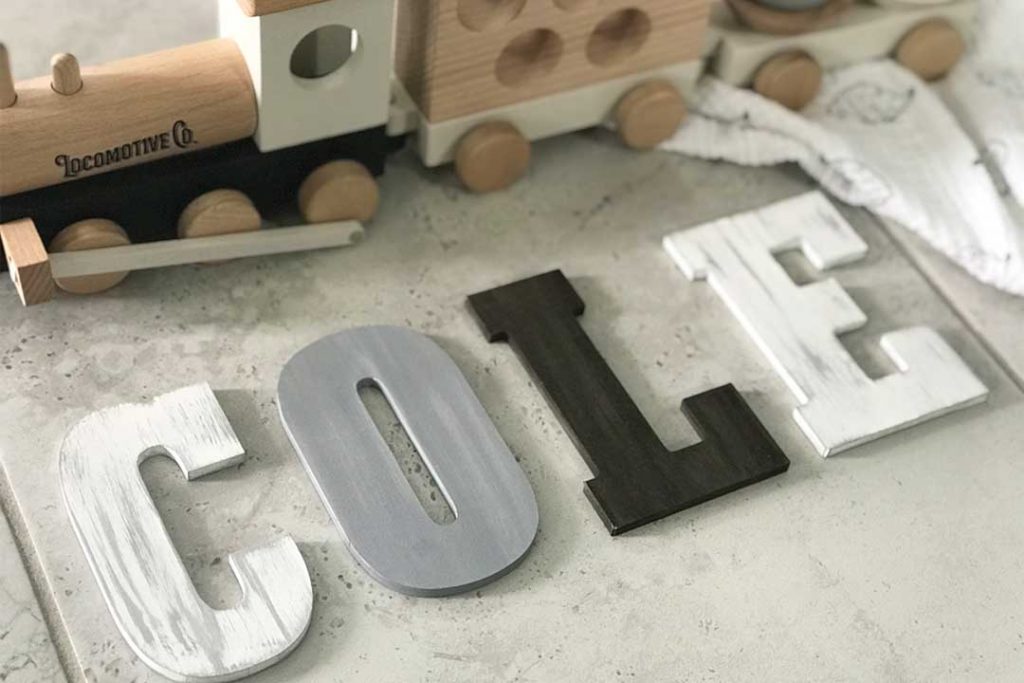
Learn how to easily paint and distress wood letters for your baby’s nursery with this simple tutorial! These DIY painted wood letters are a great way to add a personal touch to any room!
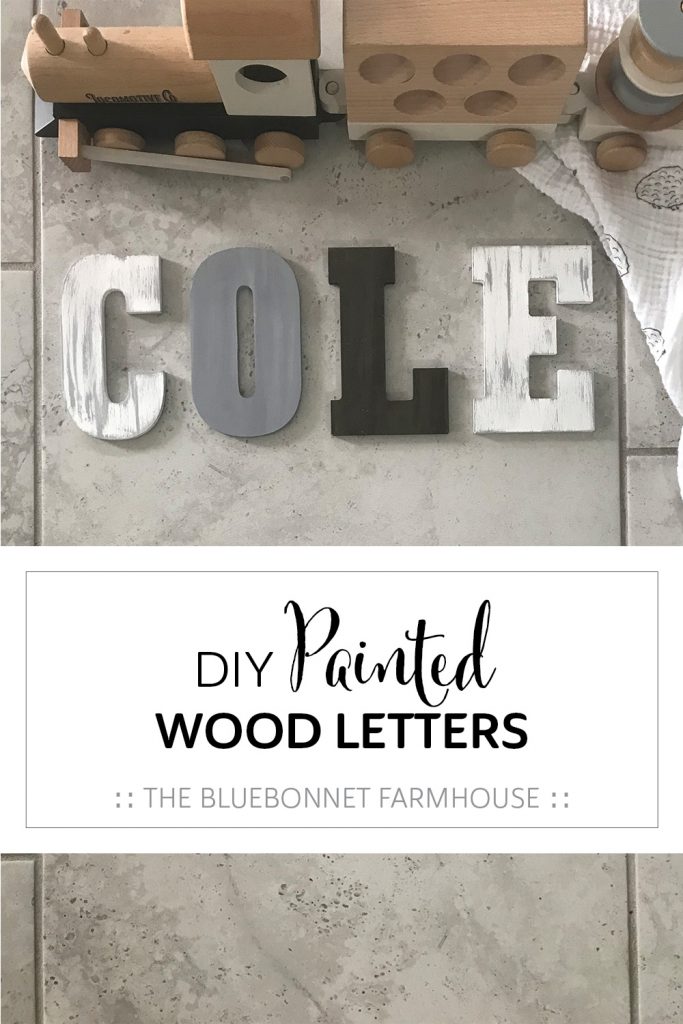
If you caught my post earlier this week on our ultrasound picture frame, then you already had a sneak peek at these painted wood letters!
Every nursery needs baby’s name displayed somewhere in the room! I feel like it’s almost obligatory to display baby’s name, initials, or birth date in some form.
The inspiration for this project was a collage wall I wanted to do above the dresser. I needed letters that were proportionate to both the ultrasound picture frame I had made and the space available within the college area.
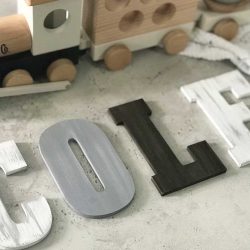
I found these wood letters that were the exact size I needed to fill the spot! When it came to what colors to paint the letters, I chose to use a picture frame that was going to be used in the nursery as the inspiration.
This is a very simple project that adds a personal touch to any room! Continue below to find different ways you can personalize a space through variations of this project.
This post contains affiliate links. For more information, see my disclosures here.
How do you hang the painted wood letters?
These wood letters did not come with any way of hanging or attaching them to the wall.
Some easy options for hanging are to use command strips or a picture hanging kit.
Variations of this Project:
- Use large wood letters to hang above a crib or bed.
- Use paper mache letters to stand on top of a dresser.
- Mix and match sizes of wood letters to create a monogram.
- Use numbers to paint their birth date.
- Have a painting party with your kids and let them paint their own letters!
Supplies:
- Wood letters (or numbers)
- This store on Amazon has so many cute options like these vine letters!
- Chalk paint
- Paint brush
- Command strips
How to Paint Distressed Wood Letters:
Paint the Wood Letters
When it came to the colors used, I mixed paints I already had from another nursery project to get the desired shades. These are the colors I used:
- White Chalk Paint (Color: Wedding Cake)
- Black Chalk Paint (Color: Beetle Black)
- Brown Acrylic Paint (Color: Raw Umber)
Next, I gave each letter a nice even coat of paint using a paintbrush.
Don’t forget to paint the sides of the letters!
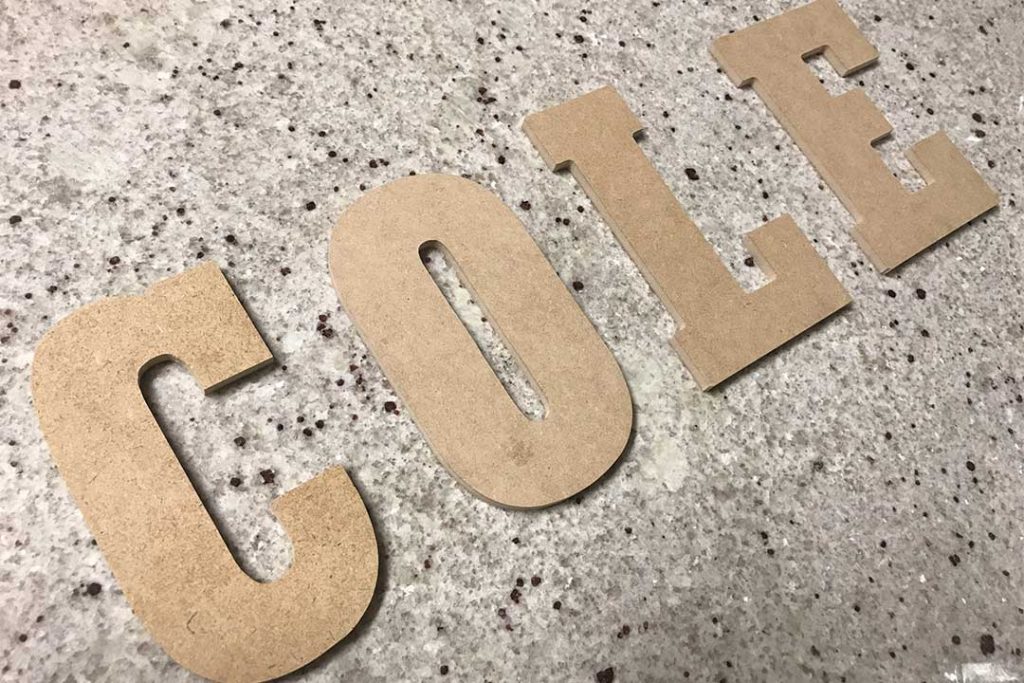
I have a before picture, but forgot to take one of just the letters painted solid…
Distress the Wood Letters
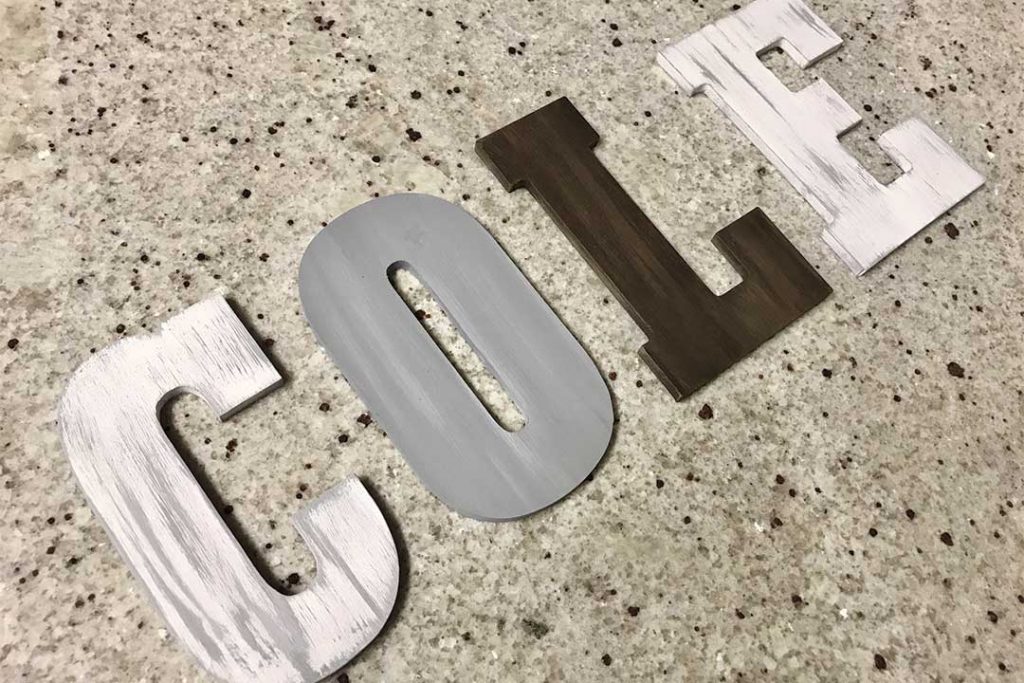
Once the letters were dry, I took a dry paint brush and placed only a small amount of accent color paint on the brush.
Accent colors used:
- Gray accents for white letters
- White accents for gray letters
- Lighter brown accent for brown letters
I lightly stroked the dry brush across the letters until each letter had the amount of distressing wanted.
Be sure to distress the sides of each letter where needed!
Hang the Painted Wood Letters
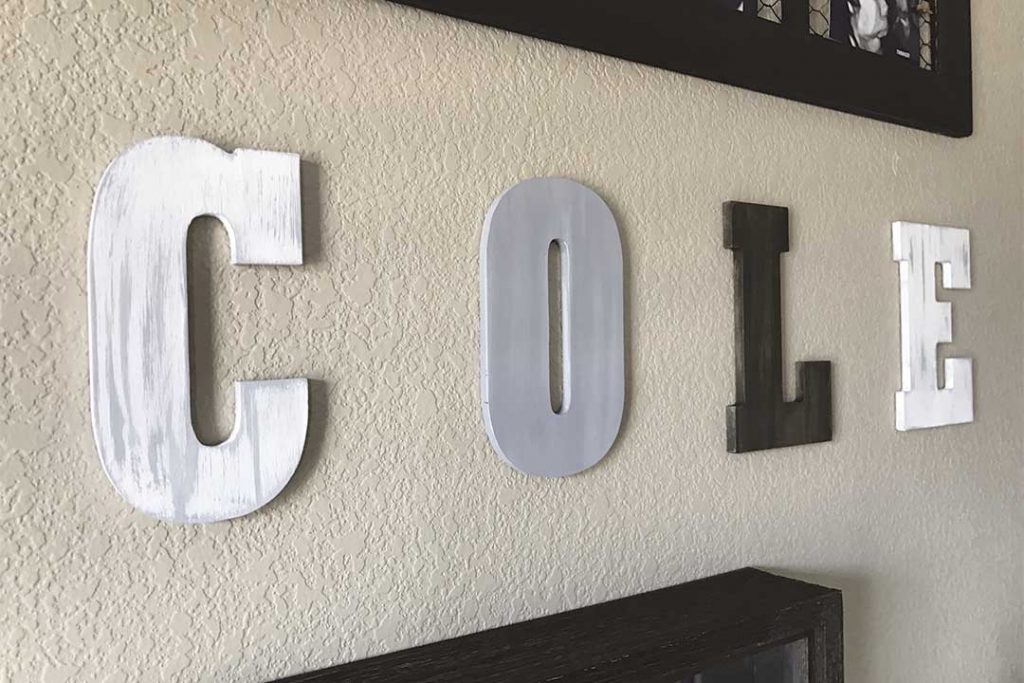
After all of the paint was dry, it was time to hang the finished letters!
Since I wanted the wood letters to lay flat against the wall and they did not come with any way to hang them; I chose to use command strips to attach them to the wall.
Simply press and hold a command strip to the backside of each letter. Then press and hold the letter against the wall. Easy peasy!
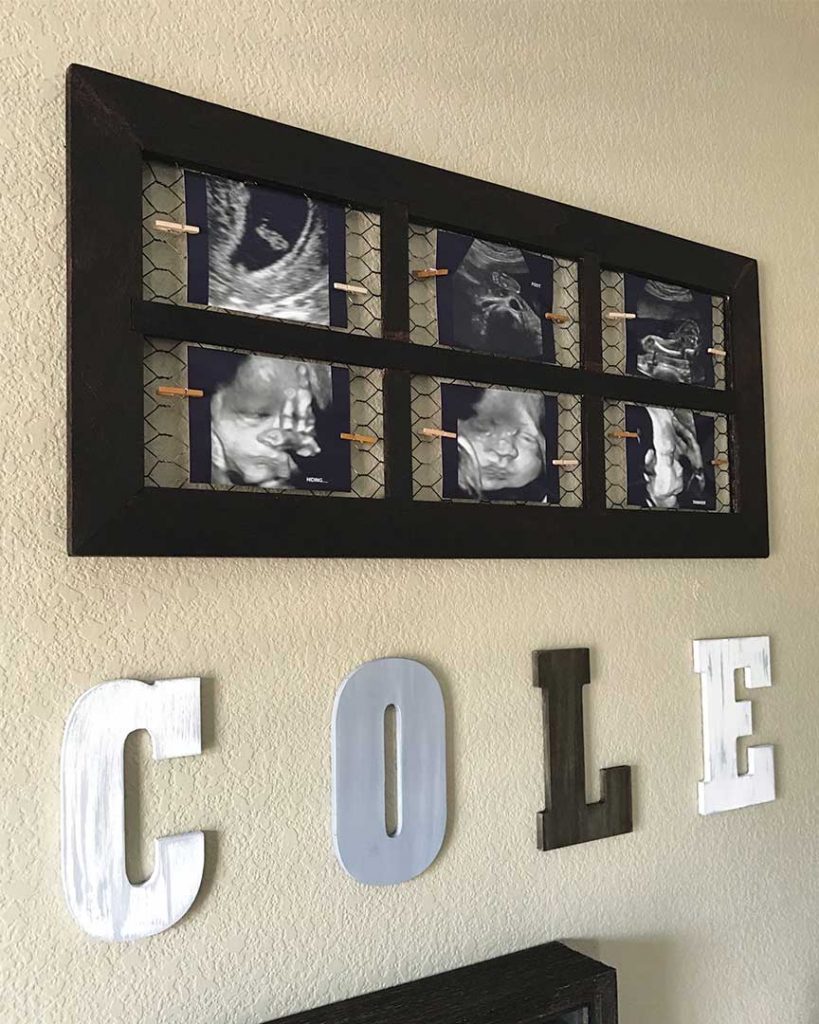
We had these letters hanging in our son’s nursery for over a year before we moved and removing them was a cinch. Zero damage to the wall and they held up great! Plus, this is a great option when renting because it’s less holes in the wall that you have to fill when you move out!
Easy, right?! I loved being able to personalize our son’s nursery with a fun and simple project! Check out some more of our nursery project’s below!
Printable tutorial available below!
More DIY Nursery Projects:
This nursery was loaded with budget-friendly DIY projects. You can find the full nursery reveal here and individual projects below.
- Woodland Nursery Curtains
- Woodland Nursery Signs
- Floating Corner Shelves
- Industrial Pipe Shelf
- Ultrasound Picture Frame
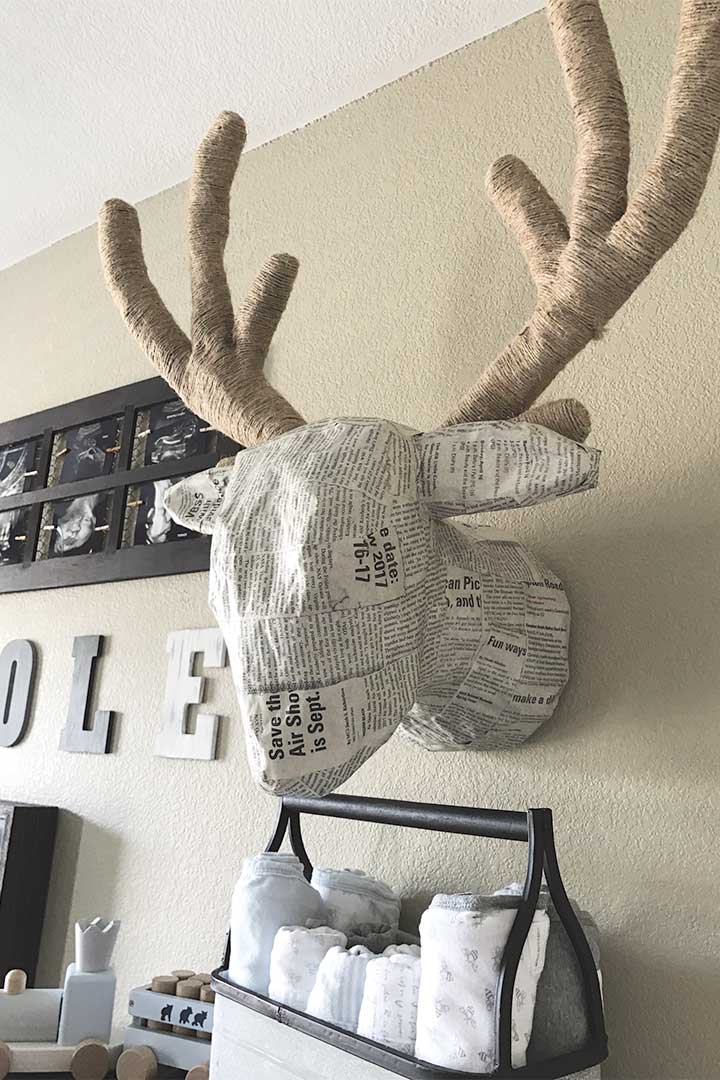
- Paper Mache Deer Head
We would love to see your finished project! Is your baby’s name displayed in the nursery? Comment below or tag us on social media to share with us!
Pin it for Later!

How to Paint Distressed Wood Letters
Materials
- wood letters (or numbers)
- chalk paint
- paint brush
- command strips (or picture hanging kit)
Instructions
Paint the Wood Letters
- Pick your preferred color(s) and paint an even coat along the wood letter faces and edges.
Distress the Wood Letters
- Choose your accent colors for distressing.
- Once the letters are dry, take a dry paintbrush and place only a small amount of accent color paint on the brush.
- Lightly stroke the dry brush across the letters until each letter has the desired amount of distressing.
- Be sure to distress the sides of each letter where needed!
Hang the Painted Wood Letters
- After all of the paint is dry, hang your letters with command strips. You could choose to hang with a picture hanging kit as well.
- Simply press and hold a command strip to the backside of each letter. Then press and hold the letter against the wall.

