How to Make a Waist Apron with Flour Sack Towels
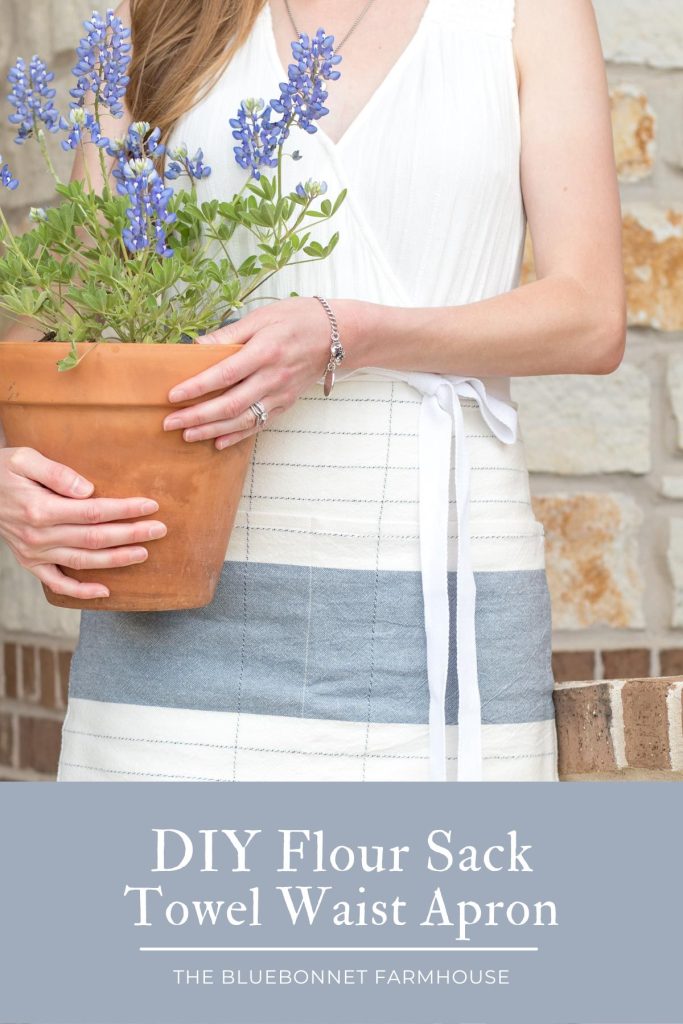
Learn how to easily sew a flour sack towel waist apron. This simple and beautiful DIY half apron makes a wonderful handmade gift.
This easy apron pattern came about when trying to figure out some Christmas gift ideas. I wanted to make some handmade gifts, but pregnancy makes me even more indecisive than normal, so naturally I could not decide on what I wanted to make.
Needless to say, I spent at hour at Joann’s debating on fabrics and whether to make quilts or pillows… and ultimately decided on neither.
Defeated by indecisiveness, what did I do? I walked out empty handed and went shopping at Target.
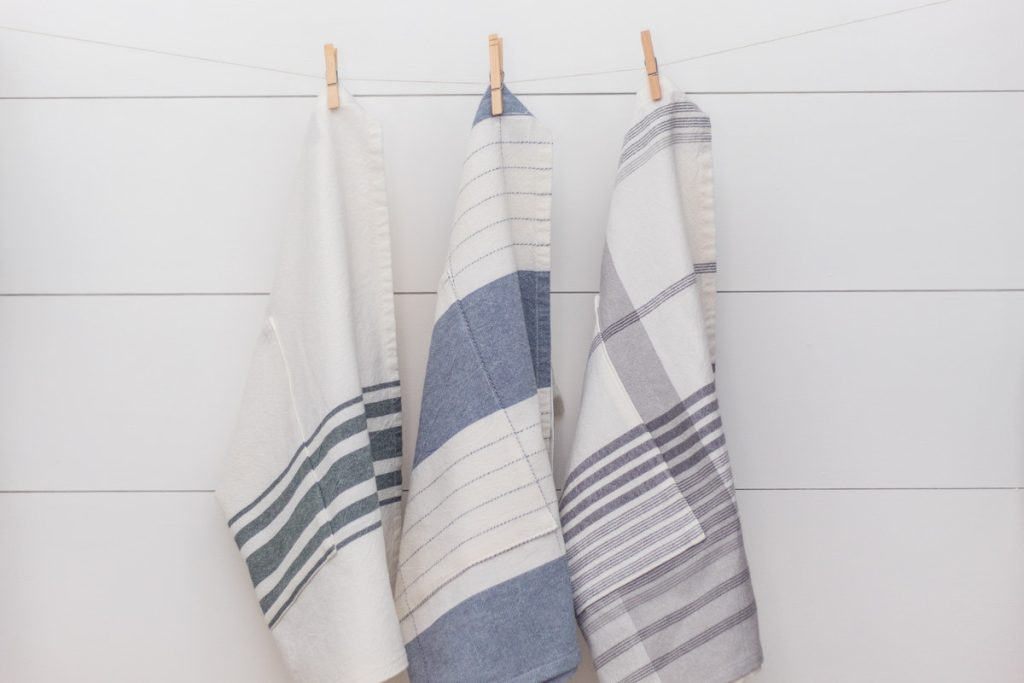
While standing in the Hearth and Hand aisle – go figure – I fell in love with all the current prints of their flour sack towels. The quality is beautiful and they are Oeko-Tek Standard 100.
Each fabric reminded me of each lady for which I was trying to think up a gift. Remembering that I have thought about how useful a waist apron would be every time I bake bread and consequently get covered in flour, I realized the flour sack towels were perfect for the job!
Flour Sack Towel Waist Apron
Since I had been wanting to make a half apron for myself, I figured it would be a wonderful (and functional) handmade gift for the fellow cooks and bakers in my life.
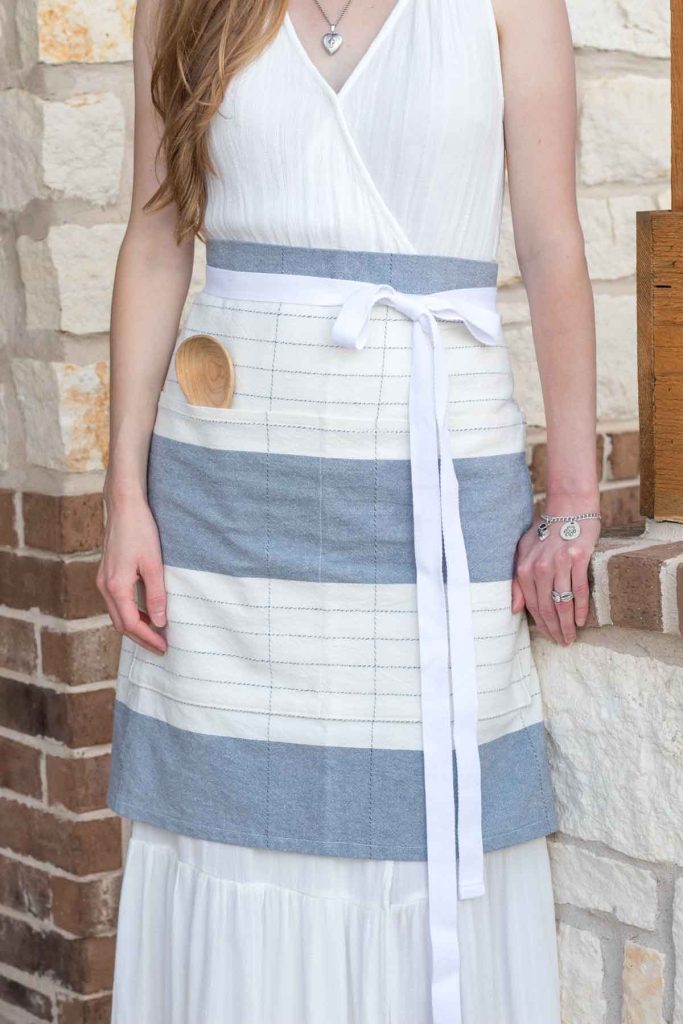
The great thing about this flour sack towel waist apron is how easy it is to customize! Long or short, pocket or no pocket, tie in the front or back… it is completely based off of your own personal preference.
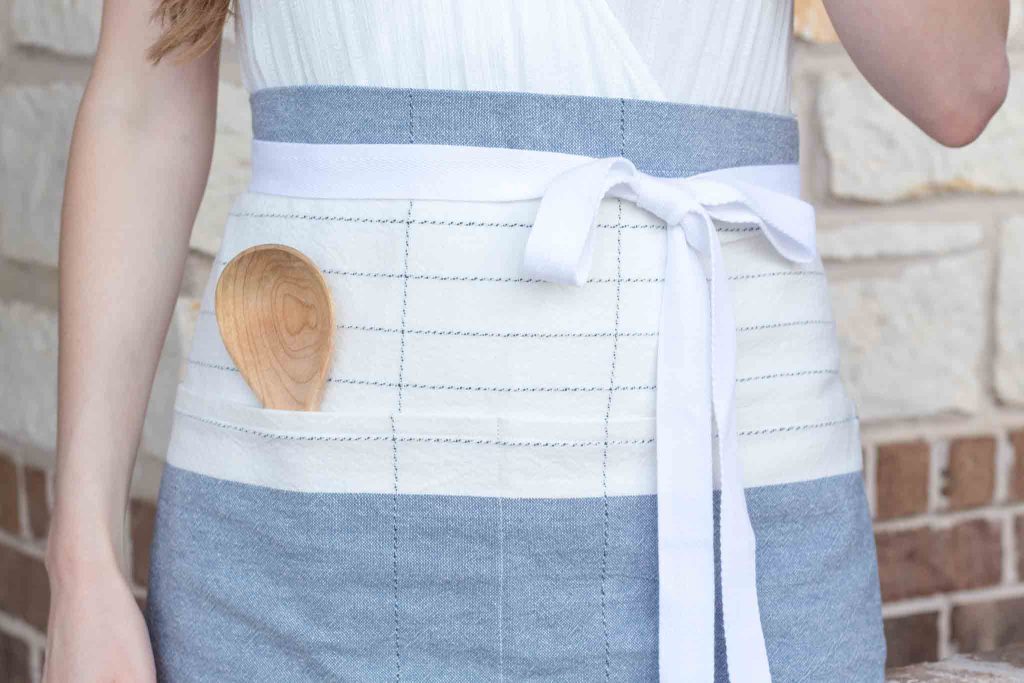
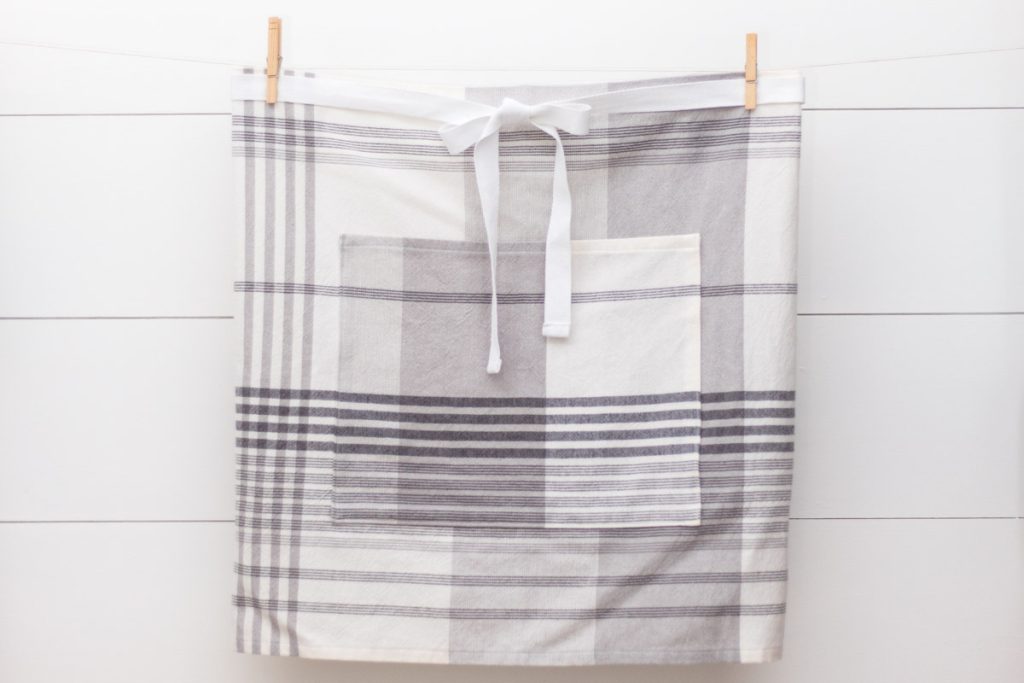
I chose to incorporate a front pocket and wanted the half aprons to fall just above the knee.
How many flour sack towels do I need to make a waist apron?
The answer to this depends on if you want a pocket or not.
Use just one flour sack towel if making a waist apron without pockets.
To make a waist apron with a pocket, you will need two flour sack towels. Only half of the second towel will be used.
What can I make with the other half of the flour sack towel not used?
I’m so glad you asked! I never like to waste fabric and am very strategic on how I cut pieces from fabric to be as efficient as possible.
Some ideas on what to make with the remaining fabric are:
- a market bag
- a decorative pillow
- Christmas ornaments
- or grab another full-size flour sack towel and make another waist apron!
Should a waist apron tie in the front or the back?
This is dependent upon personal preference.
Me and my pregnant, indecisive self couldn’t decide so I settled on making the ties long enough to do both!
I love the look of a bow in the front or back, but the front is slightly easier to tie.
Aprons that tie in the front tend to be better for pregnant bellies – so I have discovered. The reason for this is it helps to keep the top of the apron from buckling. Plus, the bow on top of a pregnant belly is just too adorable!
This post contains affiliate links. For more information, see my disclosures here.
Sewing Supplies:
- 2 Flour sack towels – one if not adding a pocket
- 3 yards 1″ cotton twill ribbon
- Thread
- Sewing machine
- Iron
- Soft measuring tape, yard stick, or acrylic ruler
- Fabric scissors
- Pins
Optional Supplies:
- Pinking shears
- Serger
How to Make a Waist Apron with Flour Sack Towels:
Wash, dry, and iron flour sack towels and cotton twill ribbon. This allows for any shrinking of the cotton to occur before sewing.
For the straps:
Measure and cut out two strips of the cotton twill ribbon at 50″ long.
I used pinking shears when cutting the twill ribbon since it can fray easily.
Sew a zigzag stitch on each raw end to prevent fraying. You can also use a serger instead.
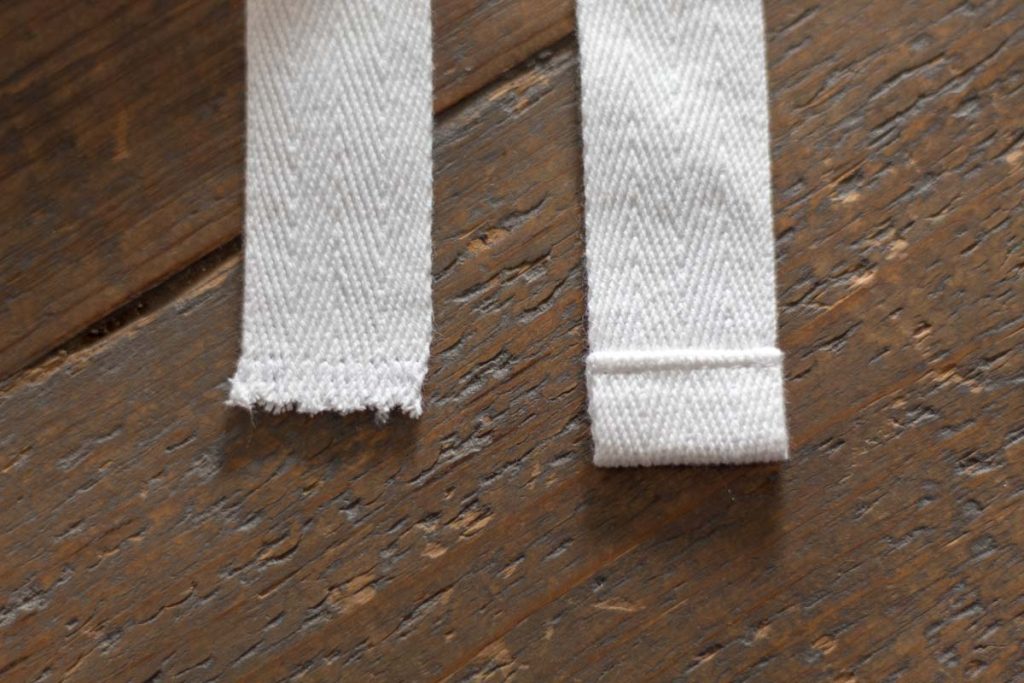
On one end of each strap, fold over 1/2″ and iron flat. Then fold over another 1/2″ and iron flat again to get your finished edge.
Straight stitch about 1/8″ away from the edge of the folded hem. Don’t forget to forward and back stitch to secure the stitch. Repeat on the other strap.
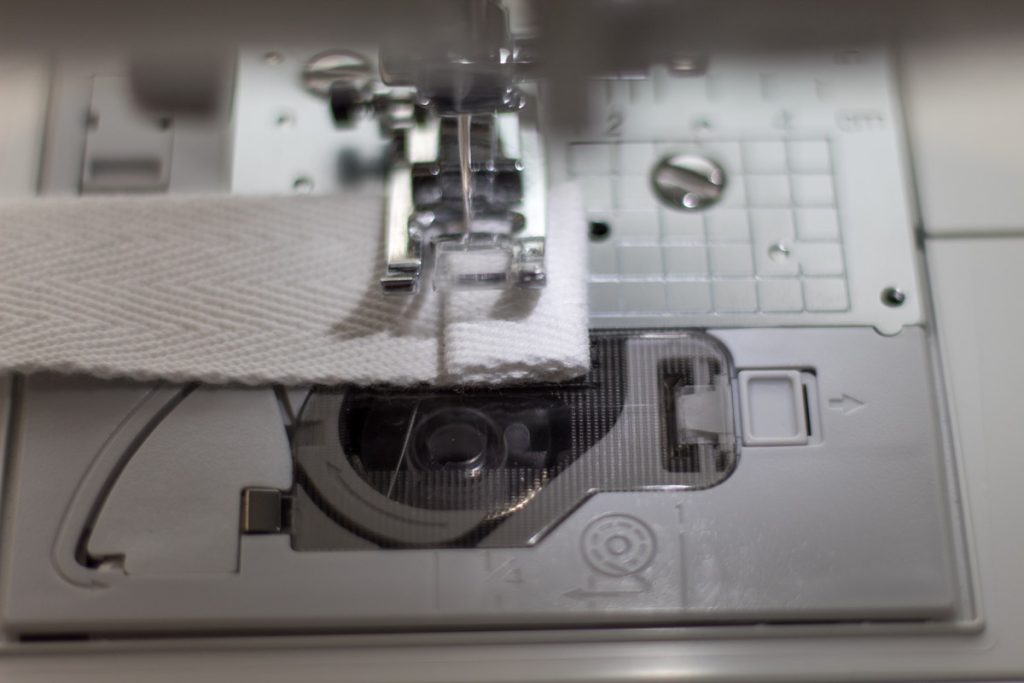
1″ of the strap length will be inserted into the top hem of the main piece. Finished length of the straps are 48″ each.
For the main piece:
The flour sack towel originally measures 30″ x 30″.
Fold what you determine to be the top of the towel over 1.25″ and iron flat. Pin the hem in place.
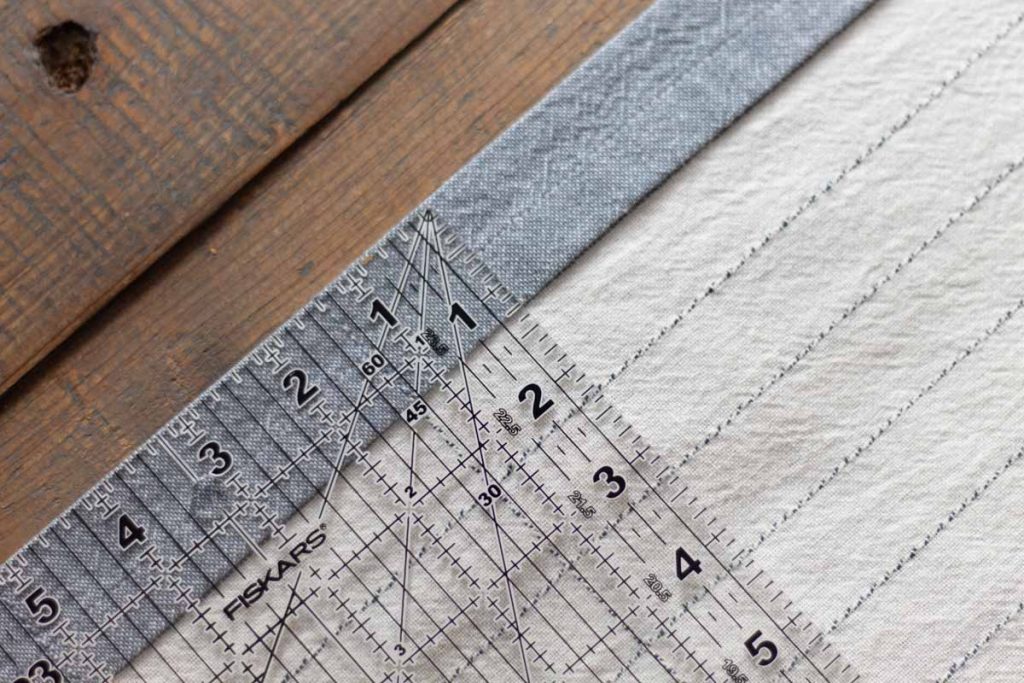
Measuring from the folded top of the apron to the bottom – cut at the 23″ mark. If you have not yet folded over and ironed the 1.25″ seam at the top, measure down and cut at the 24.25″ mark.
Depending on the fabric print, you could also choose to start with the bottom hem, measure up, and cut to create the top hemline instead.
Make the bottom hem by folding over the cut edge 1/2″ and iron flat. Then fold over another 1/2″ and iron flat again to create the hemline. Pin the hem in place.
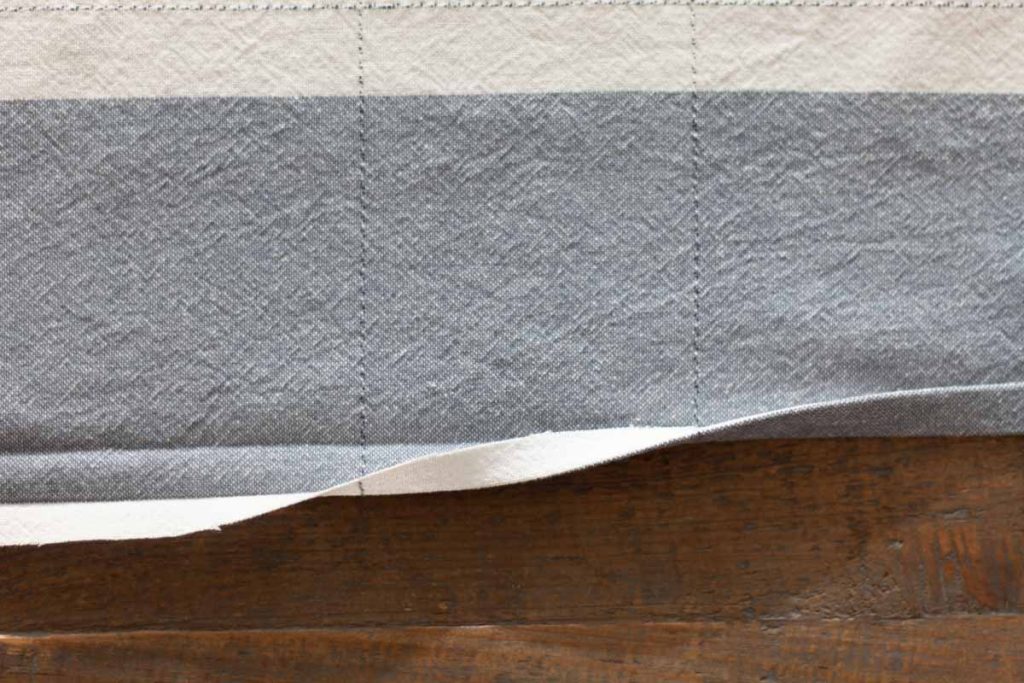
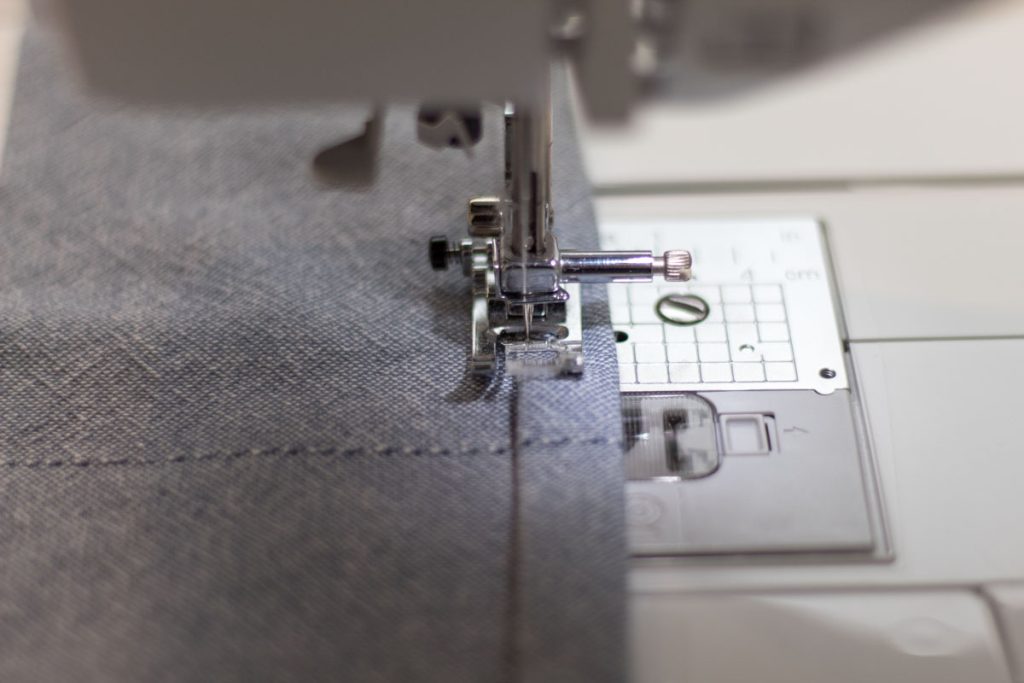
Straight stitch about 1/8″ away from the edge of the folded bottom hem. Don’t forget to forward and back stitch to secure the stitch.
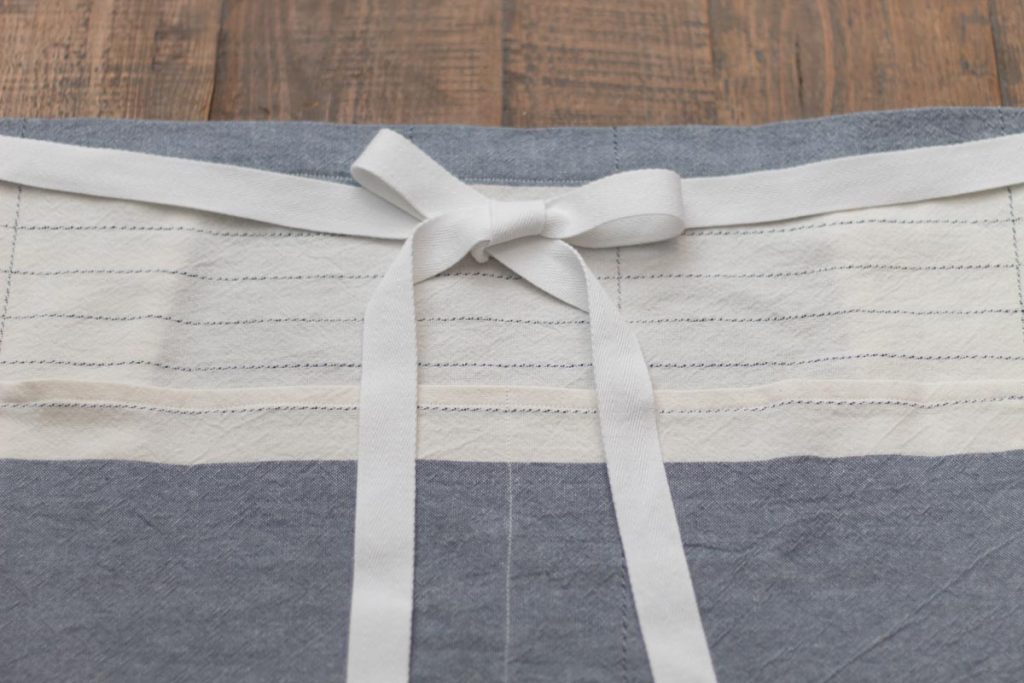
Insert 1″ in length of the unfinished edges of each strap into the 1.25″ fold of the main piece top hem on both ends. Pin straps into the fold of the hem.
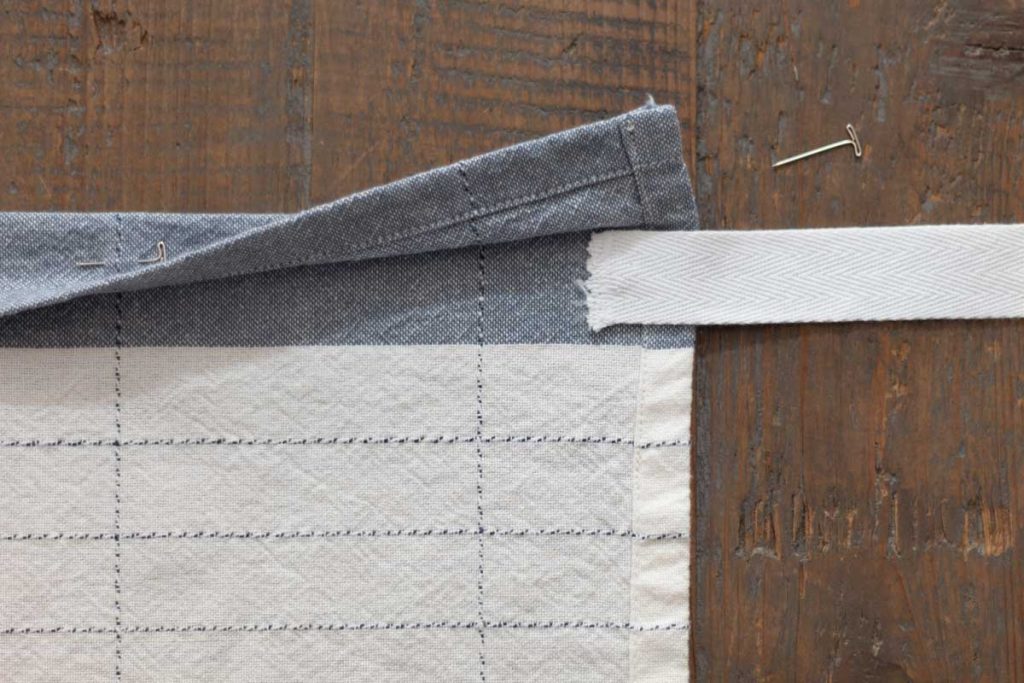
Straight stitch about 1/8″ away from the edge of the top hem. Don’t forget to forward and back stitch to secure the stitch.
I chose to do a bit of a decorative stitch pattern at each strap for a cute detail in addition to added durability. I incorporated this pattern while sewing the top hemline, not separately.
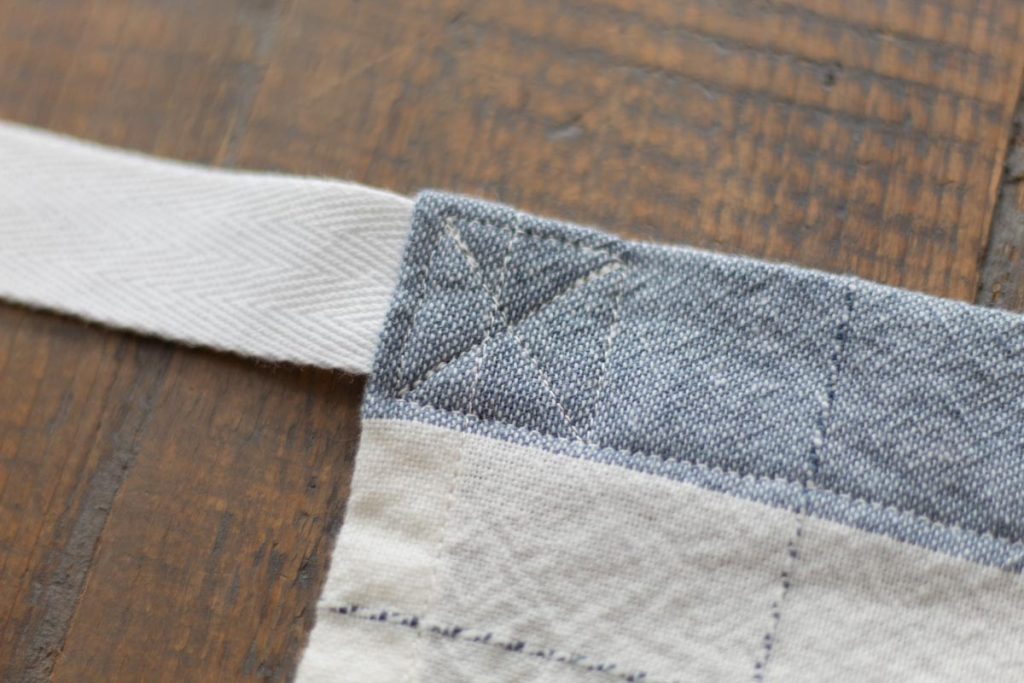
Using the straight stitch, sew a 1″ x 1″ box with a “X” in the middle. Refer to picture for a more clear explanation.
Finished measurements of the flour sack towel are 30″ wide x 22″ long.
For the pocket:
With a second flour sack towel, cut a 19″ x 12.5″ piece of fabric where needed to achieve the desired pattern.
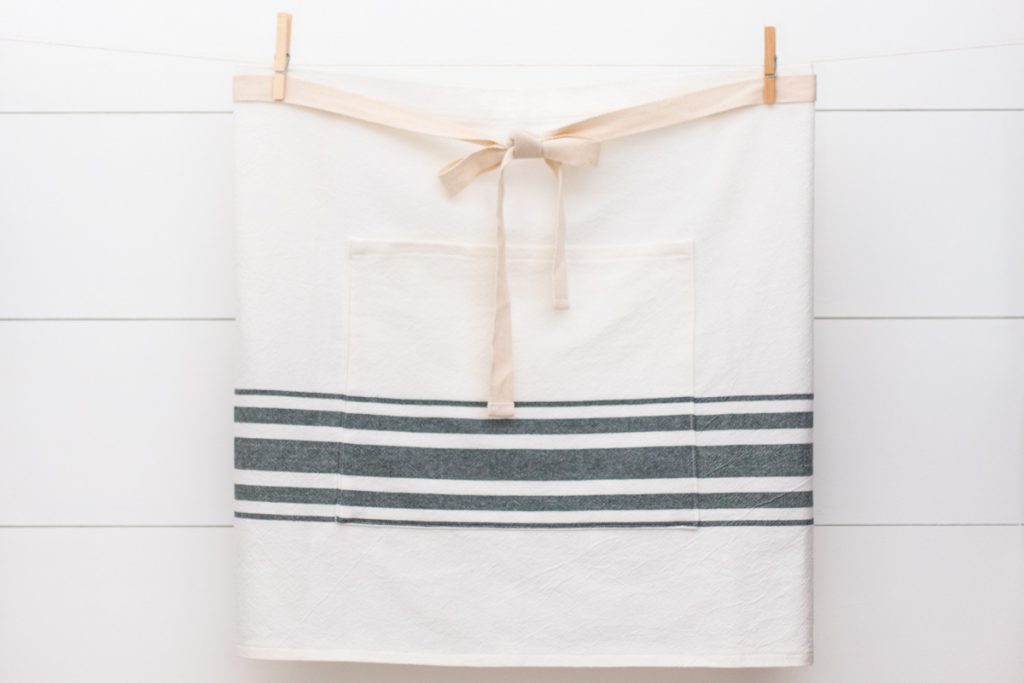
Depending on the pattern of fabric, such as the ivory and green stripe one used, I chose to do a more narrow pocket using a 15″ x 12.5″ piece of fabric in order to get two pocket pieces out of one towel.
Efficiency is key when trying to determine where to cut the pocket piece from the fabric. Wherever I chose to cut my pocket piece, I wanted to be sure I could get two pocket pieces out of one towel so I could make a second apron.
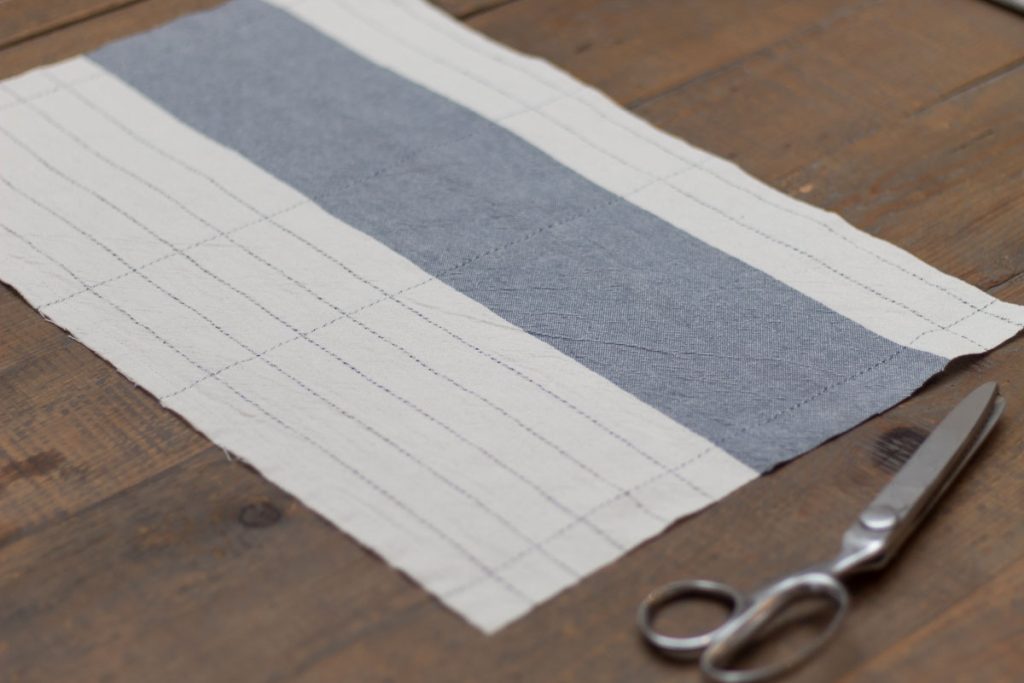
Fold the top edge of the pocket over 1/2″ and iron flat. Then fold over another 1/2″ and iron flat again to create the hem. Pin and sew the top hem.
Optional: zigzag stitch or serge around the raw edges on the sides and bottom of pocket.
Fold the sides and bottom of the pocket over 1/2″ and iron flat.
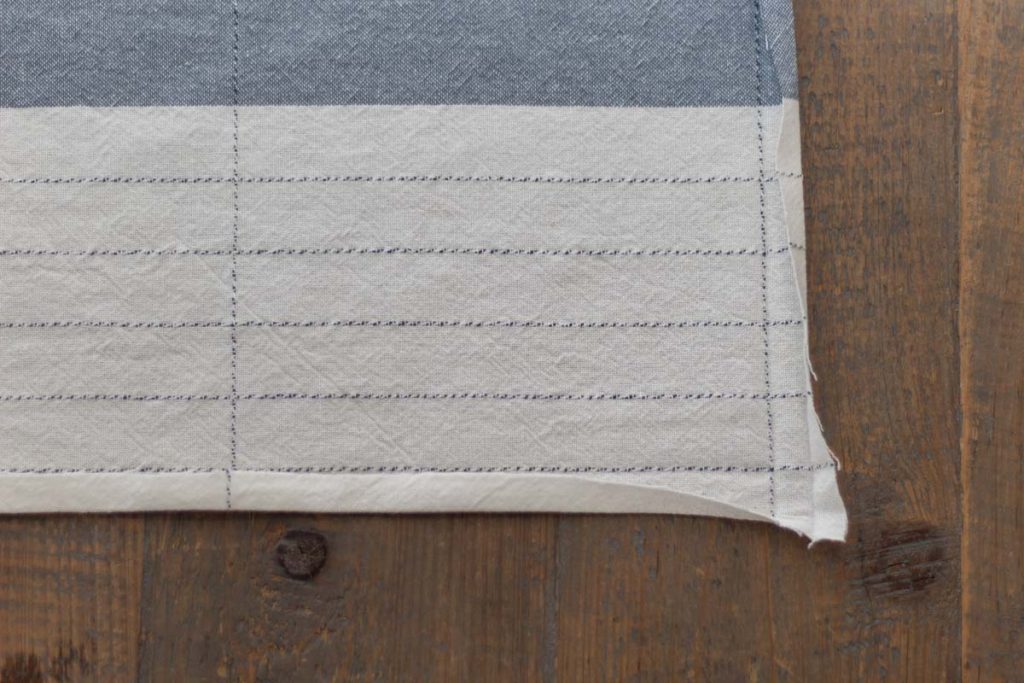
With the unfinished edges folded under, pin the pocket in place onto the main apron piece and sew around the three sides.
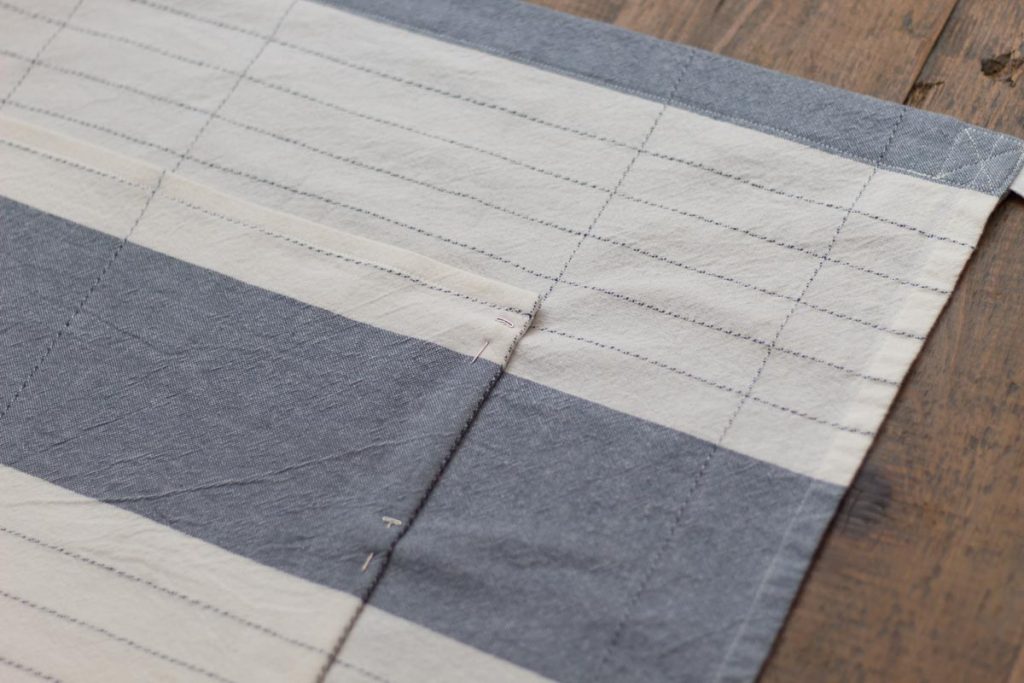
Optional: Depending on the width of the pocket, sew a straight stitch down the middle of the pocket to create two pockets. I recommend putting the apron on at this point to figure out if one or two pockets feels most natural and works best.
Printable tutorial available below!
More Sewing Tutorials:
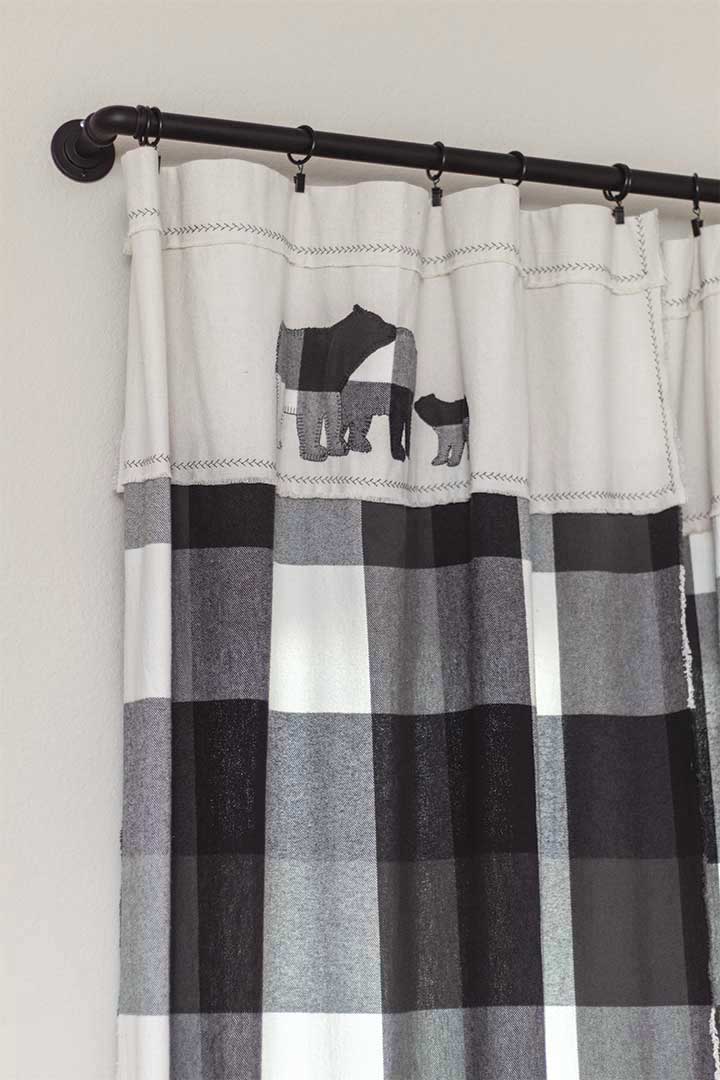
- Woodland Curtains
- Hot Water Bottle Cover
- Wedding Date Pillows
Did you try this project? I would love to see it! Tag us on social media to share your creation! I would also love if you could come back and give this tutorial some much appreciated 5 stars!
Pin it for Later:
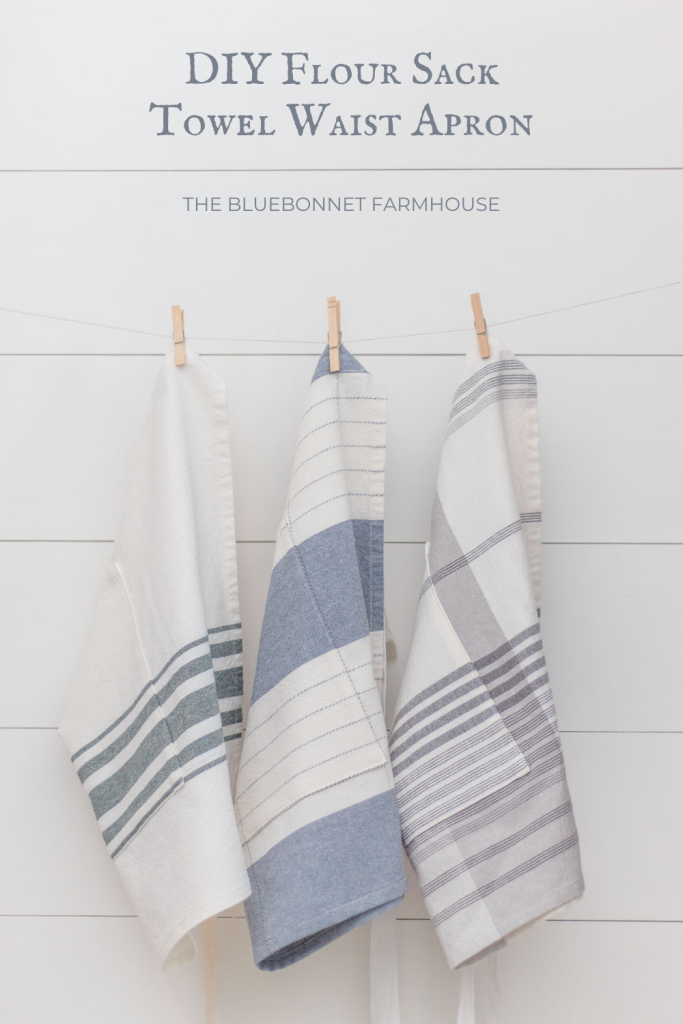
DIY Flour Sack Towel Waist Apron
Equipment
- sewing machine
- iron
- soft measuring tape, yard stick, or acrylic ruler
- fabric scissors
- pins
- pinking shears (optional)
- serger (optional)
Materials
- 2 flour sack towels (1 if not adding a pocket)
- 3 yards 1" cotton twill ribbon
- thread
Instructions
- Wash, dry, and iron flour sack towels and cotton twill ribbon.
For the straps:
- Measure and cut out two strips of the cotton twill ribbon at 50″ long.
- I used pinking shears when cutting the twill ribbon since it can fray easily.
- Sew a zigzag stitch on each raw end to prevent fraying. You can also use a serger instead.
- On one end of each strap, fold over 1/2″ and iron flat. Then fold over another 1/2″ and iron flat again to get your finished edge.
- Straight stitch about 1/8″ away from the edge of the folded hem. Don’t forget to forward and back stitch to secure the stitch. Repeat on the other strap.
- 1″ of the strap length will be inserted into the top hem of the main piece. Finished length of the straps are 48″ each.
For the main piece:
- The flour sack towel originally measures 30″ x 30″.
- Fold what you determine to be the top of the towel over 1.25″ and iron flat. Pin the hem in place.
- Measuring from the folded top of the apron to the bottom – cut at the 23″ mark. If you have not yet folded over and ironed the 1.25″ seam at the top, measure down and cut at the 24.25″ mark.
- Make the bottom hem by folding over the cut edge 1/2″ and iron flat. Then fold over another 1/2″ and iron flat again to create the hemline. Pin the hem in place.
- Straight stitch about 1/8″ away from the edge of the folded bottom hem. Don’t forget to forward and back stitch to secure the stitch.
- Insert 1″ in length of the unfinished edges of each strap into the 1.25″ fold of the main piece top hem on both ends. Pin straps into the fold of the hem.
- Straight stitch about 1/8″ away from the edge of the top hem. Don’t forget to forward and back stitch to secure the stitch.
- I chose to do a bit of a decorative stitch pattern at each strap for a cute detail in addition to added durability. I incorporated this pattern while sewing the top hemline, not separately.
- Using the straight stitch, sew a 1″ x 1″ box with a “X” in the middle. Refer to picture for a more clear explanation.
- Finished measurements of the flour sack towel are 30″ wide x 22″ long.
For the pocket:
- With a second flour sack towel, cut a 19” x 12.5” piece of fabric where needed to achieve the desired pattern.
- Depending on the pattern of fabric, such as the ivory and green stripe one used, I chose to do a more narrow pocket at 15” x 12.5” to be able to get two pocket pieces out of one towel.
- Fold the top edge of the pocket over 1/2″ and iron flat. Then fold over another 1/2″ and iron flat again to create the hem. Pin and sew the top hem.
- Optional: zigzag stitch or serge around the raw edges on the sides and bottom of pocket.
- Fold the sides and bottom of the pocket over 1/4 – 1/2″ and iron flat.
- With the unfinished edges folded under, pin the pocket in place onto the main apron piece and sew around the three sides.
- Optional: Depending on the width of the pocket, sew a straight stitch down the middle of the pocket to create two pockets. I recommend putting the apron on at this point to figure out if one or two pockets feels most natural and works best.


This looks so simple and cute! I am going to give it a try!
Thank you! Yes, it is such a quick and simple project! Definitely give it a try 🙂