DIY Wool Felt Ball Trivets
Winter is the time of warm soups and cozy cooking indoors. Whether it’s a dutch oven or cast iron skillet, protect your table and countertops with these simple to make DIY wool felt ball trivets.
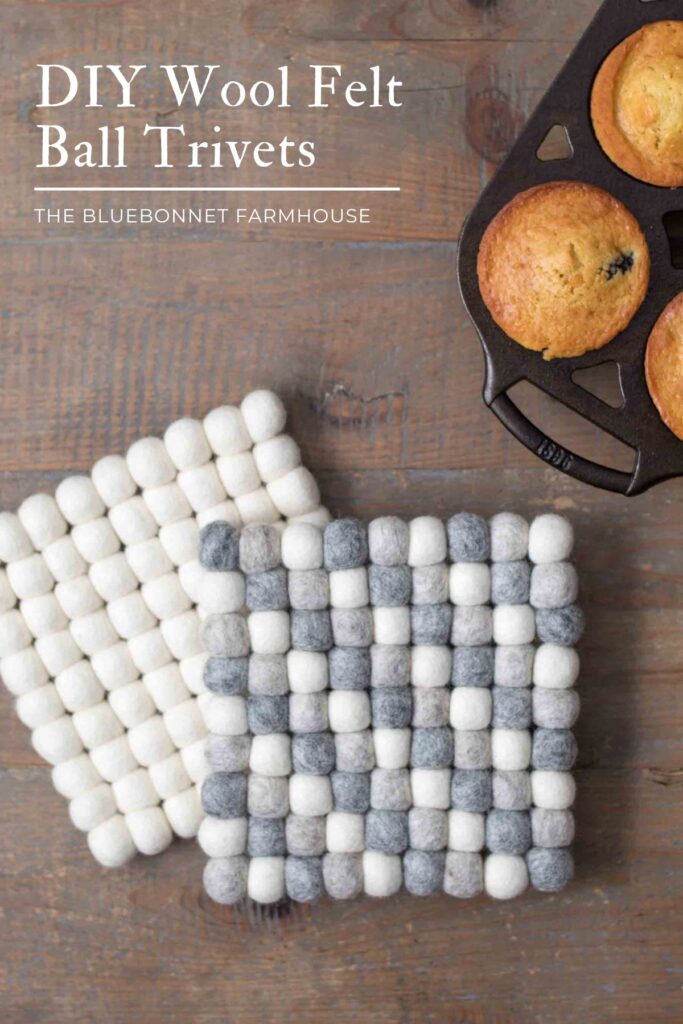
Winter is that time of year of long, cold days built for getting cozy in our homes and making something with our hands whether it’s sourdough bread or indoor crafting.
After making my simple potholders, I decided to continue on with some more kitchen related projects pertaining to handling hot pots and cast iron skillets with these wool ball trivets. I plan to make a few in preparation for the holiday season when our table is filled with hot skillets, tasty aromas, and lots of family.
The inspiration came from some wool felt trivets I purchased on a whim at Trader Joe’s. At the time, I knew I could just as easily make some, but they were a very good price and the colors matched our kitchen.
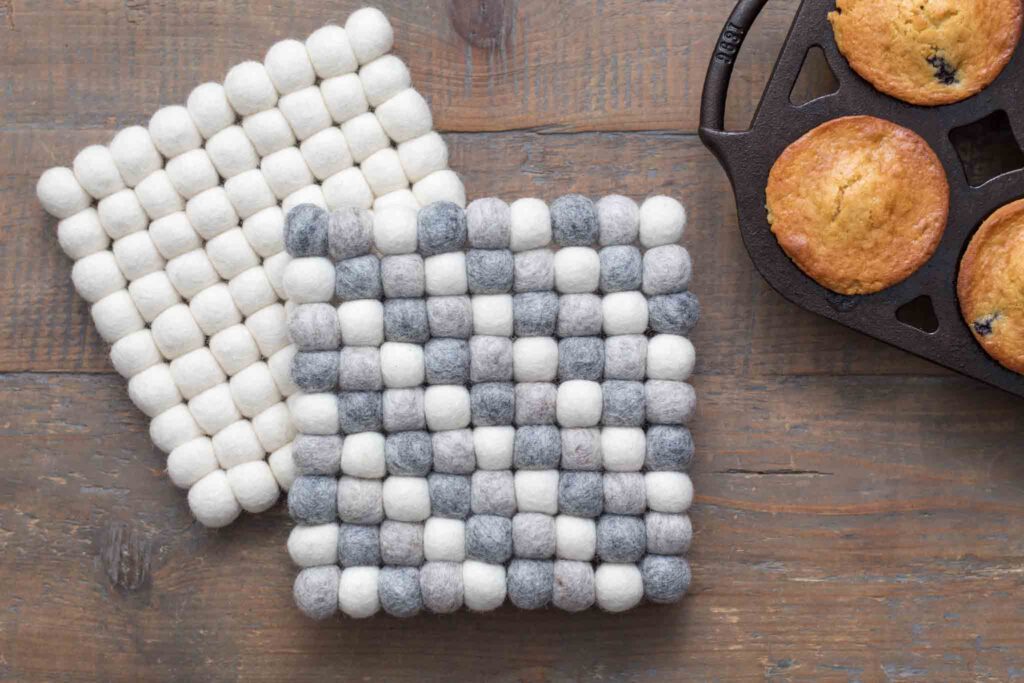
These little trivets have served as quite the conversation starter when guests are over. After having so much interest in them from friends and family, I figured they would make a perfect handmade gift idea and decided to make some!
Grab yourself a hot cup of tea, get cozy by the fire, and enjoy yourself some nap time crafting! These trivets are so simple and easily take less than an hour to make, perfect for the beginner crafter.
All it takes is some wool felt balls and thread to make this all natural trivet. Pair these with a waist apron and potholders to make a handmade kitchen gift basket!
The Natural Benefits of Using Wool
Wool is naturally heat and flame resistant, absorbent, and moisture-wicking leaving your surfaces protected from both heat and condensation. It absorbs moisture both inside and between the fibers allowing it to absorb up to 35% of its weight in water. Wool is a durable fiber and will result in a long-lasting trivet.
What kind of thread is best to use for trivets?
Since the nature of trivets is to deal with high levels of heat, I will always recommend natural fibers over synthetic. Synthetic fibers can melt while natural fibers are durable and heat resistant.
Some good options would be crochet thread, cotton string, heavy duty cotton thread, embroidery floss or thread, wool yarn, etc.
Variations of this Project:
- Use the same method to make a smaller version for absorbent felt ball coasters.
- Customize the color palette to match any decor or season!
Tips:
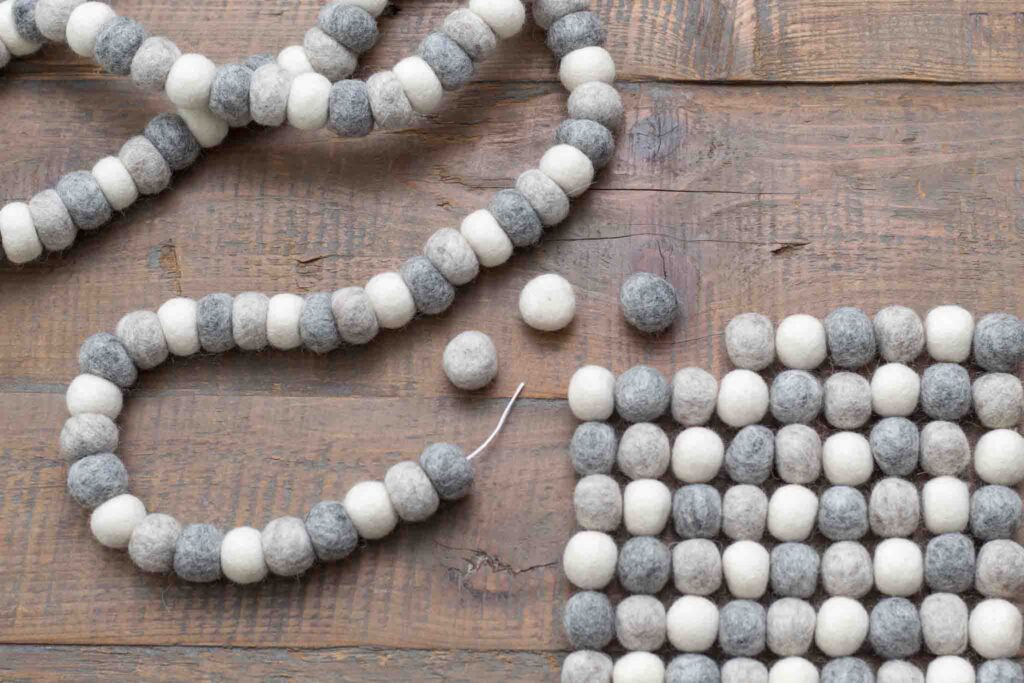
- It can actually be cheaper to purchase a garland of wool felt balls rather than a bag of loose ones. I purchased mine as a wool ball garland from Trader Joe’s during the fall season.
- The tighter you pull each row, the more compact the balls will be resulting in a stiffer and more sturdy trivet. This will alter the overall dimensions.
This post contains affiliate links, which means I make a small commission at no additional cost to you. For more information, see my disclosures here.
What is the size of these trivets?
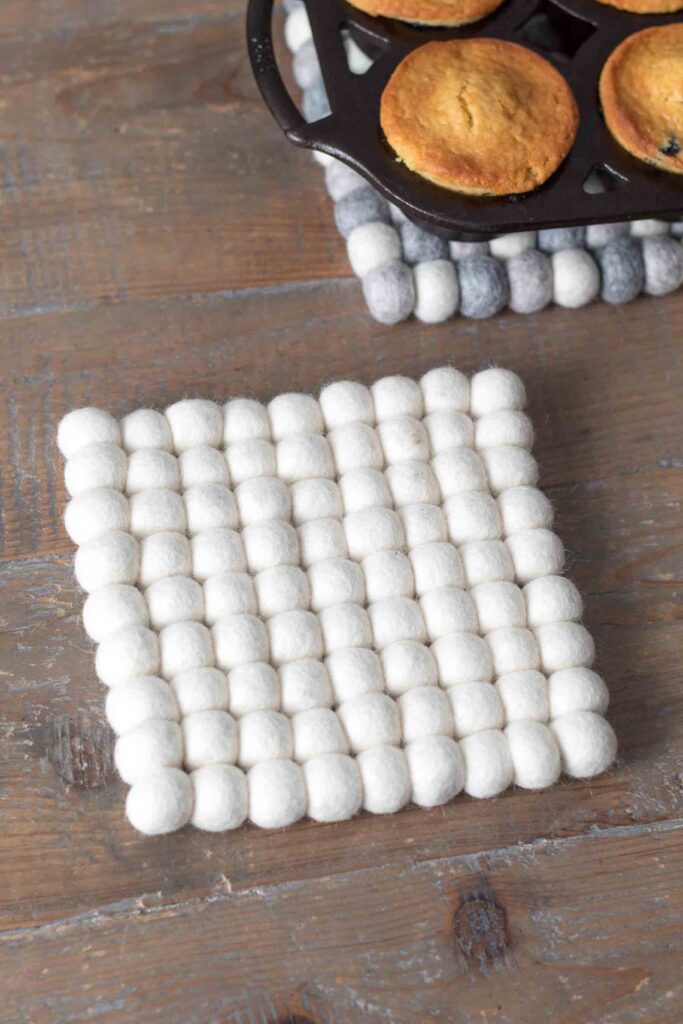
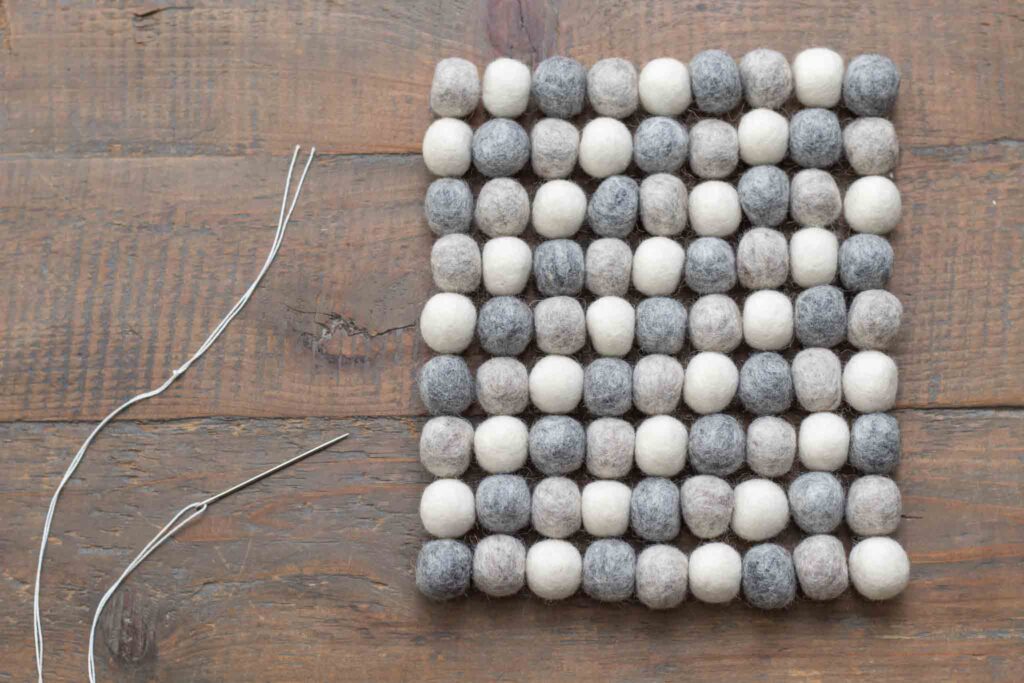
These square trivets are made with 9 rows of 9 balls each for a total of 81 balls. The result is a 6.5 inch x 6.5 inch size trivet.
Supplies:
Wool Felt Balls – the 2 cm size works perfect for this project. Also known as pom poms.
Thread – crochet thread, heavy duty or embroidery thread, string, yarn, etc. I recommend choosing natural fibers for their heat resistance.
Scissors
How to Make a Wool Felt Ball Trivet
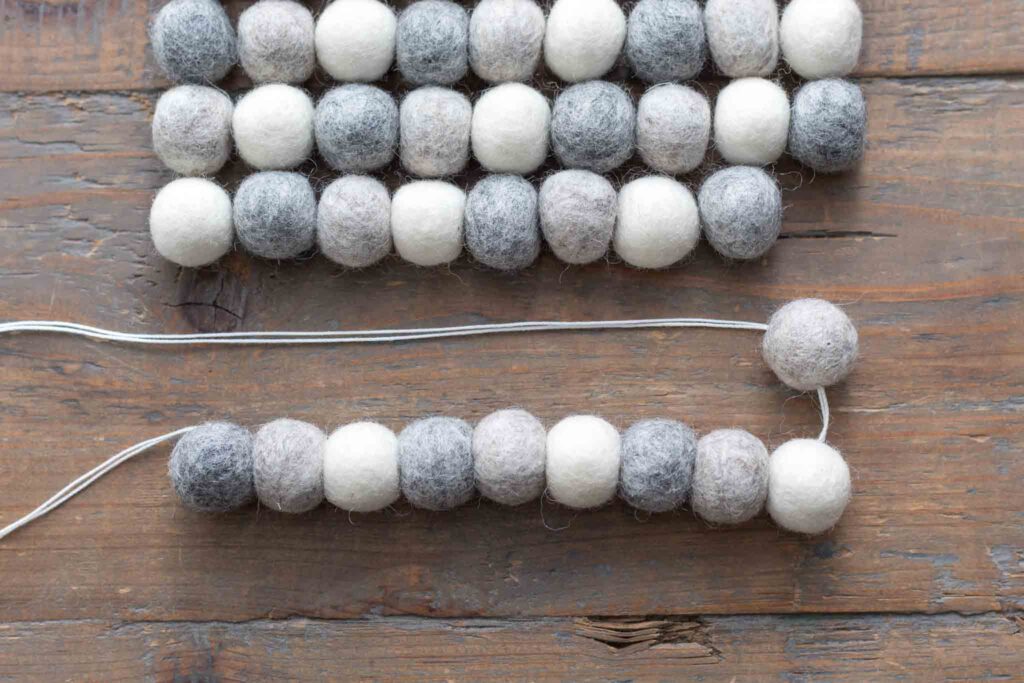
Arrange the felt balls in the desired pattern on a table.
Thread the needle and cut a strand of double thread to be about 6 feet in length. Tie a thick double knot in the thread, leaving a 4 inch tail to weave into the wool balls after completion.
Threading a Row
Step 1 – Using the first felt ball, a corner piece, weave the needle through the corner of the ball at a 45 degree angle.
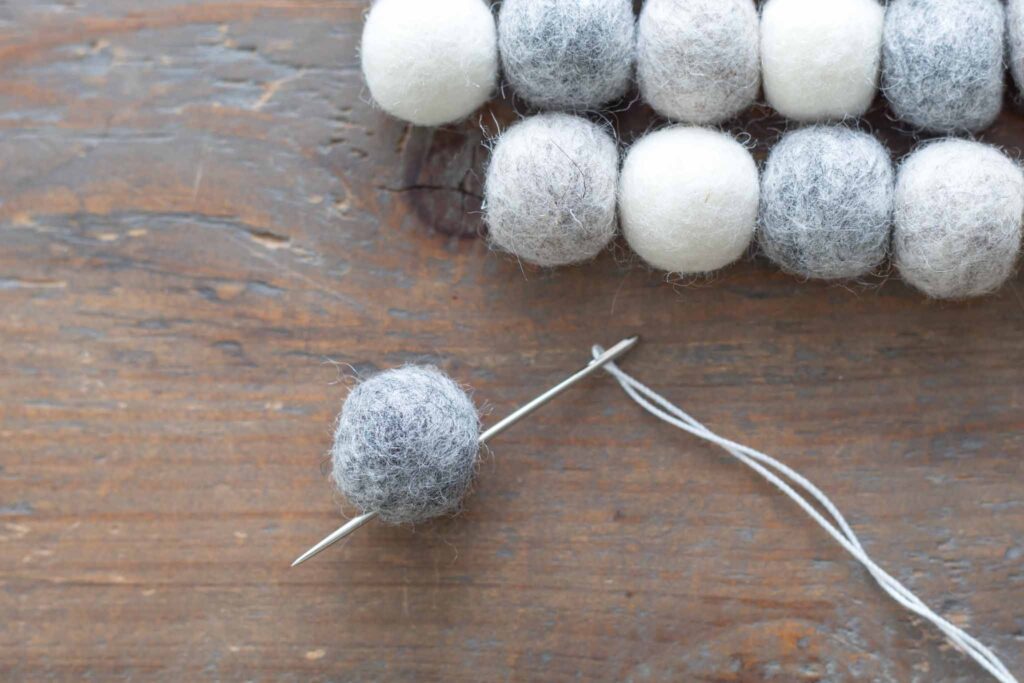
Step 2 – String on the next 7 interior balls in the row, stitching the needle straight through the middle of each ball.
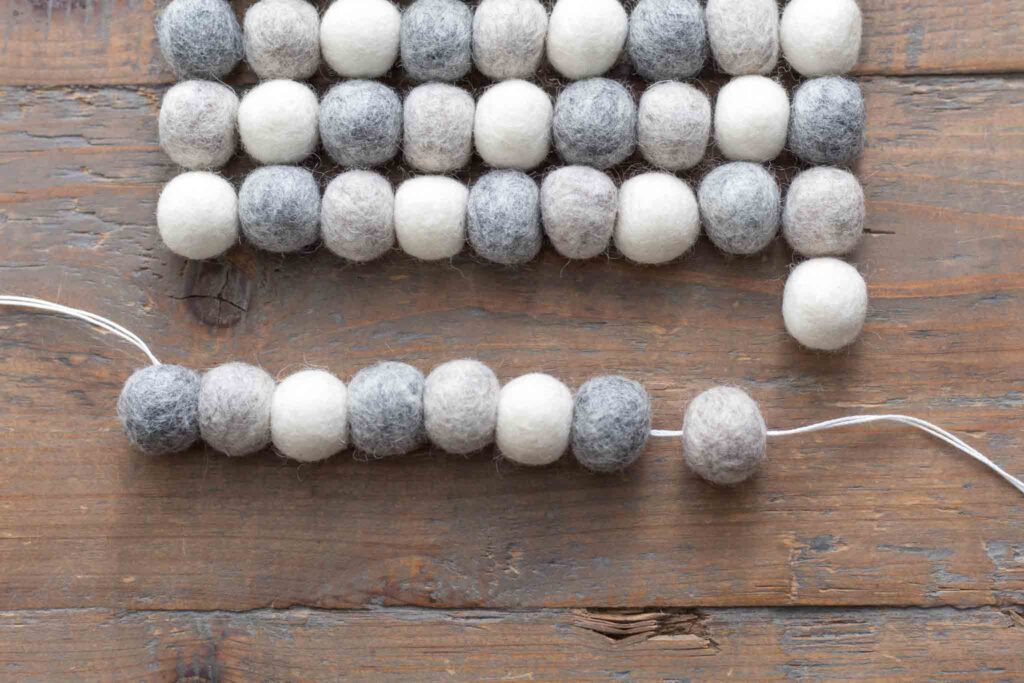
Step 3 – When you get to the last felt ball of the row, repeat what you did with the first ball, and stitch the needle through the corner of the ball at a 45 degree angle. Pull the string taut to your preference before moving to the next row.
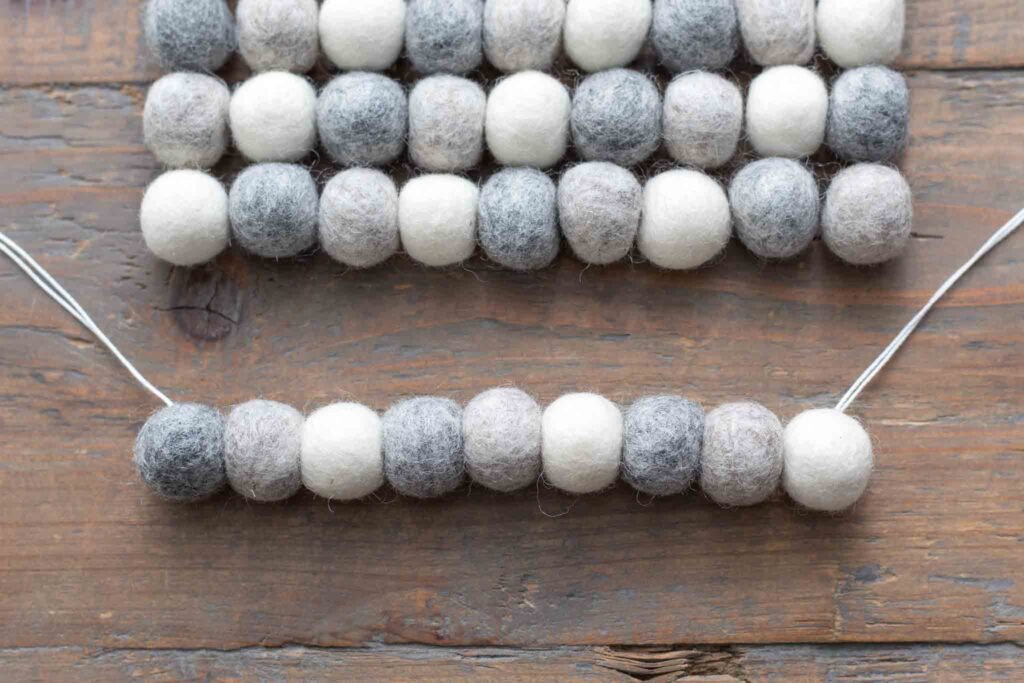
As you progress to the next row, repeat steps 1 through 3 until you have completed all 9 rows. It helps to measure each row as you go to ensure they are equal.
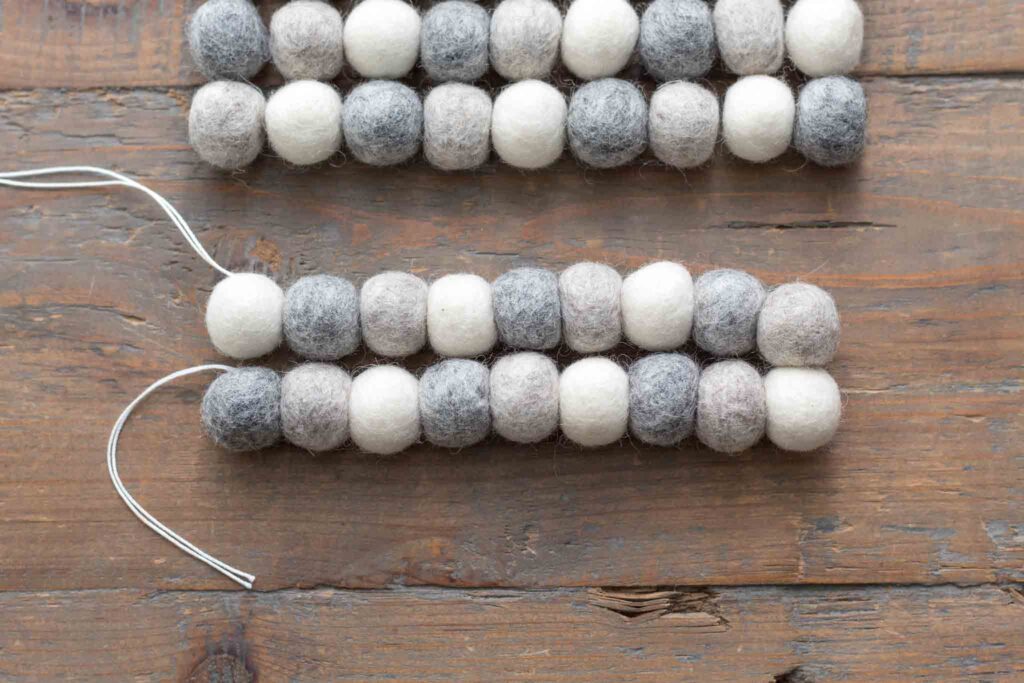
On the last corner ball, tie another thick double knot flush with the ball and leave another 4 inch tail for weaving in at the end.
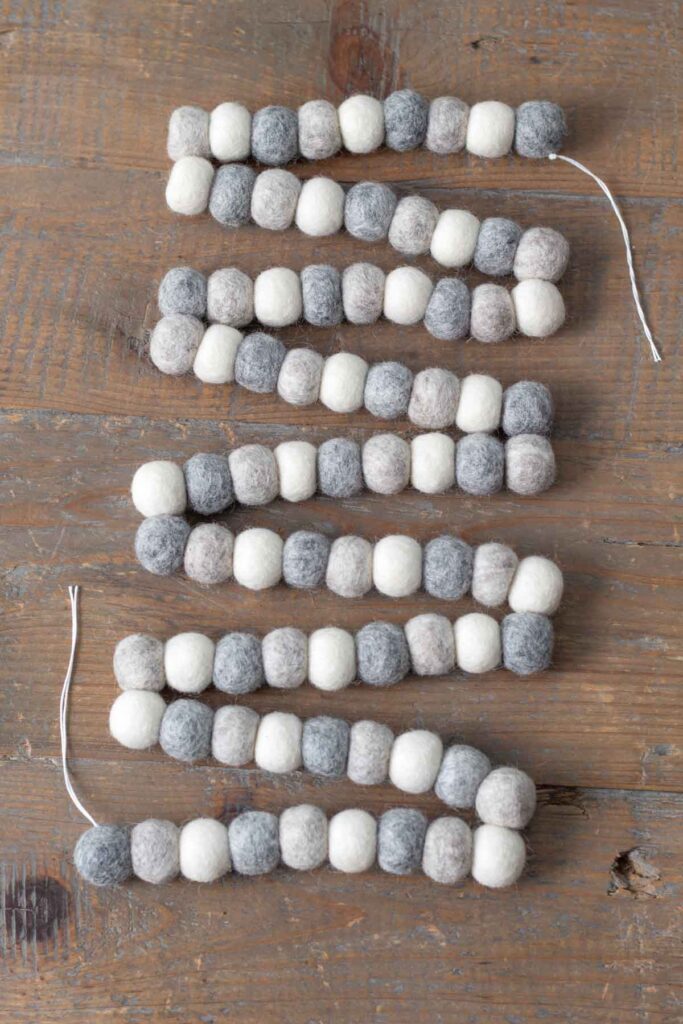
Joining the Rows
Thread the needle once more and cut a second strand of thread to be about 6 feet in length. Tie a knot in the thread and leave a 4 inch tail.
With the halfway strung trivet laying on the table, turn the project 90 degrees to begin working perpendicular to the rows already strung to stitch the rows together.
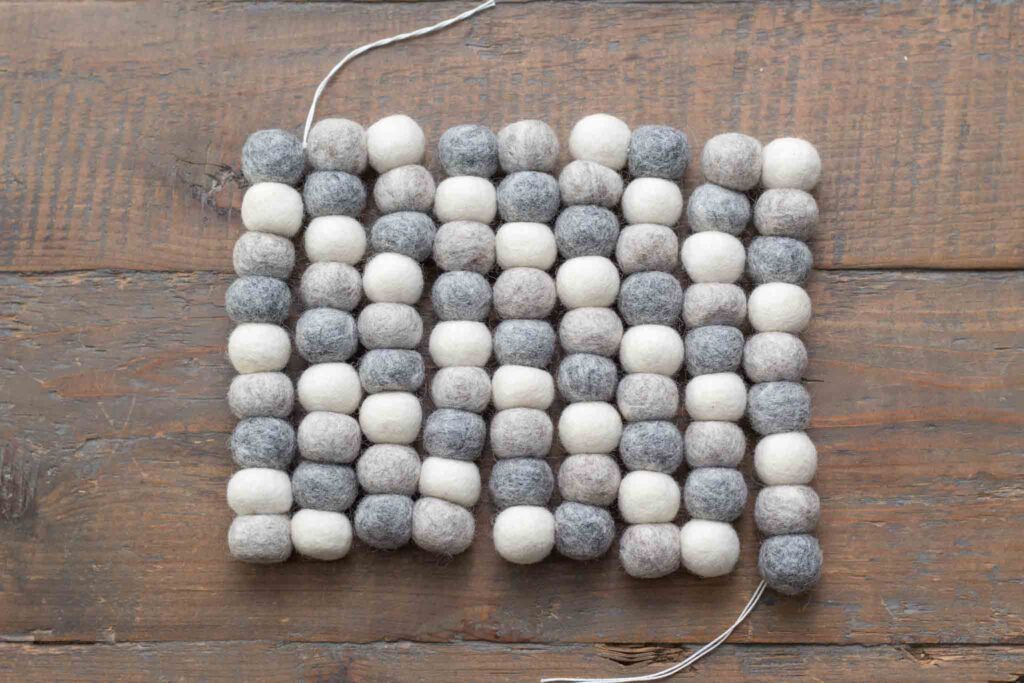
Repeat the same concept of steps 1 through 3 until all 9 rows are complete and each ball is joined together perpendicularly.
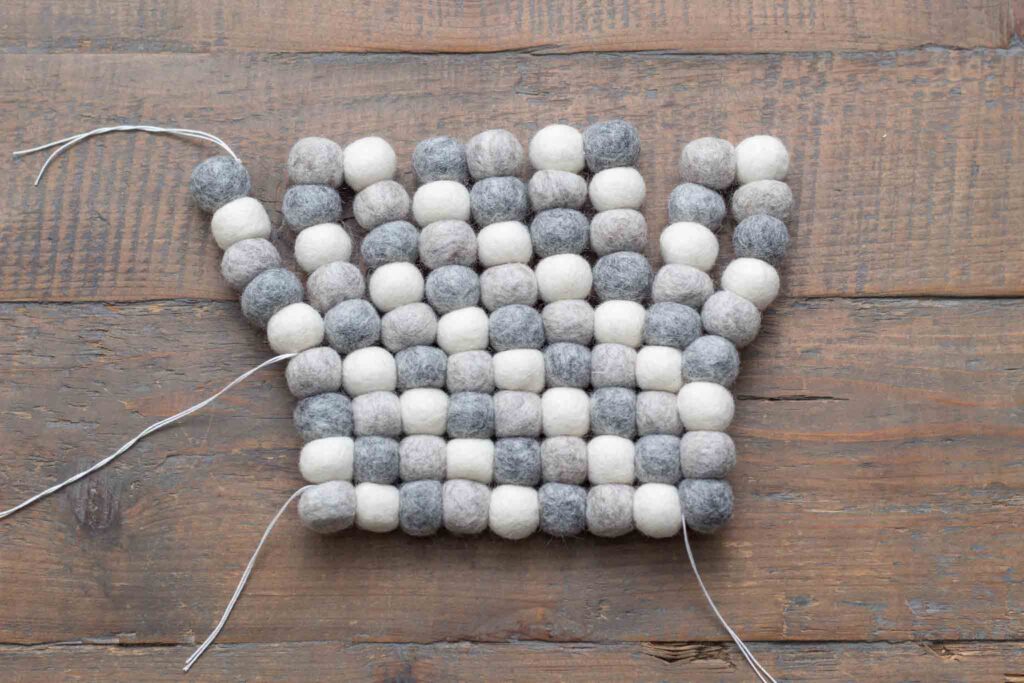
Remember to pull the thread taught after each row. It helps to measure each row as you go to ensure they are equal and will result in a square trivet.
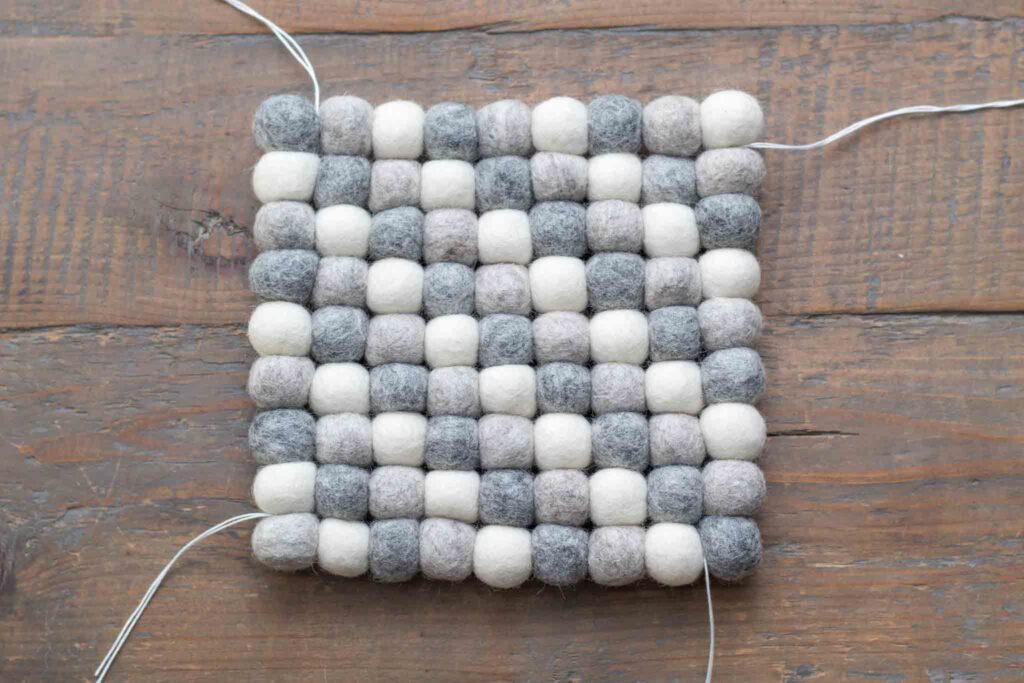
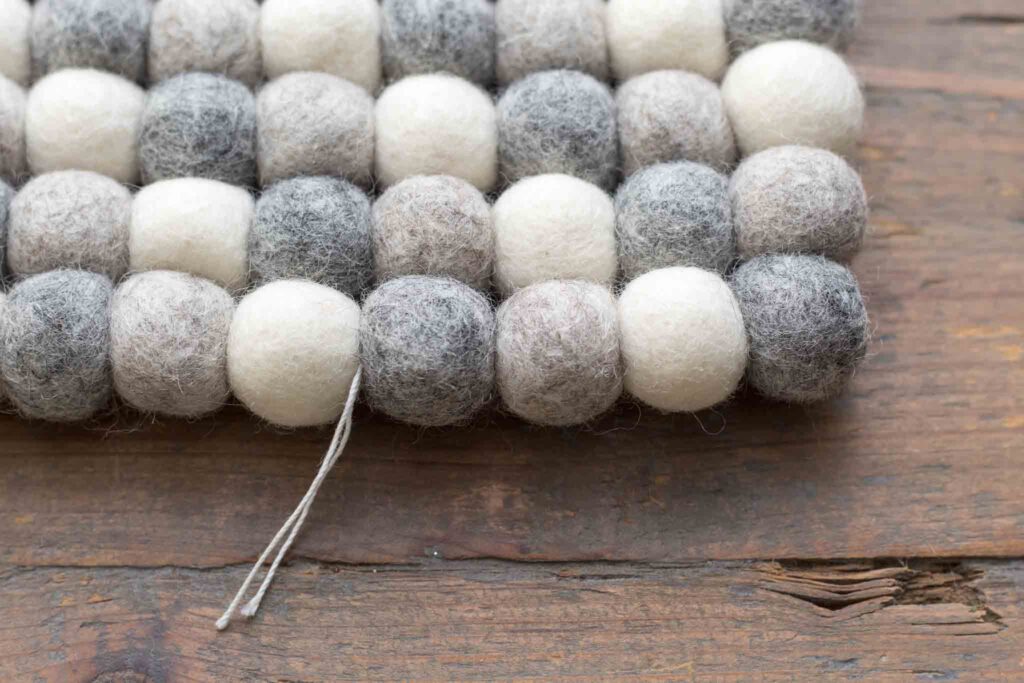
After the trivet is complete, thread each tail through the needle and weave it through the middle of a few balls to secure and trim off any excess thread.
More Farmhouse Kitchen Projects:
FAQs:
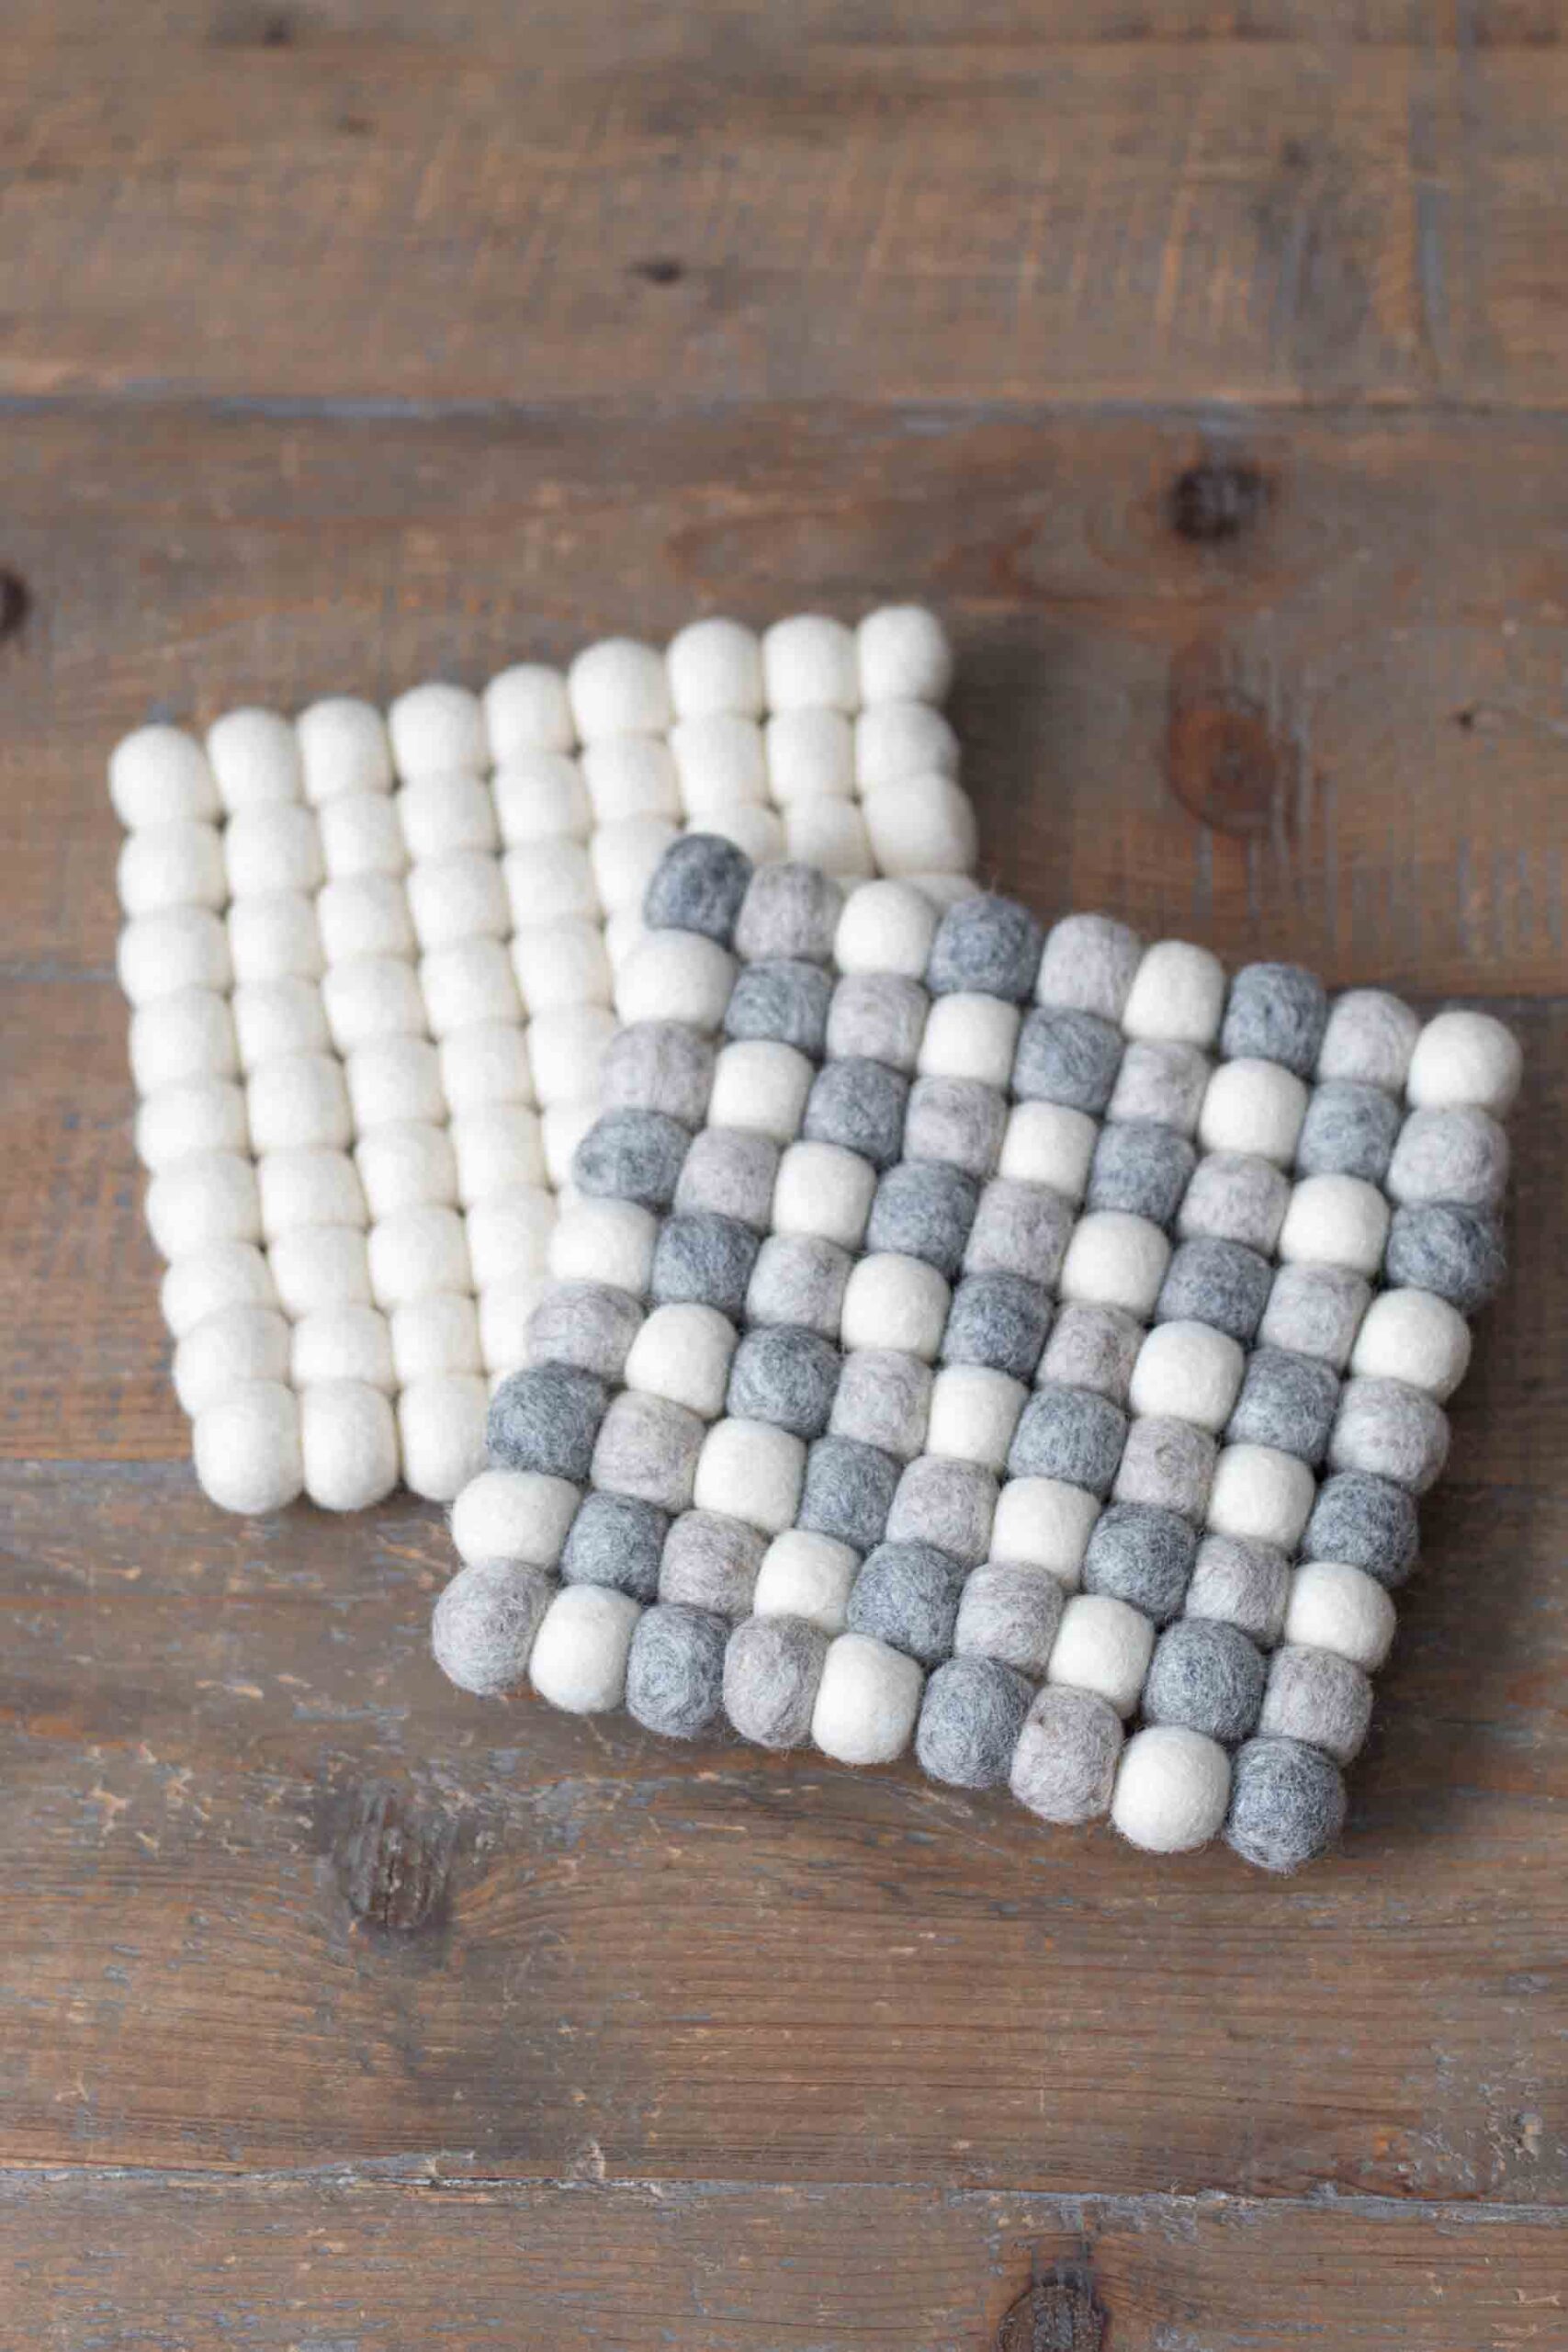
DIY Wool Felt Ball Trivet
Winter is the time of warm soups and cozy cooking indoors. Whether it's a dutch oven or cast iron skillet, protect your table and countertops with these simple to make DIY wool felt ball trivets.
Materials
- 2 cm wool felt balls
- Thread - crochet thread, heavy duty or embroidery thread, string, yarn, etc.
- Tapestry/yarn needle
- Scissors
Instructions
Arrange the felt balls in the desired pattern on a table.
Thread the needle and cut a strand of double thread to be about 6 feet in length. Tie a thick double knot in the thread, leaving a 4 inch tail to weave into the wool balls after completion.
Threading a Row
Step 1 - Using the first felt ball, a corner piece, weave the needle through the corner of the ball at a 45 degree angle.
Step 2 - String on the next 7 interior balls in the row, stitching the needle straight through the middle of each ball.
Step 3 - When you get to the last felt ball of the row, repeat what you did with the first ball, and stitch the needle through the corner of the ball at a 45 degree angle. Pull the string taut to your preference before moving to the next row.
As you progress to the next row, repeat steps 1 through 3 until you have completed all 9 rows. It helps to measure each row as you go to ensure they are equal.
On the last corner ball, tie another thick double knot flush with the ball and leave another 4 inch tail for weaving in at the end.
Joining the Rows
Thread the needle once more and cut a second strand of thread to be about 6 feet in length. Tie a knot in the thread and leave a 4 inch tail.
With the halfway strung trivet laying on the table, turn the project 90 degrees to begin working perpendicular to the rows already strung to stitch the rows together.
Repeat the same concept of steps 1 through 3 until all 9 rows are complete and each ball is joined together perpendicularly.
Remember to pull the thread taught after each row. It helps to measure each row as you go to ensure they are equal and will result in a square trivet.
After the trivet is complete, thread each tail through the needle and weave it through the middle of a few balls to secure and trim off any excess thread.
Notes
These square trivets are made with 9 rows of 9 balls each for a total of 81 balls. The result is a 6.5” x 6.5” size trivet.
Thread made of natural fibers are recommended for their heat resistance.

Thanks for sharing this! Kids are working on one today for their mom. I think I’m going to try and weave it all together using a light gauge copper wire, since it’s antimicrobial and it might give it a little stiffness. We’ll see!
What a great idea! Let me know how it turns out 🙂 If you pull the felt balls together tightly it does stiffen the trivet.