DIY ULTRASOUND PICTURE FRAME
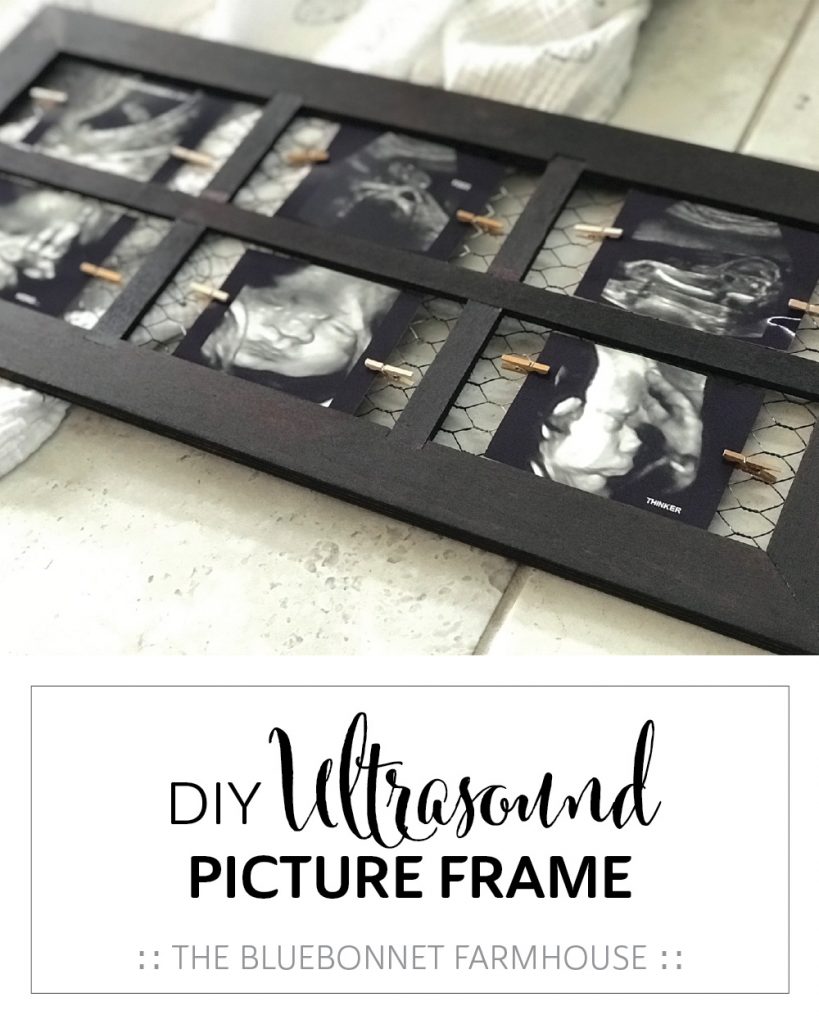
Display those precious ultrasound pictures with a window pane frame! This DIY project is very simple and a sweet addition to any nursery.
This post contains affiliate links used to help support The Bluebonnet Farmhouse. For more information, please see my disclosures here.
We are going to kick off our nursery series with a super simple DIY project! Seriously, this is quite possibly one of the easiest DIY projects ever. If you are not much of a DIYer, there is a ready-to-go option for you in the supplies list!
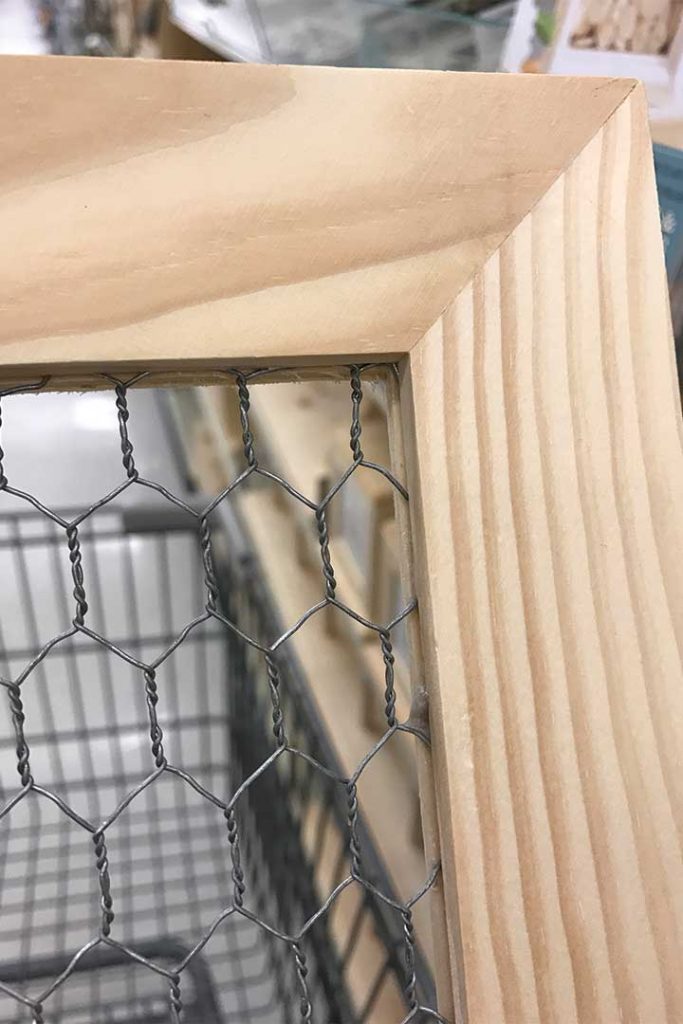
During my pregnancy I was shopping for the nursery of course and found this cute chicken wire window frame in the clearance section at Michael’s. Who doesn’t love some good old fashioned chicken wire?!
At the time, I did not know what I wanted to do with it, so I took a picture of it and left it sitting on the shelf. Then the little light bulb went off in my head…
Each window pane in this frame was the perfect size for ultrasound pictures!
Our ultrasound pictures were residing on the refrigerator at the time, but I knew I wanted a way to display them in the nursery after our son was here. So I went back and got the frame.
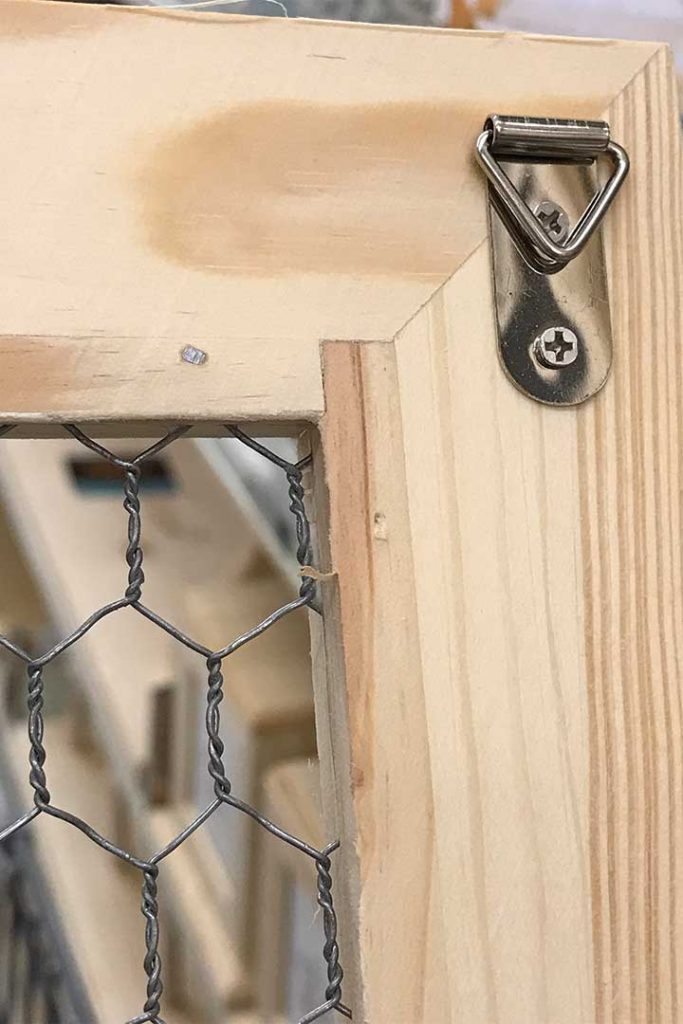
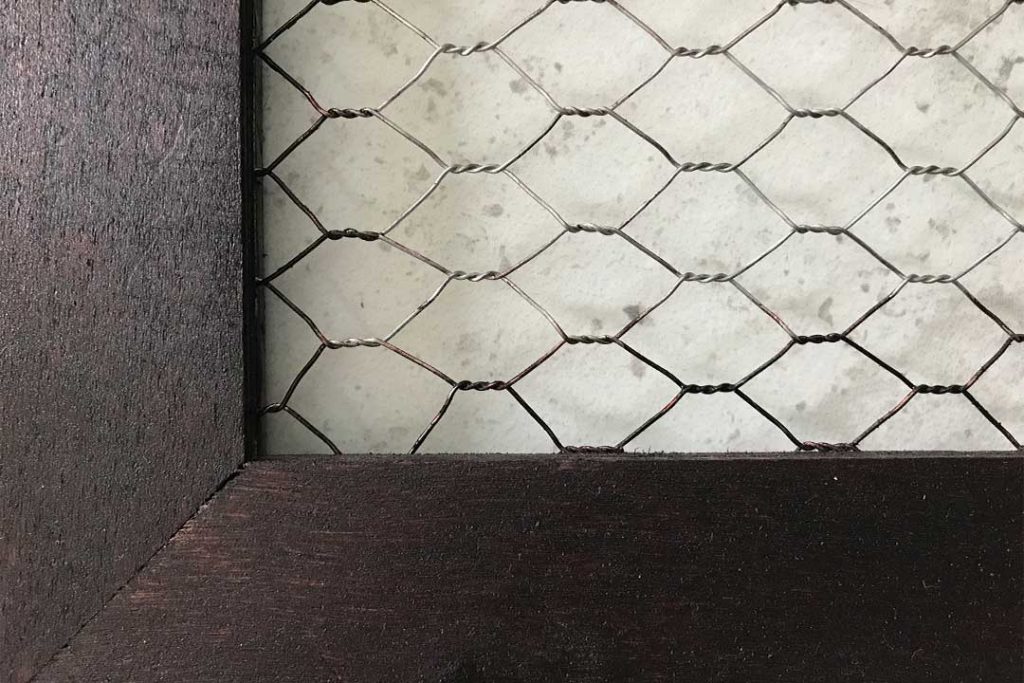
I failed to take a picture of the frame before staining it, but here are some random close-ups I have showing the unfinished wood.
Seeing as how it was an unfinished wood frame, the first decision to make was whether to stain or paint the frame.
Considering the ultrasound picture frame was going to be hanging above the dresser, we decided to match the wood stains. The dresser we were using in the nursery was one I had from college and it has a dark red mahogany colored wood top.
With that being said, we figured a weathered stain with gray tones would probably not pair well with the rich red mahogany tones of the dresser and went with the matching route. Plus, we already had a gallon of Minwax Red Mahogany my dad had given to us previously, which meant this project just got cheaper with one less thing to purchase!
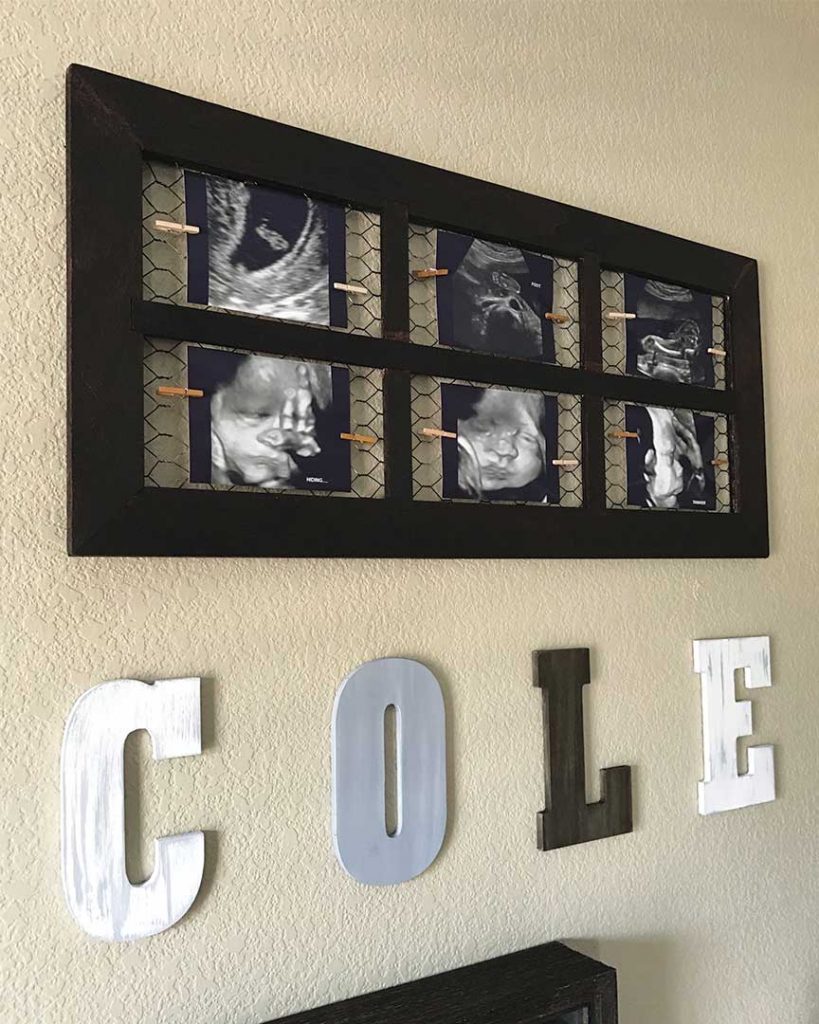
This was probably the fastest DIY project we have ever done, but certainly a favorite. This ultrasound picture frame serves as a sweet reminder of those blissful pregnancy days and how much our little boy has grown.
VARIATIONS OF THIS PROJECT:
Paint the wood instead of stain.
If you don’t want a project that involves staining wood, you could use this window pane frame instead.
Could use a glass window pane frame instead of chicken wire and mini clothespins.
SUPPLIES
- Unfinished Wire Window Frame
- I don’t think Michael’s carries this unfinished frame anymore, but they do offer this finished one.
- Another option that is similar is this unfinished one at Hobby Lobby.
- Wood Stain (I recommend this one for crafts!)
- Staining Rag
- Mini Clothespins
- Ultrasound Pictures
- Scissors
HOW TO MAKE AN ULTRASOUND PICTURE FRAME:
STEP 1 – STAIN (OR PAINT) THE FRAME
As I mentioned earlier, we chose to match the stain with the dresser being used in the nursery. At the time, I had used Minwax Red Mahogany, but would now highly recommend using this craft stain.
This craft stain is specifically meant for crafting projects such as this and is non-toxic, zero VOC, and no odor! All of which is a huge bonus for me considering I would always get migraines after working with conventional paints and stains.
We used a sponge brush to apply the stain which I have to admit was a big mistake! The stain got all over the chicken wire when trying to apply it to the inner portion of the frame. Based off our experience, we recommend using staining rags!
Apply the stain and any additional coats until you reach the desired color. Allow for adequate drying time between each coat.
STEP 2 – PREPARE ULTRASOUND PICTURES
Once the frame was stained, I cut out each ultrasound picture that was going to be displayed in the frame.
Here’s a tip, DO NOT try and laminate the ultrasound pictures!! I don’t know why I thought this was a good idea. This was the result…
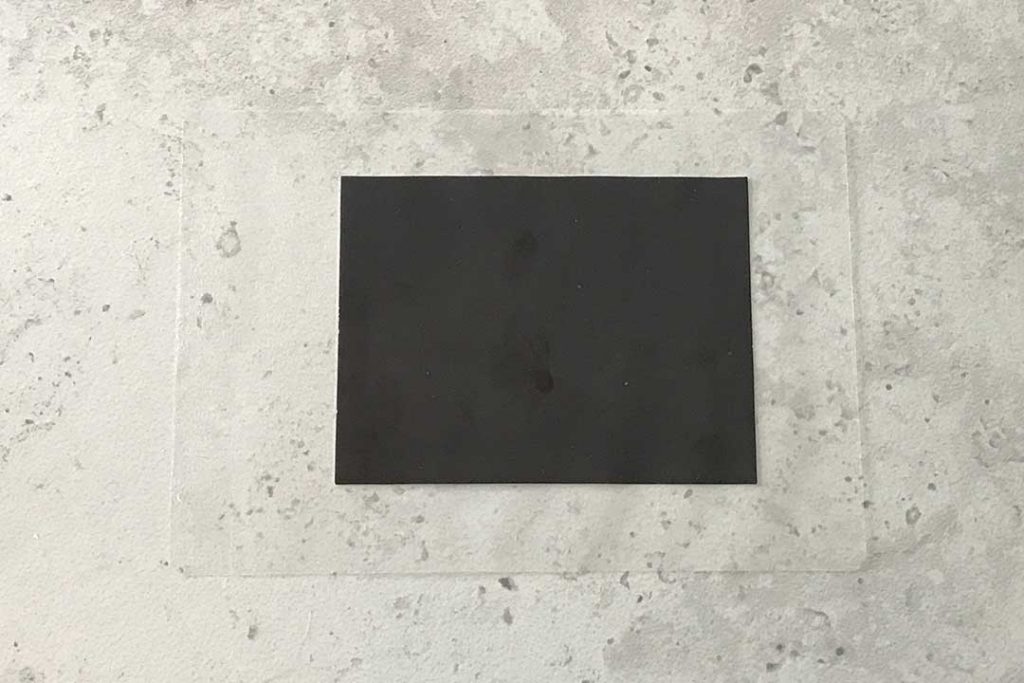
Thankfully, I tested an awkward ultrasound picture of my ovaries first and not a picture of my growing baby boy!
Learn from my mistake. Say no to the temptations of the laminator for this one.
STEP 3 – HANG YOUR ULTRASOUND PICTURES AND THE FRAME
As I was meandering my way through the same clearance aisle at Michael’s, I found these teeny tiny clothespins. Obviously, because I thought they were adorable (and on sale) I bought them. Well this time I can actually thank my impulse buy!
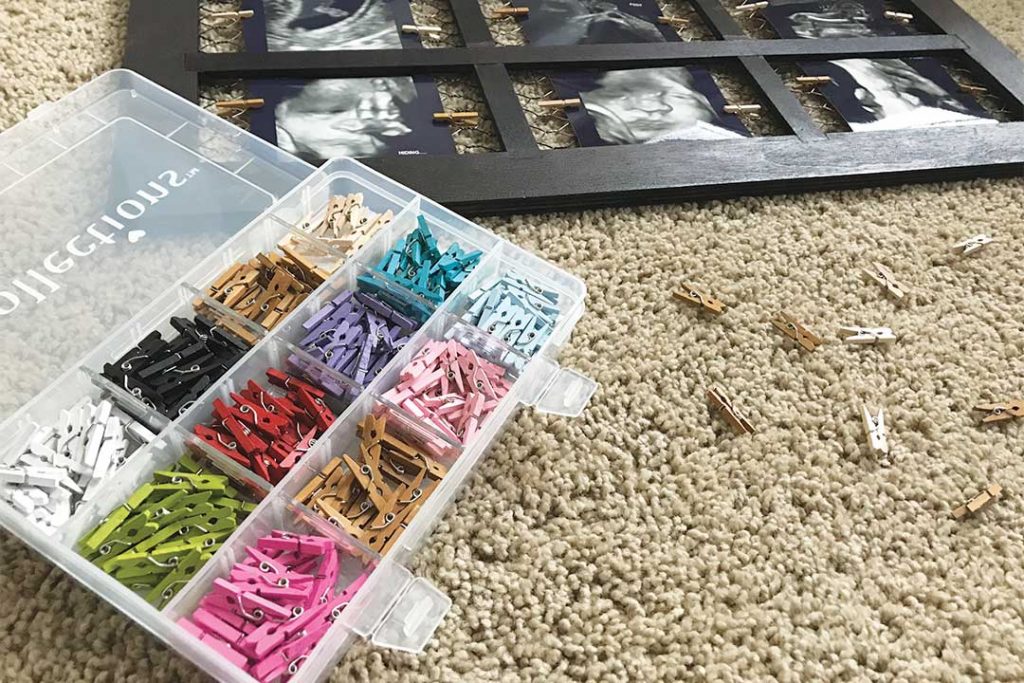
These mini clothespins were actually part of the inspiration for turning this unfinished chicken wire frame into an ultrasound picture frame. They offered me a means of attaching the pictures to the frame.
I chose to use the two natural wood tones in the kit to go with the staining of the wood frame and the overall color scheme of our son’s nursery.
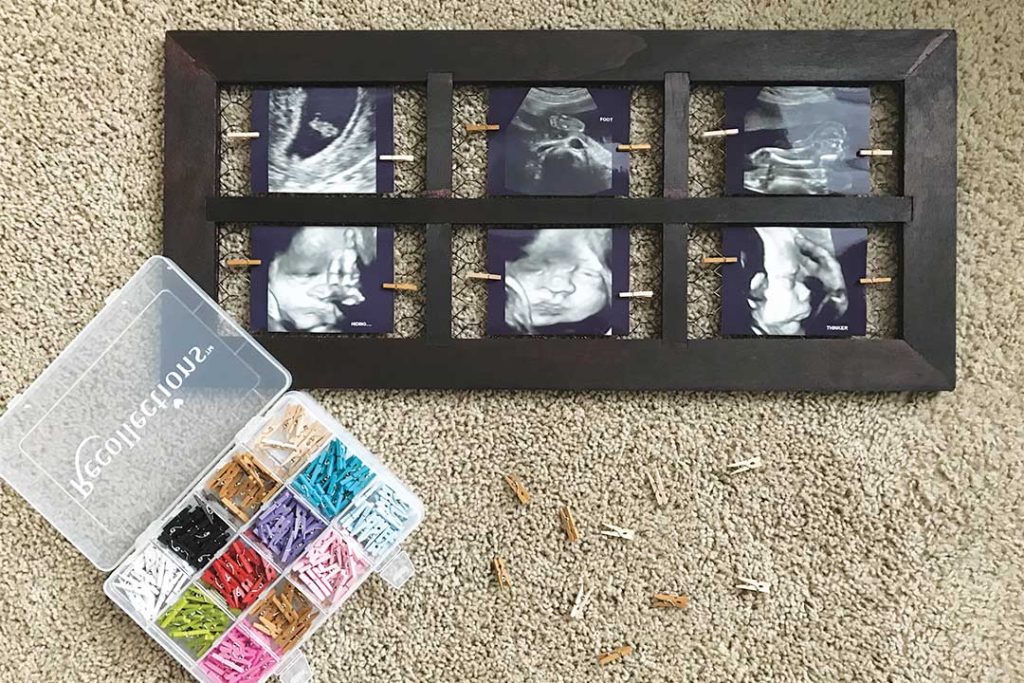
Then I simply clipped one on each side of the pictures to attach them to the chicken wire.
All that’s left is to hang the finished frame in the nursery!
When it came to hanging the frame, I wanted it to be hoizontal and lay flat against the wall. The hangers that came with the frame were positioned to hang it vertically. All I did was remove the hangers and use two nails to hang it by the frame and wire itself.
Done!
Isn’t this such a fun and easy project?! I loved being able to find a way to display our son’s ultrasound pictures in his nursery!
MORE NURSERY PROJECTS:
- Woodland Nursery Curtains
- Woodland Nursery Signs
- Floating Corner Shelves
- Industrial Pipe Shelf
- Painted Wood Letters
- Paper Mache Deer Head
- More coming over the next few weeks! Sign up for our email list or follow us on social media to be notified of new posts! Our social media accounts are listed below.
Happy Crafting!

We would love to see your baby’s ultrasound pictures! How did you display your baby’s first pictures? Comment below or tag us on social media to share with us!
- FACEBOOK: @TheBluebonnetFarmhouse
- INSTAGRAM: @the_bluebonnet_farmhouse (<< Don’t forget the underscores!)
- TWITTER: @TheBBFarmhouse
- PINTEREST: @thebluebonnetfarmhouse

