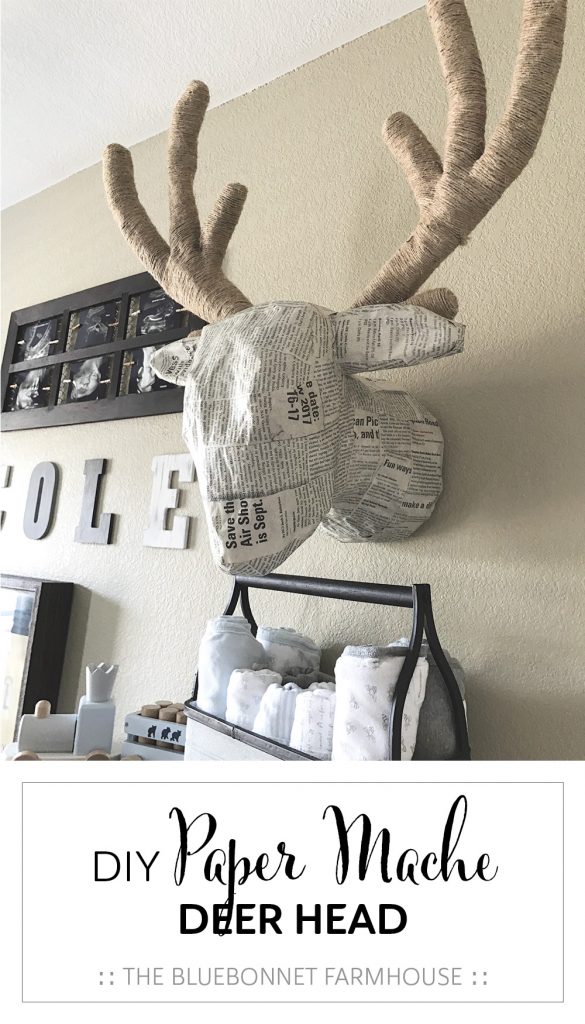
DIY PAPER MACHE DEER HEAD
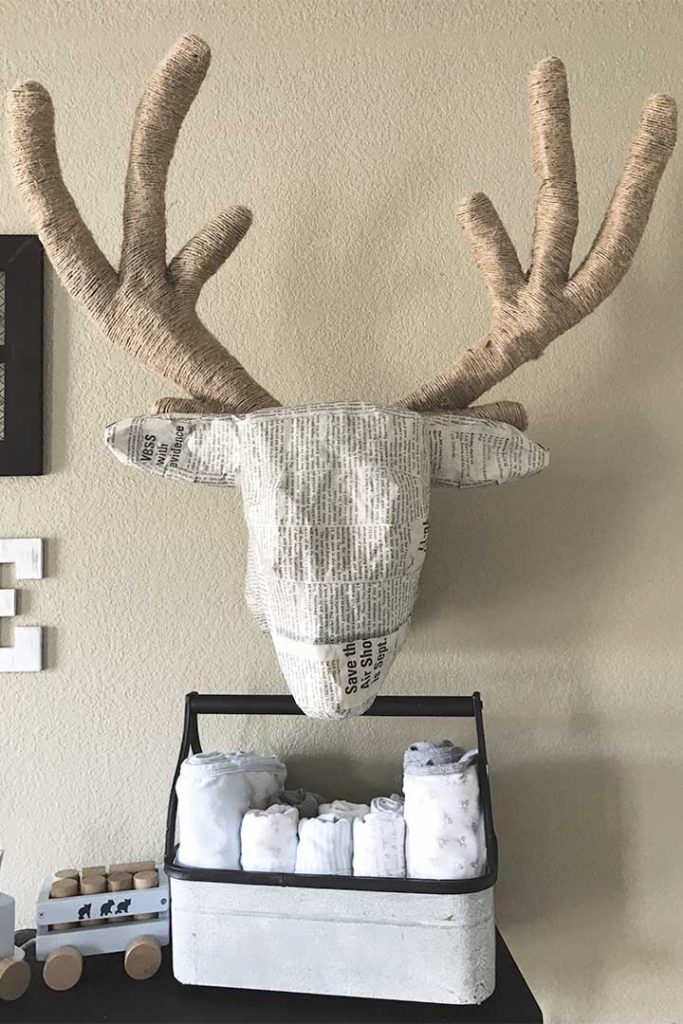
Learn how to make this DIY paper mache deer head for free using items around the house! Perfect for a woodland nursery or kids room!
This post contains affiliate links used to help support The Bluebonnet Farmhouse. For more information, please see my disclosures here.
While out shopping for our son’s nursery, I came across this $15 paper mache deer head at Hobby Lobby. I could have just bought the deer head, I could have used a coupon, but me being my stubborn self said, “I can make that.”
Let me preface this with the fact that I have probably only done paper mache once back in grade school…
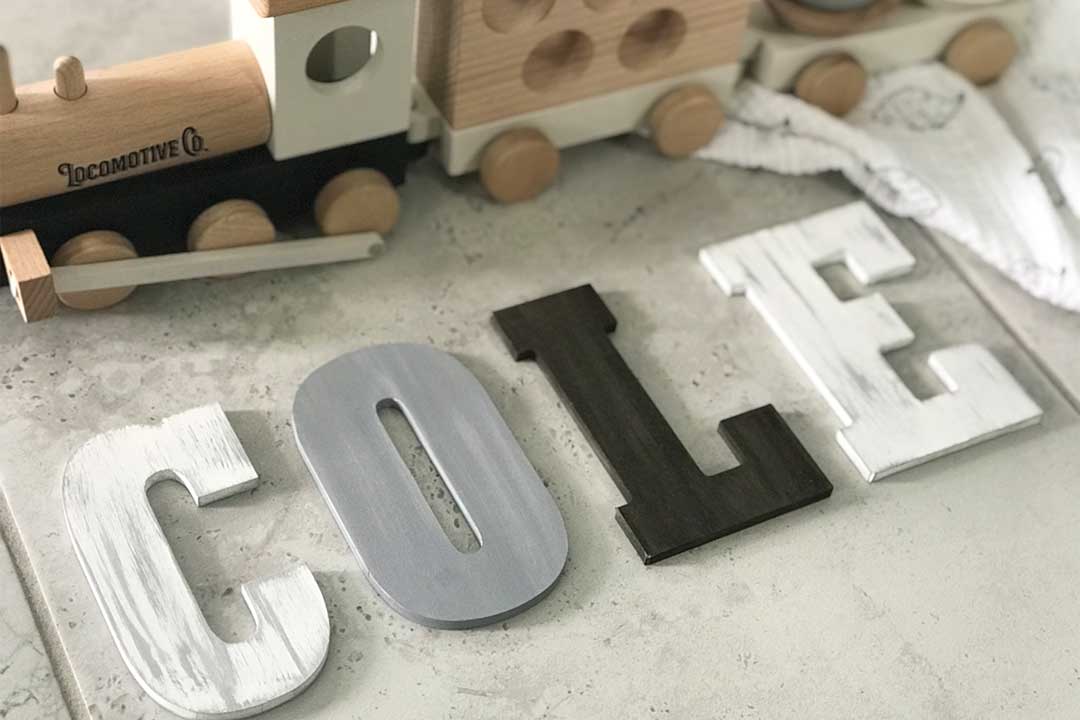
After completing our ultrasound picture frame and wood letters, I wanted some way to add dimension to the collage wall we were doing in the nursery. This DIY deer head was a wonderful addition with its neutral tones and antique flair of the newspaper and twine!
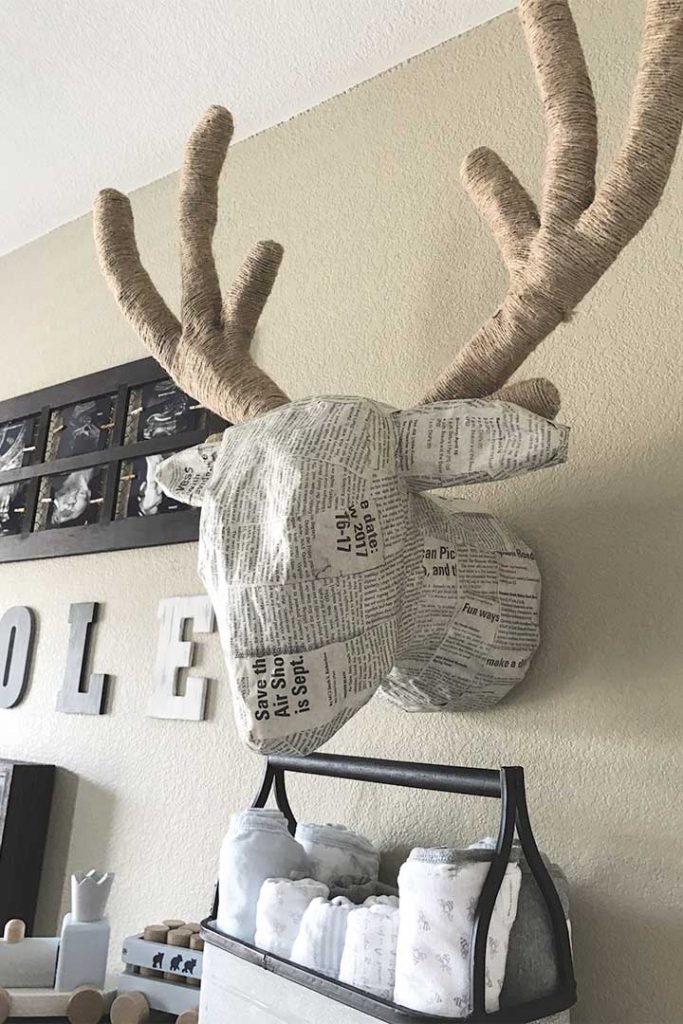
Zero planning went into the making of this project, and my process may seem like a mess. Nonetheless, it worked and I didn’t even spend a penny to complete this project! All of the supplies was either free – newspaper and packing paper – or items we already had – twine and Mod Podge.
My logic was this:
I will make it and love it. – OR – I will hate it and it only cost me the time to make it.
Thankfully, the former was what happened!
Zero planning. Zero dollars spent. One happy mama. One good looking deer!
VARIATIONS OF THIS PROJECT:
- Add floral to the crown of the deer’s head for a girl’s room or nursery.
- Use this pre-made paper mache deer head and simply decorate!
- Cover only in brown paper for a more neutral look.
- Remove the antlers for a doe or try a different animal.
- Use as an art project and have your kids help make it!
SUPPLIES
- Heavy Paper (I used leftover packing paper from our previous move.)
- Brown Paper Lunch Bags
- Newspaper
- Twine
- Mod Podge – Matte
- Water
- Bowl
- Scissors
- Hot Glue Gun + Glue Sticks
- Command Strip + Hook
If you do not want to make the form from scratch, you can purchase a ready made paper mache deer head and skip to Step 3 for how to decorate!
STEP 1 – PAPER STRIPS + MOD PODGE
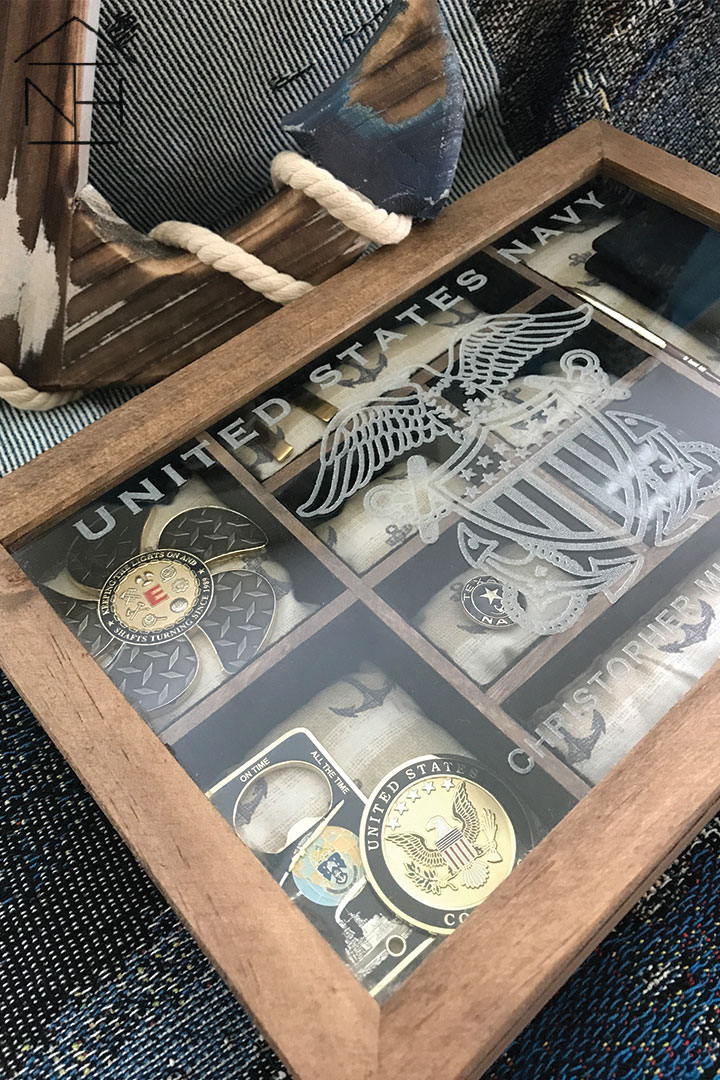
We had mounds of packing paper leftover from our previous move with the Navy, so I decided to put at least a tiny portion of it to good use!
I used scissors to cut my paper into strips. I later found out the the pieces of paper will lay smoother if torn rather than cut. Either way works!
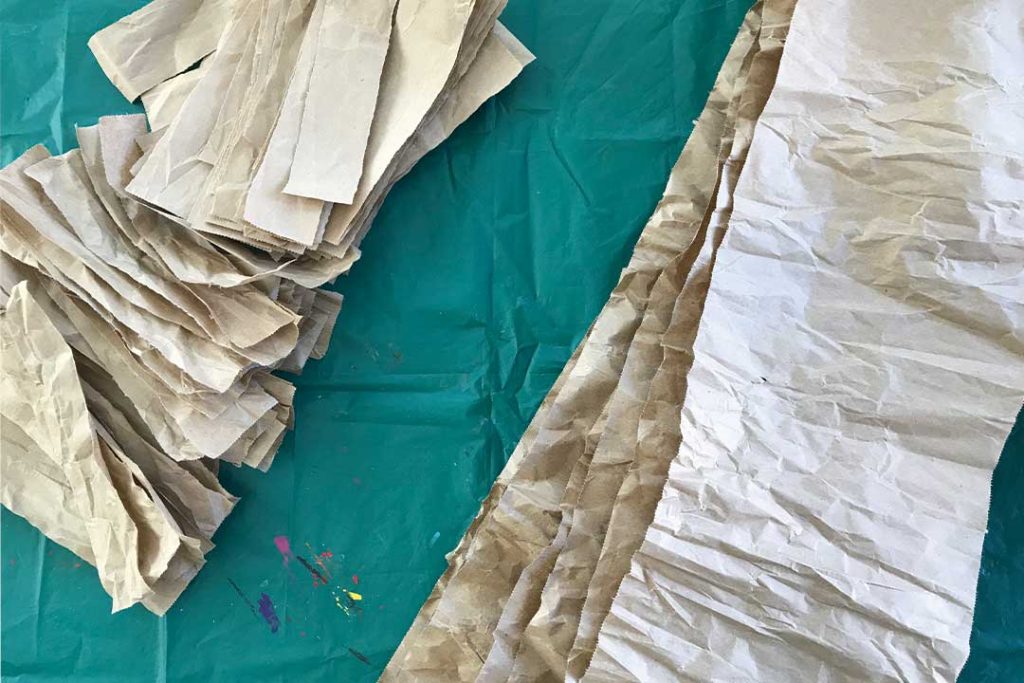
I cut both 1-2″ strips for my paper mache and 4-6″ strips for creating the overall base form.
To thin the adhesive, I placed some Mod Podge in a bowl and added some water to get the thinner consistency to dip the paper strips in.
STEP 2 – FORM THE BASE
Y’all are going to laugh so hard when you see my process for how this paper mache deer head took shape! I am not exaggerating when I say that I was completely winging it on this project and seeing where it took me.
HEAD + NECK
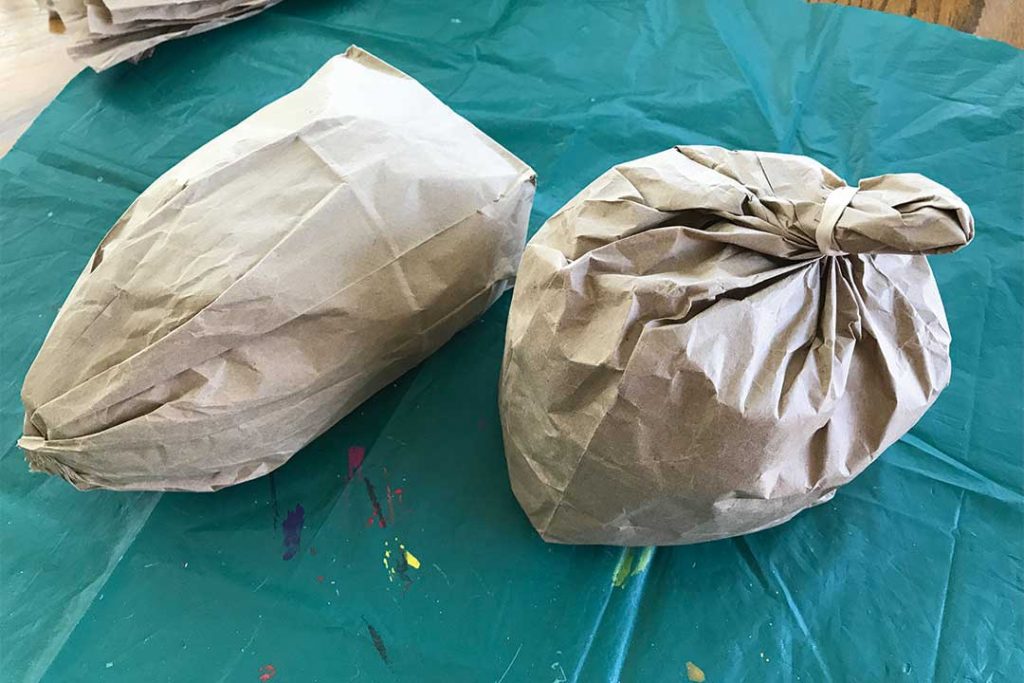
To begin, I grabbed two brown paper lunch bags and stuffed them with packing paper. I roughly shaped them into a head and neck, and tied them off. You can use whatever you have to tie them off – rubber band, tape, glue, staples, string, etc.
ANTLERS
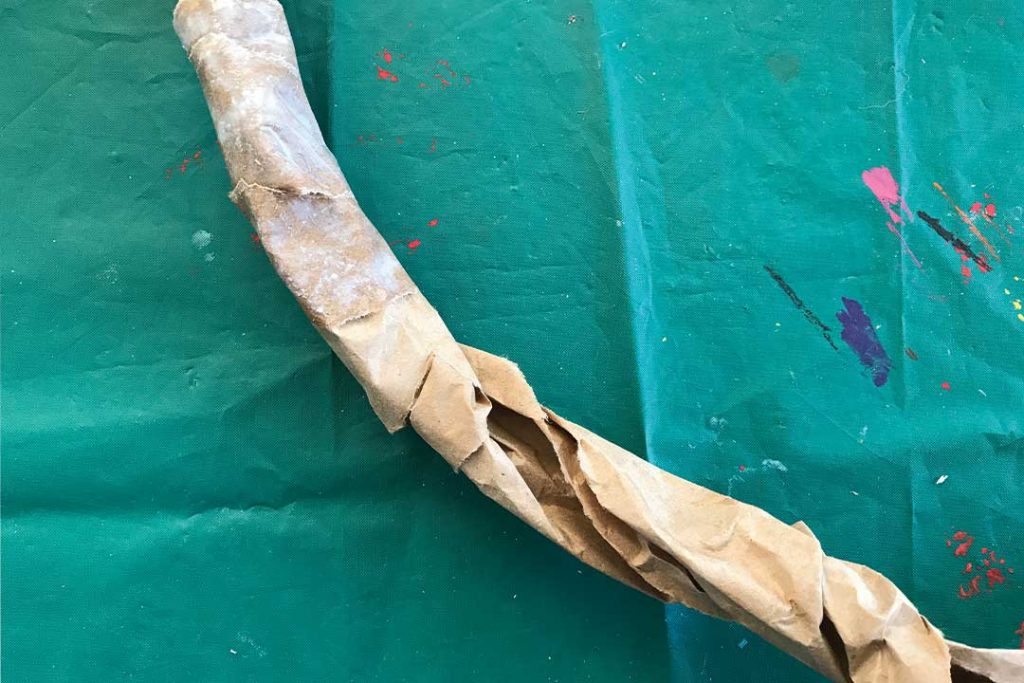
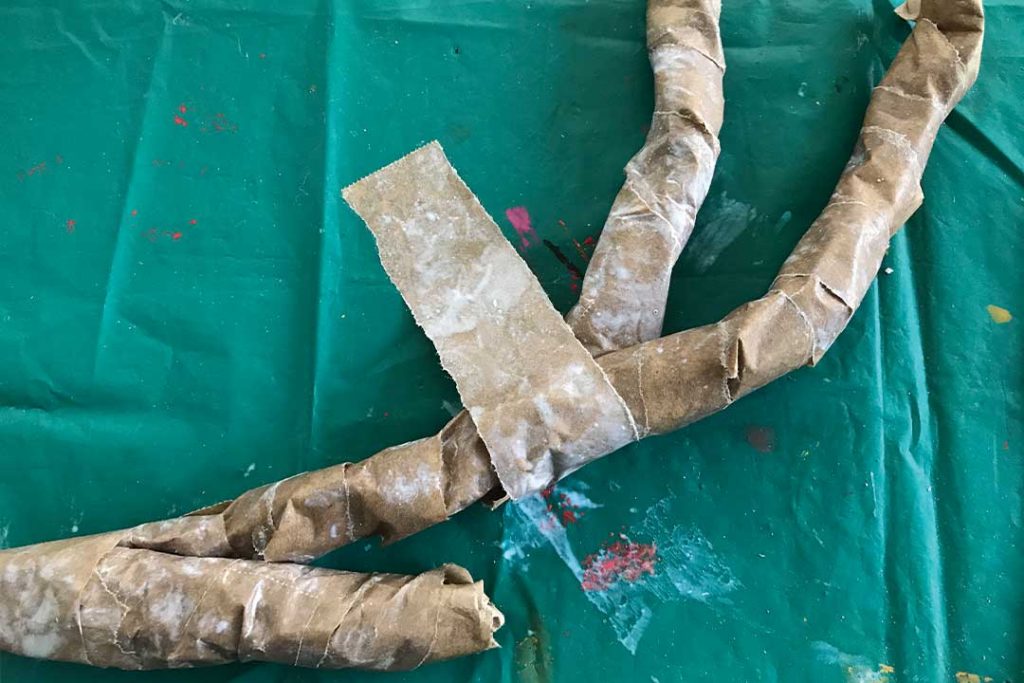
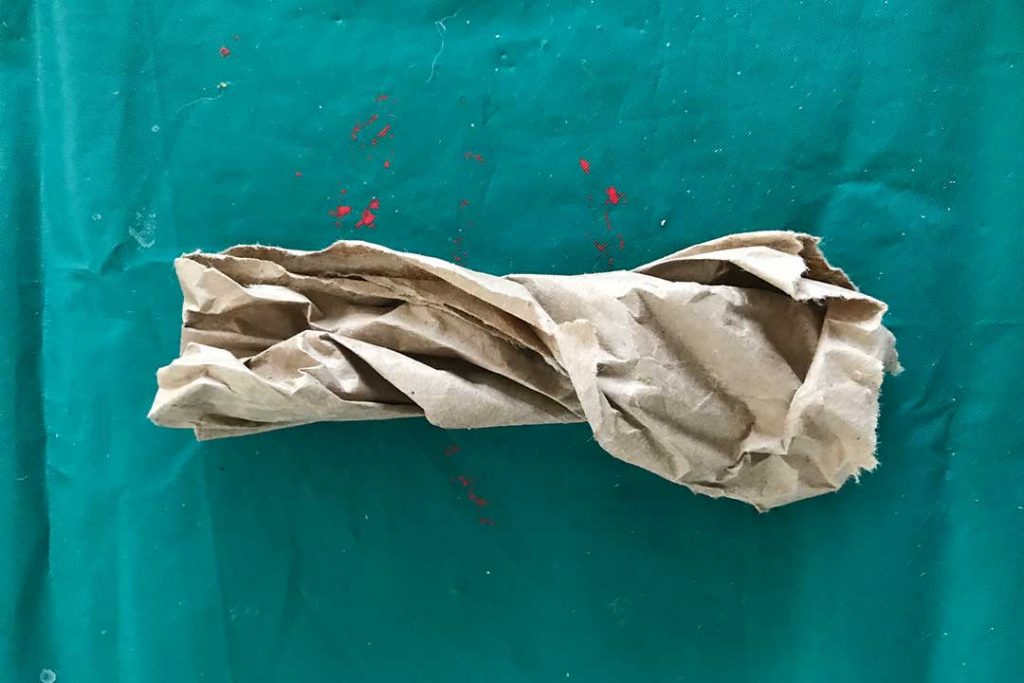
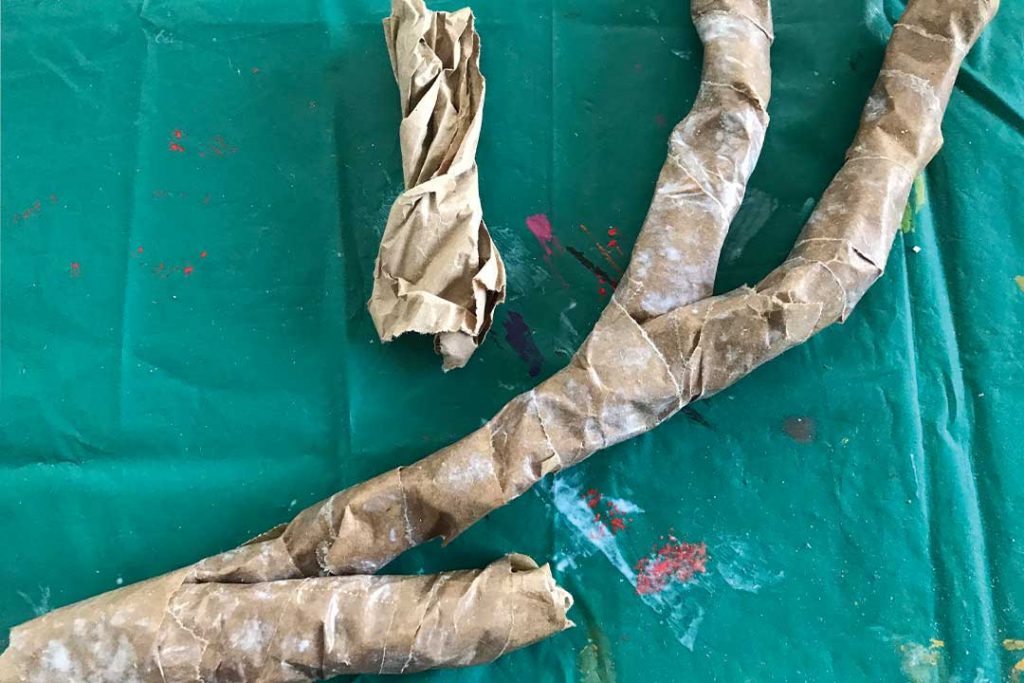
Next, I formed the base of the antlers by twisting a 4-6″ wide strip of packing packing into a curve and wrapping it in smaller paper mache strips.
I did the same with smaller portions to form the points of the antler and attached them to the base of the antler by wrapping with smaller 1-2″ wide paper mache strips.
EARS
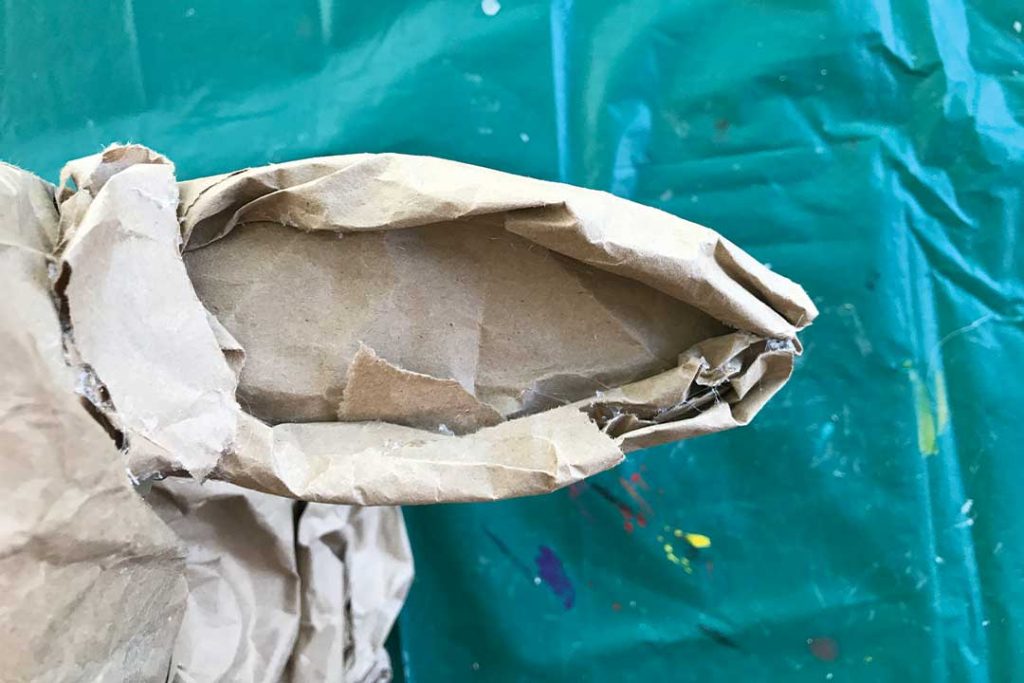
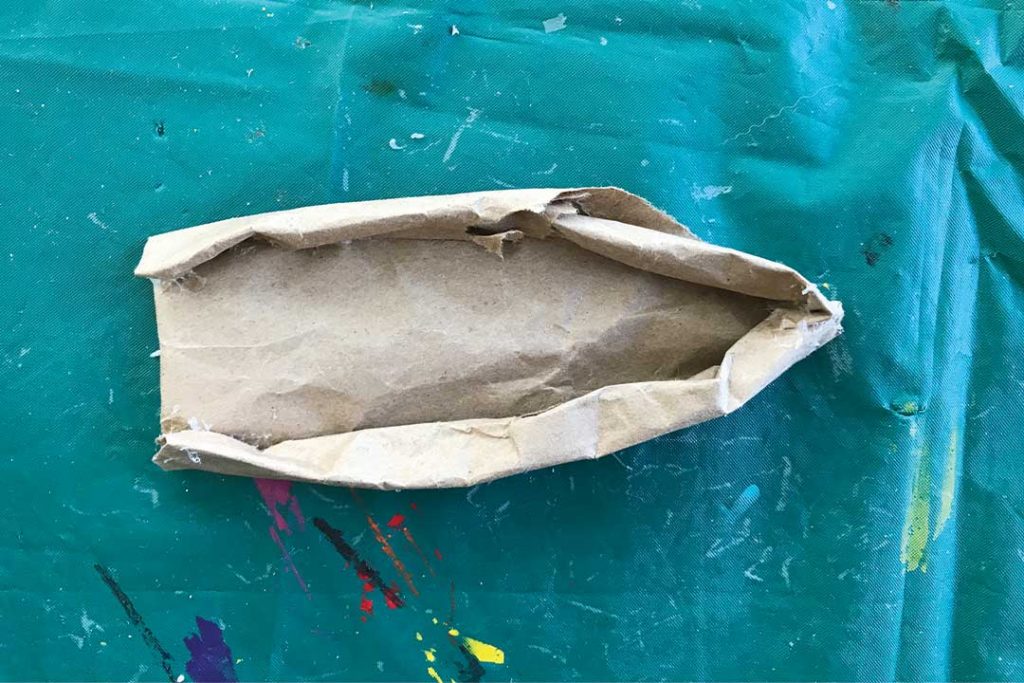
The ears were simply flat pieces of packing paper that I rolled up the sides of to form the rims of the ear. I used the hot glue gun to glue the rolled up sides to prevent them from unrolling before applying the paper mache.
FORM THE BASE
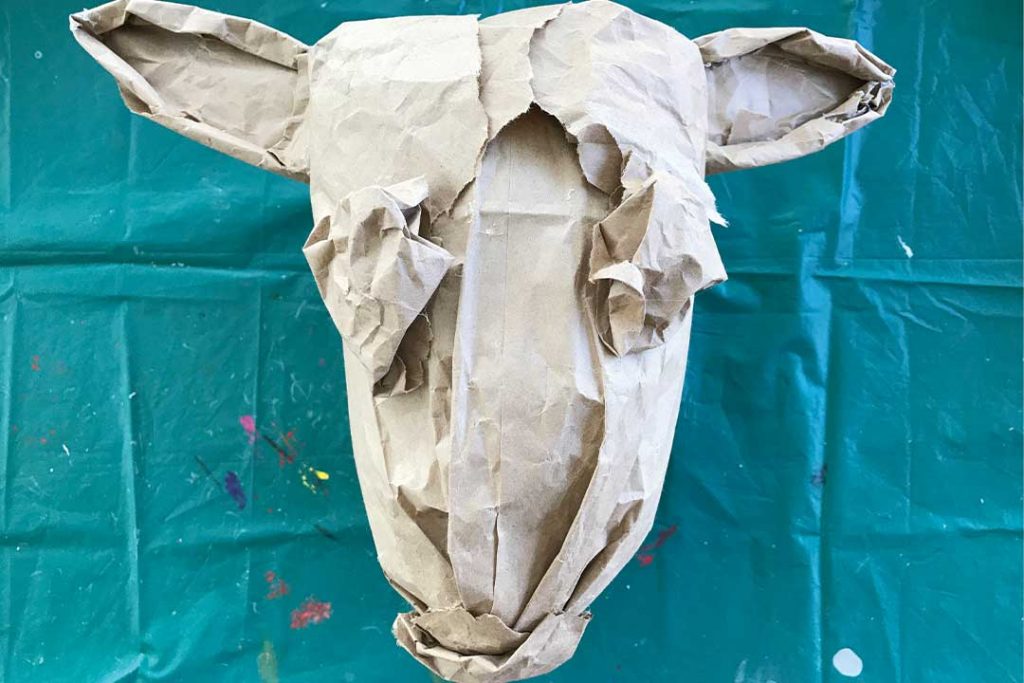
After I had all of my pieces, I then attached them all to form the base. Starting with the base pieces, I glued the head to the neck portion. I twisted some more 4-6″ wide strips of packing paper and wrapped them along the top and base of the neck to form a natural tapering shape.
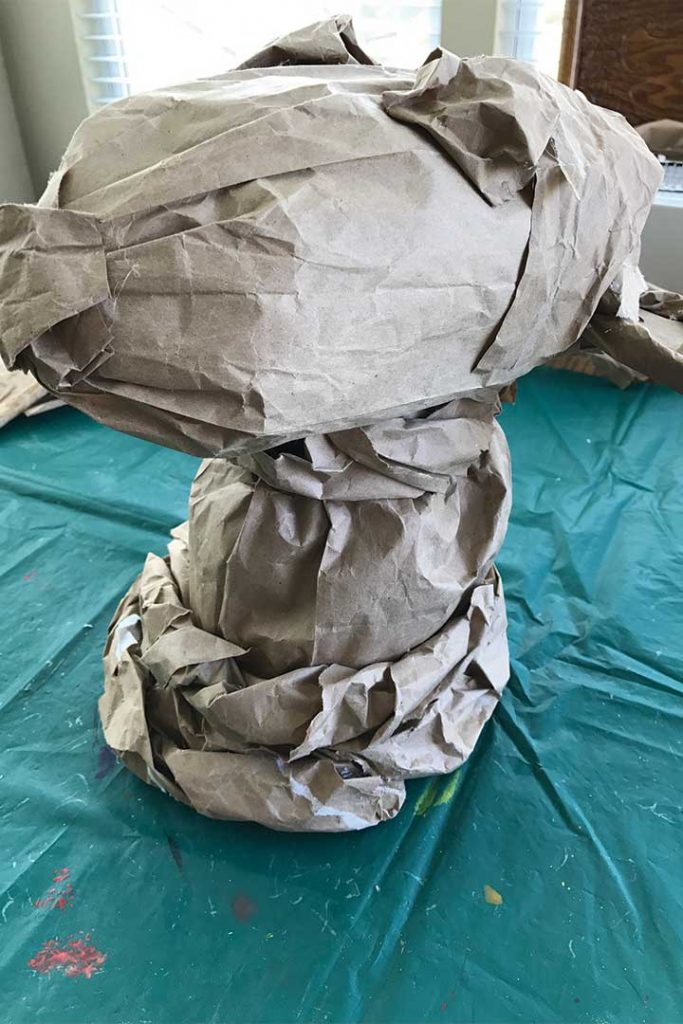
Next, I created and attached the detail pieces. I glued the ears onto the head and crumbled up some small bits of paper to form mounds for the eyes and nose.
I know, it looks pretty bad right now. Keep going, it will get better!
Dipping the strips of 1-2″ wide packing paper into the glue, I began laying the strips onto the base. I used the strips to taper and smooth the details of the face until the base was covered and I was happy with how everything looked.
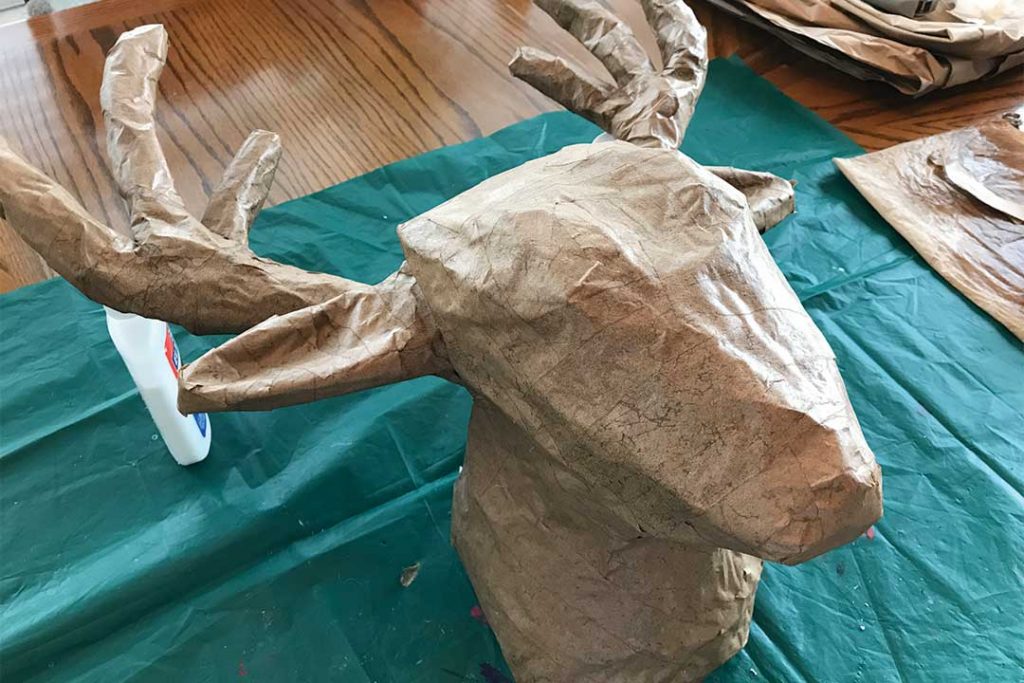
The antlers were the last pieces to be glued onto the head because of their weight. Once I glued the antlers on, I had to prop them up while they dried.
Notice my glue bottles playing the role of structural supports!
STEP 3 – PAPER MACHE THE NEWSPAPER
Now that the foundation was made, it’s time to move onto the decorating portion! Considering our son was a Navy baby, I found it fitting to use Navy newspaper articles to decorate the deer head for his nursery!
I cut the newspaper into 1-2″ wide strips for my paper mache and thinned out some more Mod Podge.
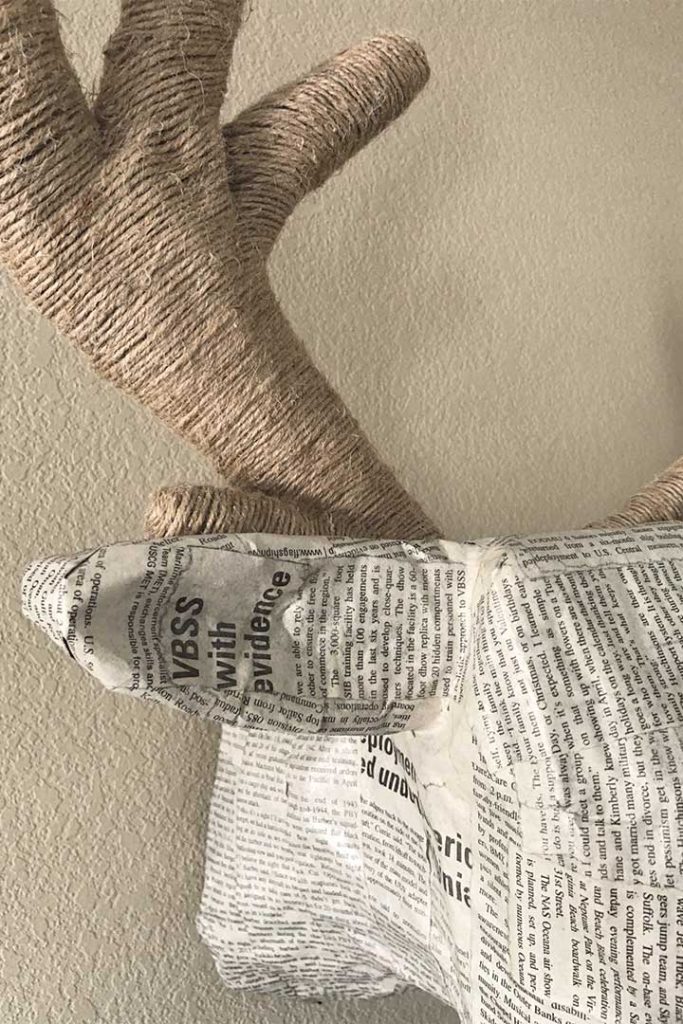
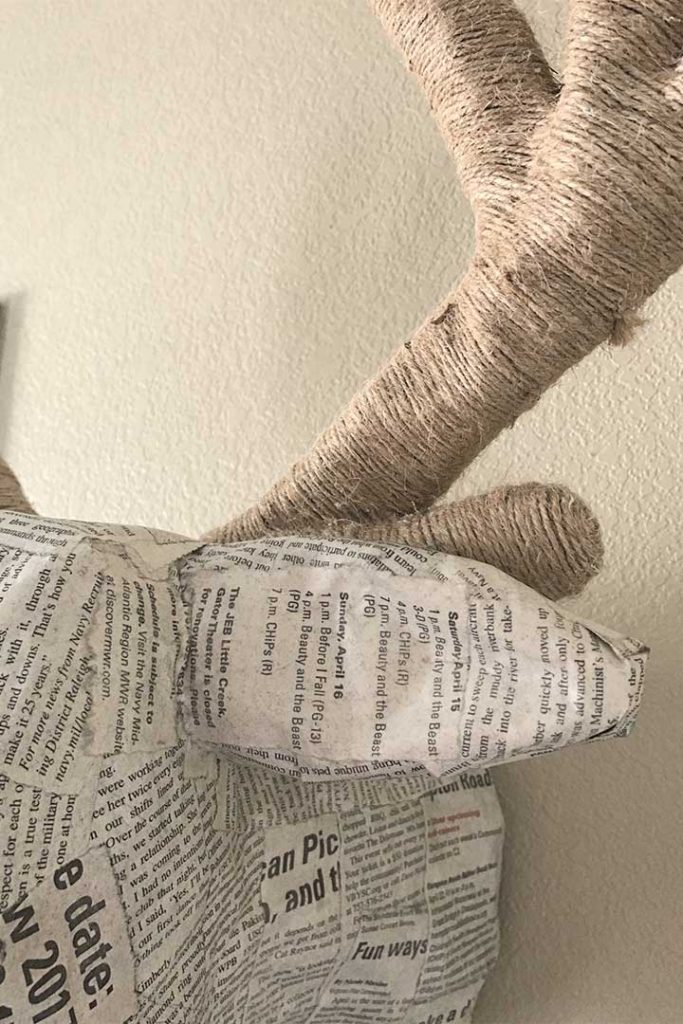
Dipping the strips of newspaper into the glue, I began laying the strips onto the base. Continue until the base is covered in paper mache newspaper.
When working with newspaper, be careful not to overwork the paper. The ink can smear if brushing the surface with a sponge brush, rubbing the surface, etc.
Make sure to paper mache the base of the neck (the part that will be against the wall) with packing paper strips to strengthen it for hanging.
STEP 4 – APPLY THE TWINE
Once all of the paper mache was complete and dry, I then used a hot glue gun to attach the twine to the antlers.
I started from the base of the antlers and worked my way up, venturing off the base of the antler onto each point.
At the top of each point, I wrapped the twine until it filled in the space, glued it down at the center of the point, and trimmed off any excess.
Then, I went back to where I left off on the base of the antler and continued up the antler with a new strand of twine.
I repeated this process until the whole antler was covered in twine.
At this point you could choose to add floral! If we have a little girl at some point, I plan to add floral to the crown of the deer’s head and possibly intertwine some into the antlers.
STEP 5 – HANG ON THE WALL
My original plan for hanging the deer head onto the wall was to attach it to a wood plaque like a taxidermy deer head.
But, I was in a pinch to get this on the wall in time for some baby photos that were being taken in our son’s nursery.
What I ended up doing was simply poking a hole into the back of the deer’s neck and hung it on the wall through the use of a small command hook. It got the job done and I was happy with it!
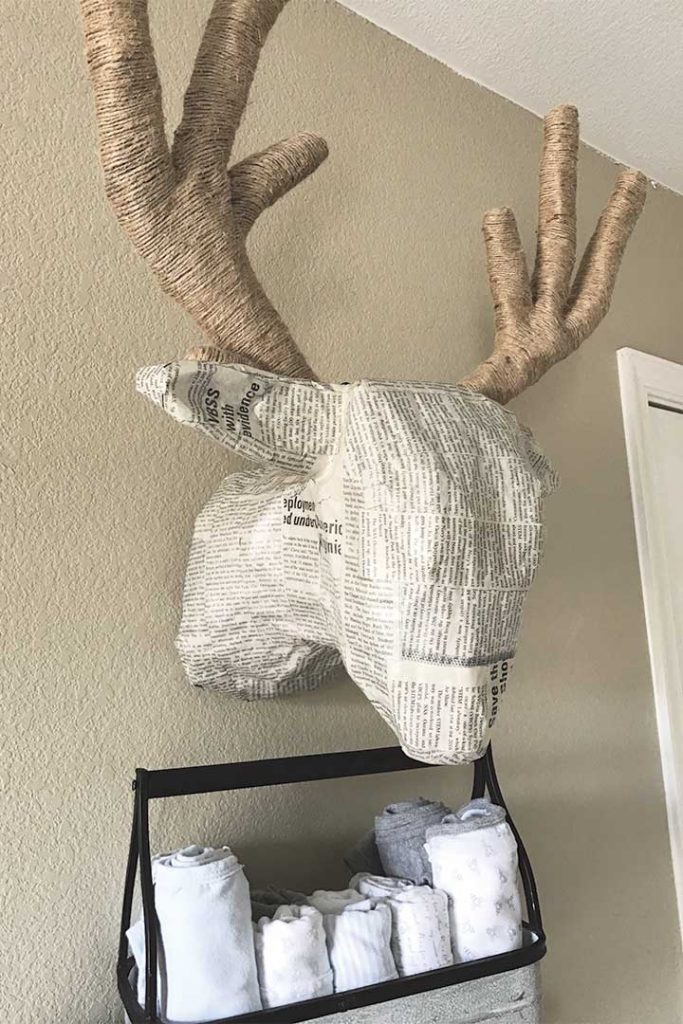
I gotta admit, I was very happy with how this turned out especially when I didn’t have a clue what I was doing in the process! And I especially love how this project didn’t cost me anything! You can find more of our nursery projects below!
MORE NURSERY PROJECTS:
- Woodland Nursery Curtains
- Woodland Nursery Signs
- Floating Corner Shelves
- Industrial Pipe Shelf
- Ultrasound Picture Frame
- Painted Wood Letters
- More coming over the next few weeks! Sign up for our email list or follow us on social media to be notified of new posts! Our social media accounts are listed below.
Happy Crafting!
How did you decorate your DIY paper mache deer head? Comment below or tag us on social media to share with us!
- FACEBOOK: @TheBluebonnetFarmhouse
- INSTAGRAM: @the_bluebonnet_farmhouse (<< Don’t forget the underscores!)
- TWITTER: @TheBBFarmhouse
- PINTEREST: @thebluebonnetfarmhouse

