DIY INDUSTRIAL PIPE SHELF
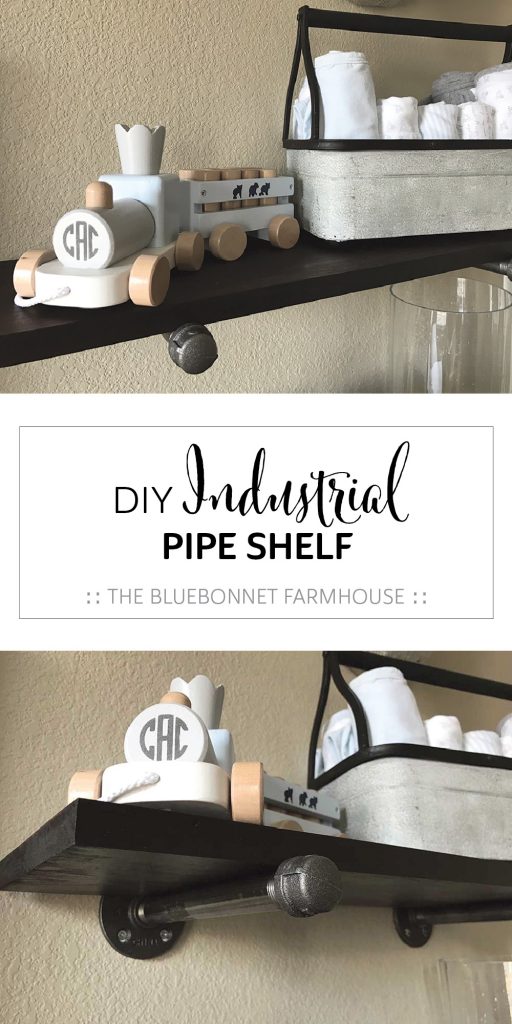
Learn how to make this DIY industrial pipe shelf for under $25. An easy beginner DIY project inspired by Restoration Hardware, but made for a budget!
This post contains affiliate links used to help support The Bluebonnet Farmhouse. For more information, please see my disclosures here.
When designing our son’s nursery, I wanted to incorporate a collage wall above his dresser. Being inspired by the industrial pipe shelves I had been seeing, I decided to add one onto this wall for additional counter space.
The so-called dresser we used in the nursery was technically not a dresser, but more of a decorative storage cabinet. The overall depth and dimensions of the cabinet were much smaller than that of a regular dresser; therefore, it did not leave much counter space for storage or decor.
This industrial pipe shelf, in addition to this paper mache deer head, helped to add a variety of dimensions to the overall collage. The depth of the shelf paired nicely with the depth of the dresser, and I loved the extra surface area available for decorating!
In terms of difficulty level, this has got to be a runner-up with our ultrasound picture frame or our painted wood letters – in other words, super easy!!
This was an incredibly easy project, but one of my favorites in the nursery. It was such a simple way to add depth and visual interest to an otherwise flat canvas of a wall.
VARIATIONS OF THIS PROJECT:
- Use these pipe shelf brackets instead of making your own.
- Use 2-hole metal conduit straps to baby-proof the shelf in a nursery.
- Use a 2×8 board for a thicker shelf profile.
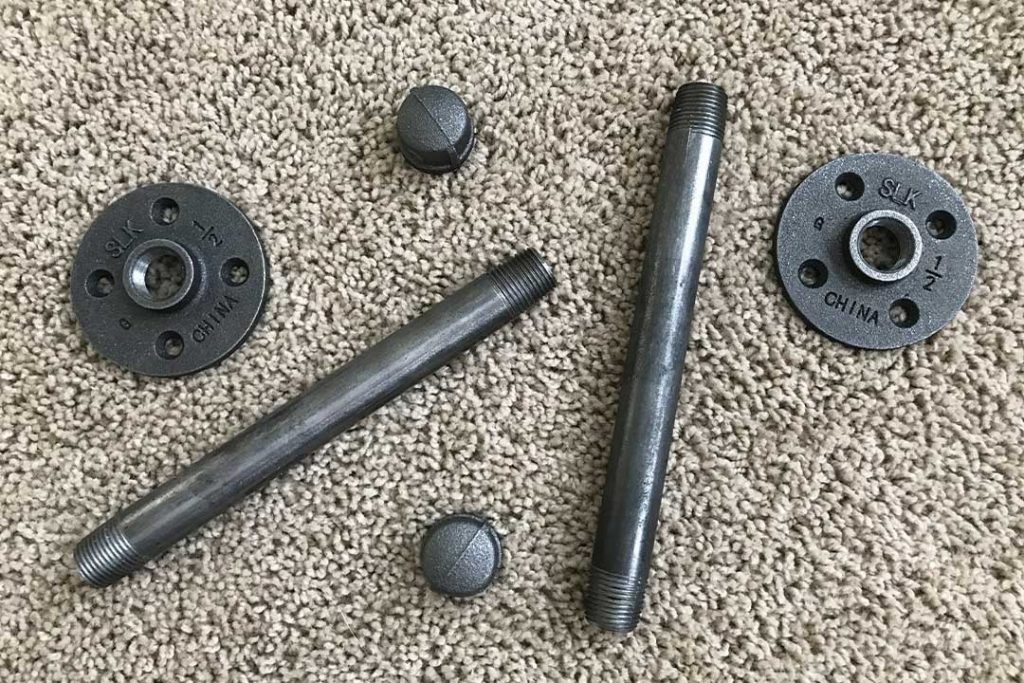
SUPPLIES:
- 1×8 Project Board
- (2) 1/2″ Black Iron Floor Flange
- (2) 1/2″ x 8″ Black Steel Pipe
- (2) 1/2″ Black Iron Cap
- Wood Stain (<< Our favorite!)
- Staining Rags
- Circular Saw or Miter Saw
- Drill
- Screws
- Level
HOW TO MAKE AN INDUSTRIAL PIPE SHELF:
STEP 1 – CUT AND STAIN THE SHELF
Using the width of the dresser as a guide for overall available space, I began by spacing out what was going to be my collage wall on the floor in front of the dresser.
After determining the placement and spacing of each piece, I measured the space available for the shelf and let that dictate the length of the shelf – 2’0″.
We cut the board to length and stained the wood.
For the stain, we used Minwax Red Mahogany because we already had a bucket of it and it matched the top of the dresser. We have since switched to and highly recommend this brand! They even have a craft stain perfect for projects like this one!
STEP 2 – INSTALL AND ASSEMBLE THE SHELF
INSTALLATION
The industrial pipe brackets themselves weigh a little more than a typical bracket, and depending on what you plan to place on top of the shelf, you might choose to use anchors or drilling directly into a stud.
We started off by locating any studs in the wall. Using the flange, we marked the location of the holes on one of them. To make it easier for leveling the other side, we went ahead and installed the one flange.
We then used a yardstick and a level to place the other flange and mark the location of the holes on that one as well. Install the second flange.
ASSEMBLE THE GALVANIZED PIPES
Brace yourself, this is the hardest step of the entire process.
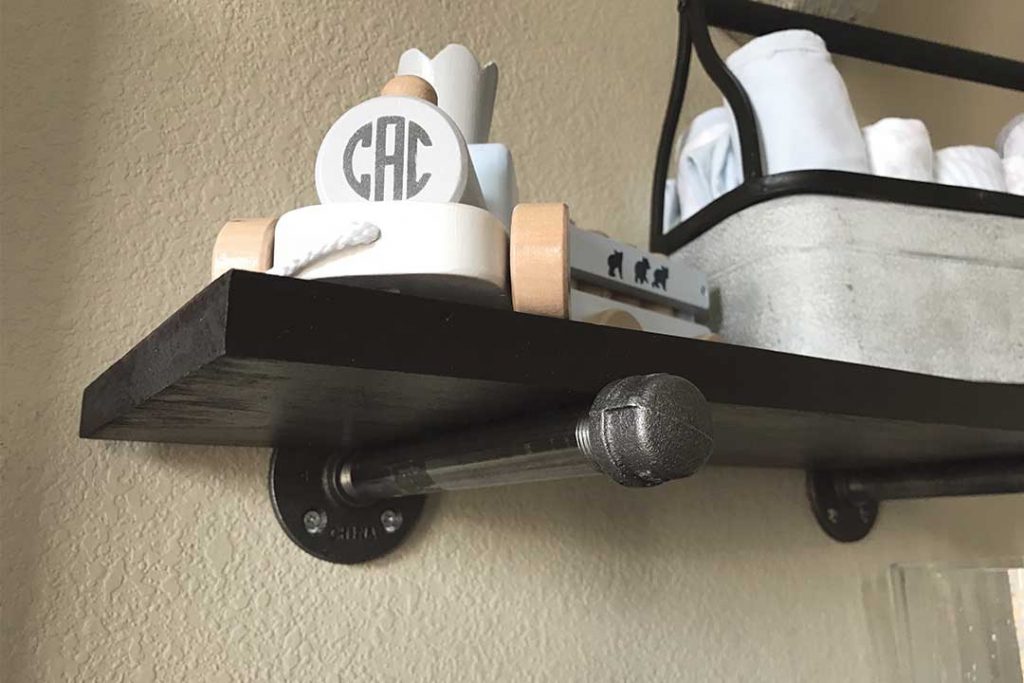
Once both flanges were securely installed on the wall, we screwed the steel pipes into each flange and lastly screwed on the caps.
Boom, done.
ASSEMBLE THE SHELF
All that was left was to simply place the cut and stained board onto the pipe shelf supports.
You can baby-proof the shelf by adding 2-hole metal conduit straps to secure the wood shelf to the pipes.
STEP 3 – DECORATE!
And now for the fun part!
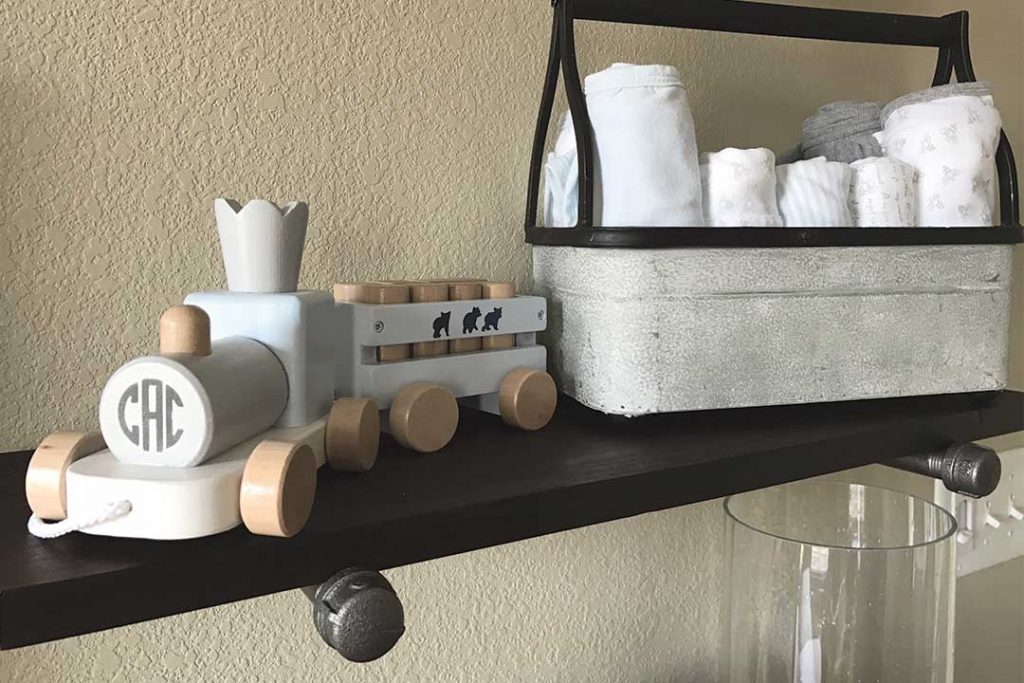
I wanted a special place in the nursery for our son’s wooden toy train and this shelf was the perfect spot. My sweet friend, aka one of Cole’s aunts, gave him this precious train from Pottery Barn and even hand-painted his initials along with some sweet baby bears!
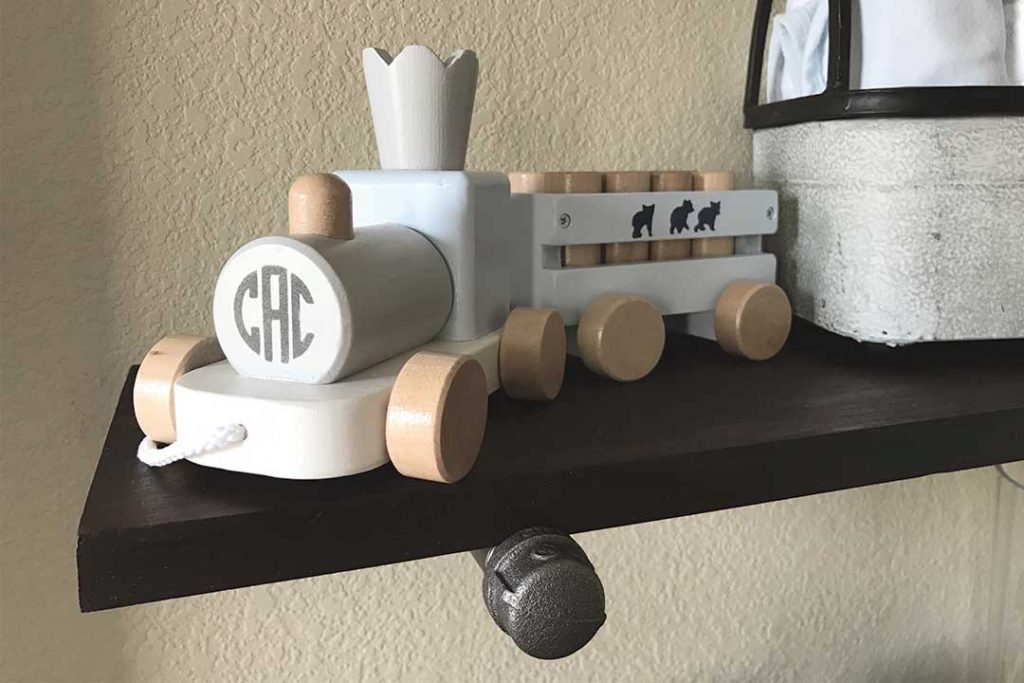
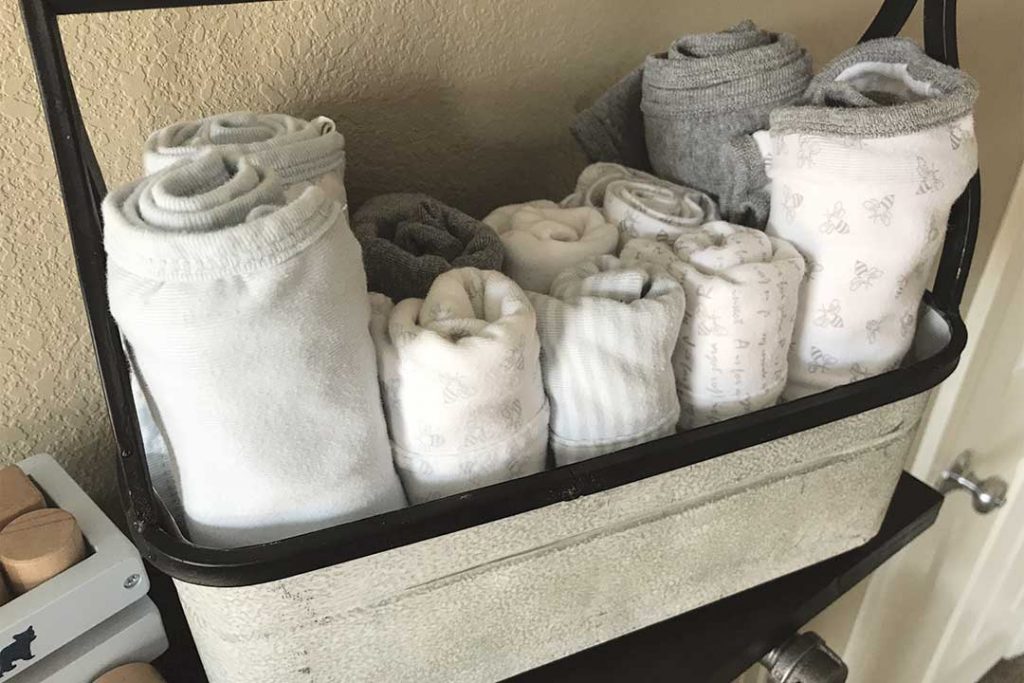
When shopping for nursery decor, I found this metal tool box and couldn’t leave the store without it… so I didn’t.
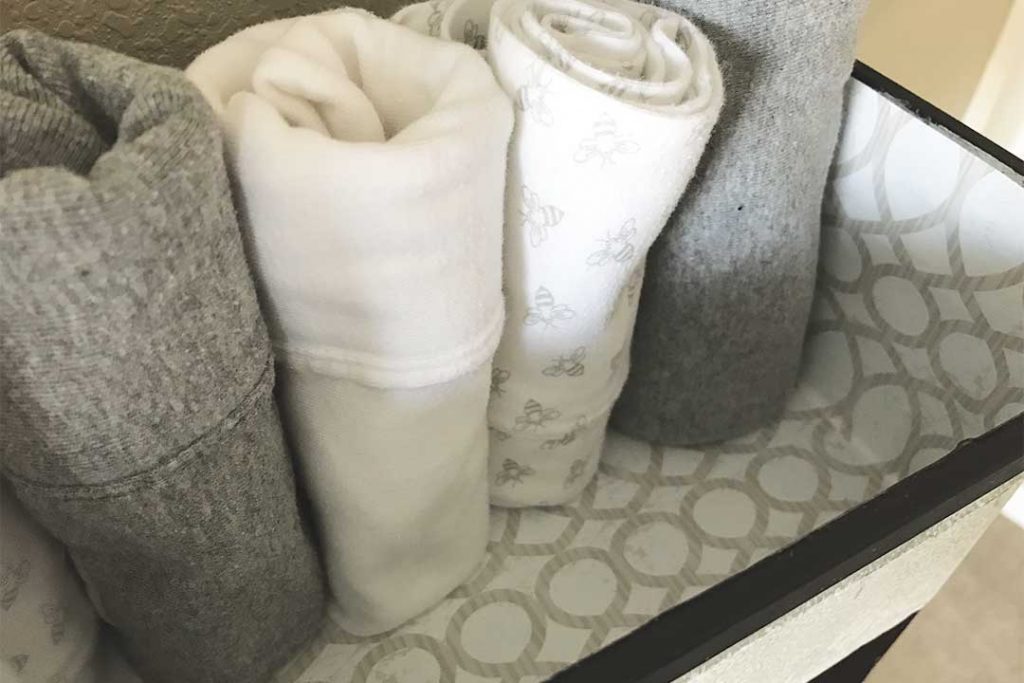
After giving it some thought as to what I could store inside this bin, I realized all of our burp cloths and baby blankets would fit! Adorable and functional decor, my favorite combo!
The inside of the metal bin had a bit of rust and chipping paint, so I lined the inside of it with some leftover drawer liner to keep the contents clean.
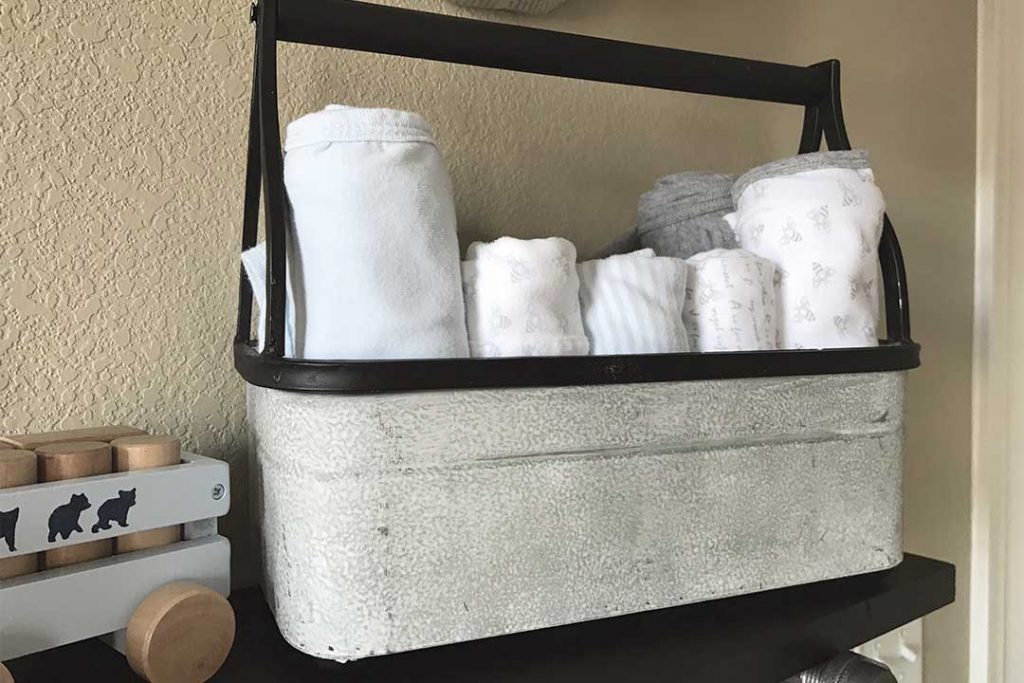
There you have it, clean and tidy nursery storage! Added bonus, it is a visual reminder when you are running low on burp cloths and need to do some laundry!
That’s all there is to it! With zero experience and $25, this is a great project for any beginner DIYer!
Check out our posts below for some nursery inspiration and more budget-friendly DIY projects!
MORE NURSERY PROJECTS:
- Woodland Nursery Curtains
- Woodland Nursery Signs
- Floating Corner Shelves
- Ultrasound Picture Frame
- Painted Wood Letters
- Paper Mache Deer Head
- More coming over the next few weeks! Sign up for our email list or follow us on social media to be notified of new posts! Our social media accounts are listed below.
Thanks for following along! Happy Building!

How did you decorate your nursery shelf? Comment below or tag us on social media to share with us!
- FACEBOOK: @TheBluebonnetFarmhouse
- INSTAGRAM: @the_bluebonnet_farmhouse (<< Don’t forget the underscores!)
- TWITTER: @TheBBFarmhouse
- PINTEREST: @thebluebonnetfarmhouse

