DIY CHRISTMAS GARLAND FOR LITTLE TO NO EXPENSE
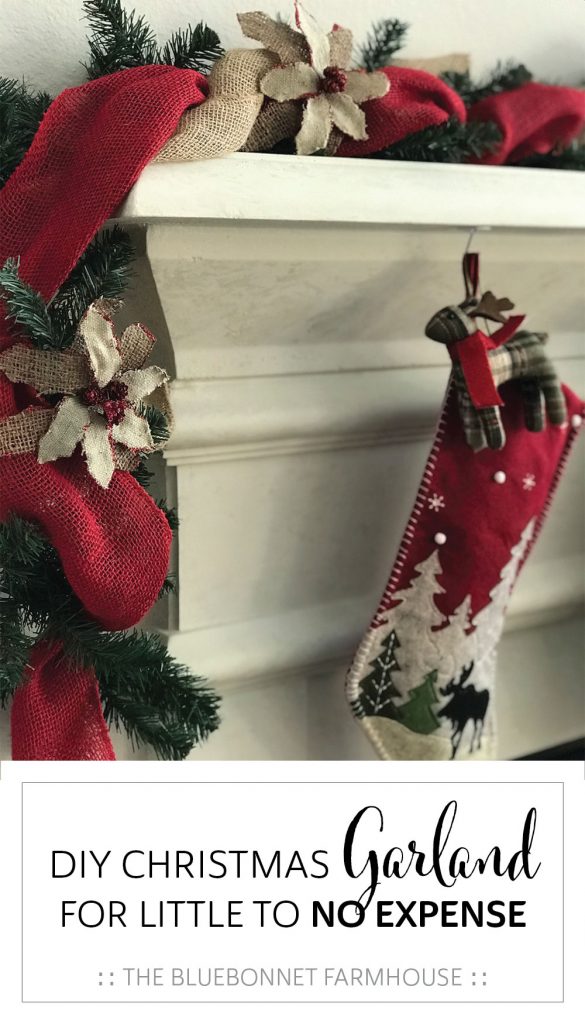
Welcome guests with a cozy garland in 5 simple steps! Learn how to easily take a basic, inexpensive garland and transform it into a beautiful Christmas garland for little to no expense.
This post contains affiliate links used to help support The Bluebonnet Farmhouse. For more information, please see my disclosures here.
While decorating for Christmas, I unpacked this DIY garland I had made while living on base in Virginia and thought it would be a fun project to share with you!
A couple of years ago we had purchased an inexpensive and basic green garland from the Navy Exchange for our mantel in base housing. Bear in mind this mantel was huge – it was over six feet wide and at least a foot deep.
Not thinking too hard about the fact stated above, we brought the garland home and eagerly placed it on the mantel. Y’all it was bad. The garland appeared so scrawny up there on the expansive space. You know the saying,“If it ain’t broke, don’t fix it”? Well… I was going to fix it!
Around this time I had previously gone on a wreath making binge and stocked up on supplies to make wreaths for every occasion… and only made one. Can anyone else relate? Remembering that I had more burlap than I knew what to do with, I decided to put it to good use on this garland.
The two ribbons of burlap immediately added lots of fullness to the garland which was the primary goal. In order to keep it simple but dress it up a bit, I chose to spare a few burlap flowers from our Christmas tree to adorn the garland.
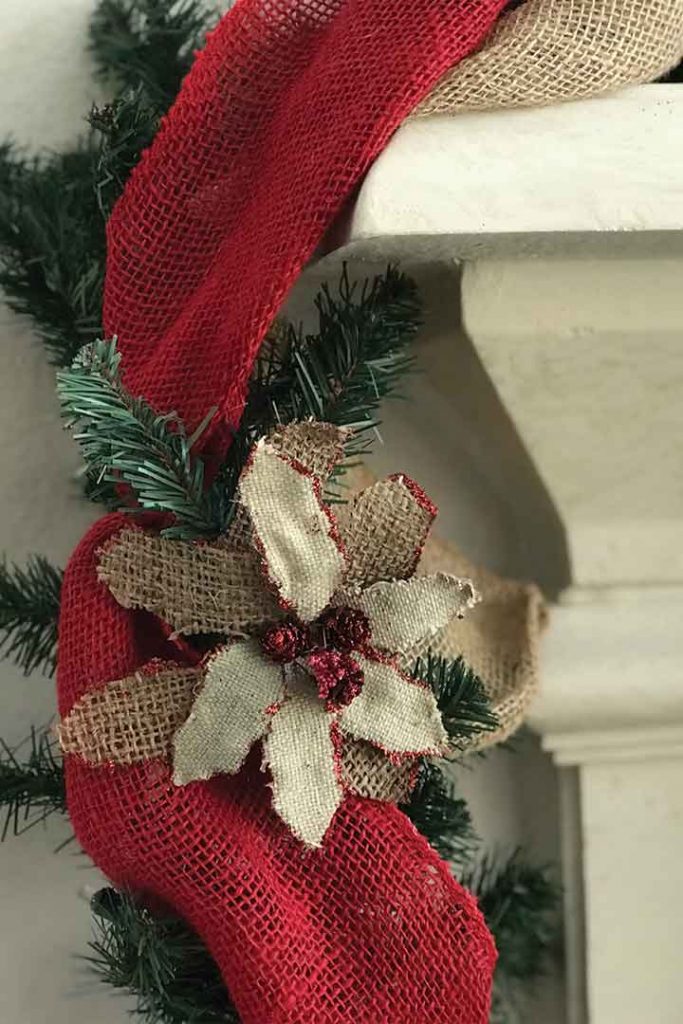
I was pleasantly surprised with how this completely unplanned project turned out. The burlap flowers, colors, and overall style paired beautifully with our Christmas tree located only a few feet away. What once was a scarce garland with little green twigs is now a full statement piece that captures guests attention.
The best part is you can easily change up and customize the appearance of your garland since none of the items are permanently installed.
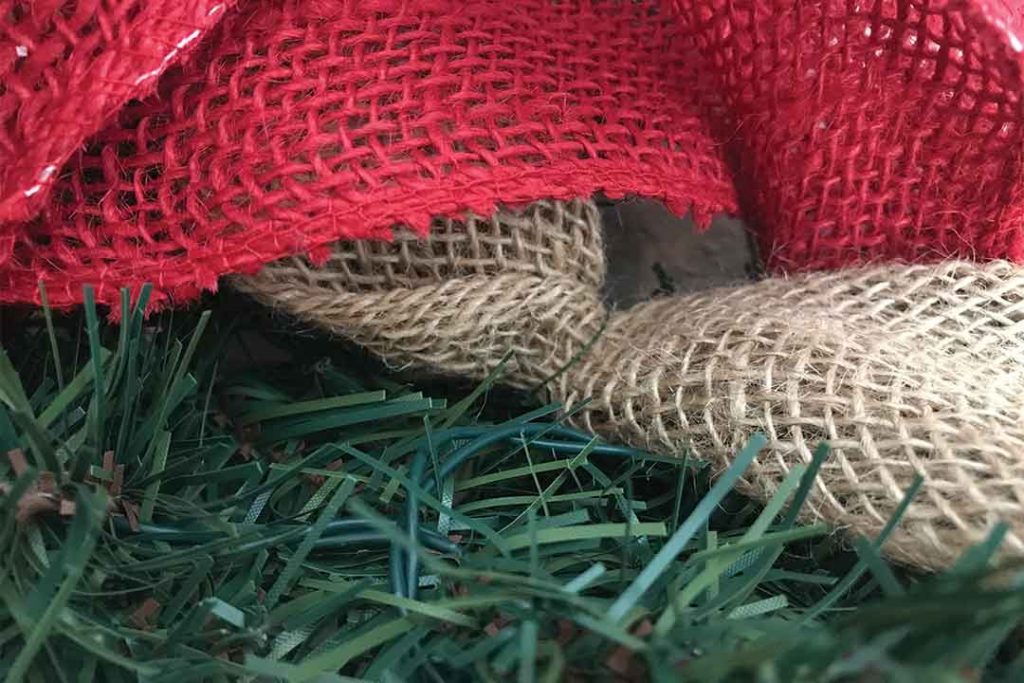
I chose to use natural burlap and red burlap ribbon to coordinate with our existing Christmas decor. For a neutral look, you could choose to use natural and ivory burlap.
The burlap flowers were previously purchased from the clearance rack at Kirkland’s.
Want to be resourceful? Use ribbons or ornaments you already have to avoid spending money on supplies. Have your little ones help and go foraging outside for pine cones and foliage to decorate with as well!
SUPPLIES
- 9′ Pre-Lit LED Battery Operated Garland
- Burlap Ribbon
- Burlap Flowers
- Floral Wire
- Scissors or Wire Cutters
NOTE: If you have an outlet on the mantel and have plug in Christmas lights – go for it! Otherwise I recommend the battery route to avoid unsightly cords and kids messing with it. We all know kids are like bugs to a light with all things they are not supposed to play with.
DECORATE
- Lay your garland out on a work surface and fluff up the branches.
- If you do not have a pre-lit garland, place plug in or battery operated string lights on the garland. You can fasten occasionally with floral wire.
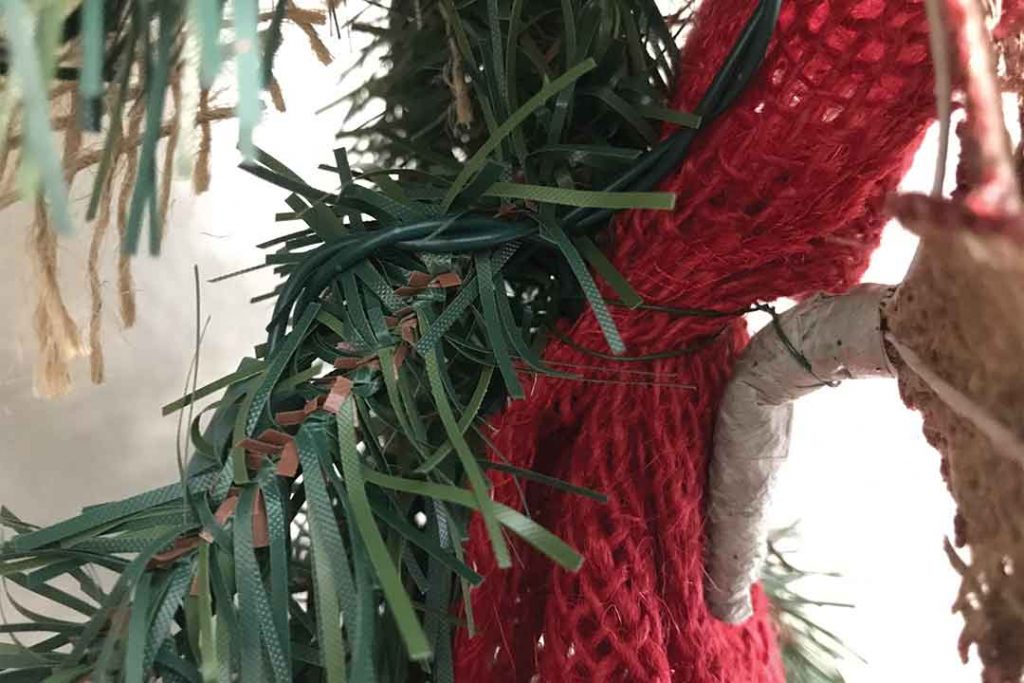
- Starting on one end, tie down one strand of burlap ribbon to the garland with floral wire. Work your way across the garland making puffy loops along the way by occasionally tying down the ribbon with the floral wire.
- Repeat Step 3 with the second strand of burlap ribbon. Alternate the locations of your loops by tying down the second ribbon in the middle of the first ribbons loop i.e. in the space between the first ribbons tie downs.
- Twist some floral wire onto the back of the flowers and fasten them in desired locations along the garland.
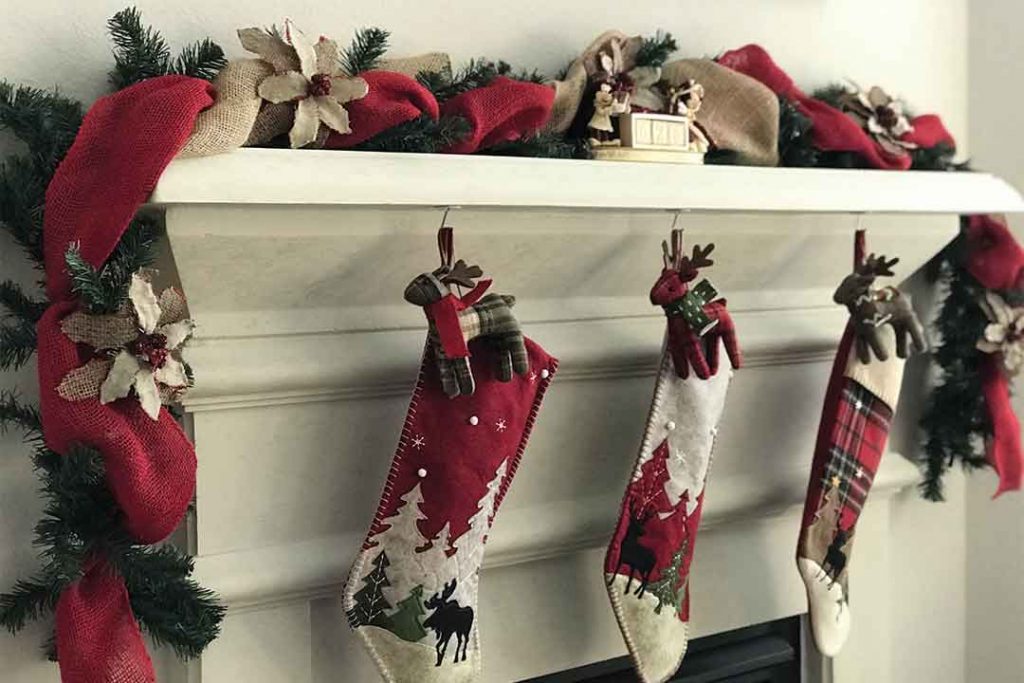
That’s it! In 5 very simple steps you now have a cozy garland to welcome guests into your home during the holidays.
There are so many ways you can get creative with the decor for your garland! Get inspired and let your creative mind have fun with it!
When you’re done, tag The Bluebonnet Farmhouse on social media to share your garland with us!
Thanks for following along! Merry Christmas!



VERY NICE LAUREN LOOKS COUNTRY.
Thank you! 😊