DIY CHALKBOARD WINE BOTTLES
Recycle your wine bottles into budget-friendly and versatile decor. All you need is a little bit of wine, cheese, … and chalk!
This post contains affiliate links to help support The Bluebonnet Farmhouse. For more information, please see my disclosures here.
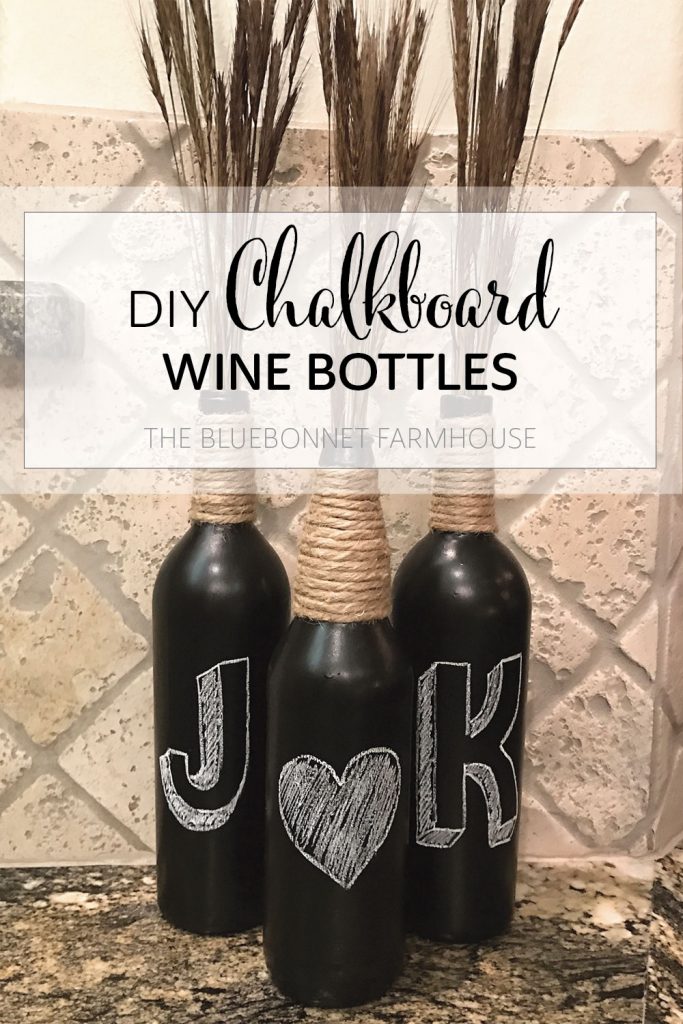
If you are like me, then you probably have a small stash of wine bottles and corks in hopes of doing something creative with them one day. These chalkboard wine bottles are a creative and versatile decor option that work great on a wall shelf or fireplace mantel!
I stumbled upon this cute project when searching for some wedding gift ideas. Between the expense of airline tickets, hotel stays, and a rental car, we honestly didn’t have much in the budget for a wedding gift. You can look at it as our main gift was getting to be there to celebrate with them!
After some Pinterest inspiration and some ideas of my own, I ended up pairing these chalkboard wine bottles with a chalkboard serving tray and wedding date pillows for some handmade wedding gifts!
The idea of using chalkboard paint on wine bottles creates tons of versatility in the project. With three bottles you can write initials for bedroom decor or baby showers, his and her initials for wedding showers, “JOY” for Christmas, etc.
In addition, you can swap out seasonal floral to give them a fresh new look all year long! Flowers, branches, dried floral, Christmas tree clippings, etc. Using the same decorative items year round, but simply changing it up a tad for every season, is such a great way to stay in budget with home decor.
Now, this tutorial is going to be rather straight forward, but here it is none-the-less!
SUPPLIES
- 3 Glass Bottles (wine, champagne, cider, etc.)
- Floral (live, dried, faux, etc.)
- #28 3-Ply Natural Jute (Mine is from Hobby Lobby)
- Hot Glue Gun
- Chalkboard Paint (This is our favorite paint brand!)
- Sponge Brush
- Wax Paper
- Chalk
PREP + PAINT
The first step is to determine which three glass bottles to use. I say three because of the rule of three; items arranged in odd number groupings is more aesthetically appealing. In addition, I chose to use varying sizes to add dimension; two of the same size wine bottles and one spiced cider bottle.
Remove the labels and any residue from the glass until the surface is free of any gunk. Wash and dry the bottles.
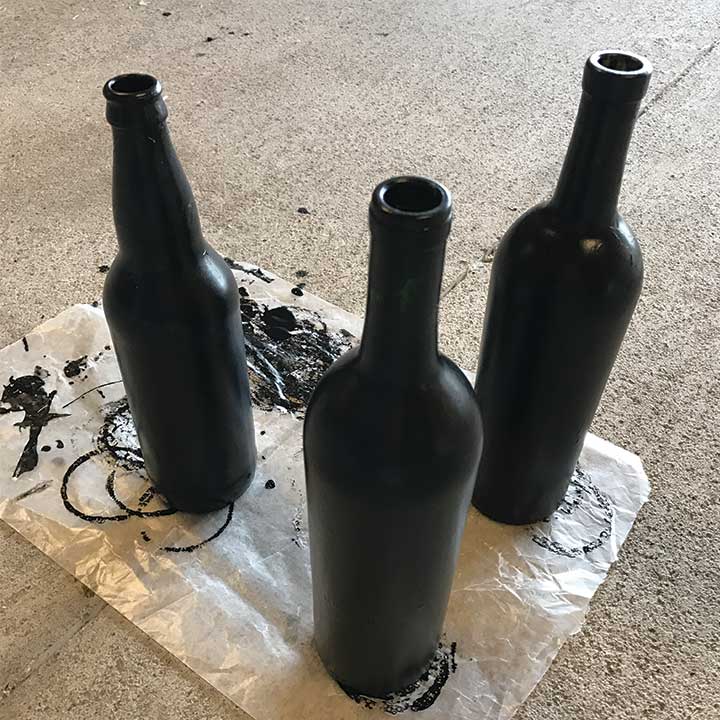
There are two ways you could go about painting the bottles: liquid paint or spray paint. I had some liquid chalkboard paint on hand from my chalkboard serving tray and decided to use that.
When working with either liquid paint or spray paint make certain to work with THIN coats; otherwise, you will end up with paint drips running down the sides of the bottle – thanks a lot gravity.
Apply additional coats until you reach the desired thickness of chalkboard surface, allowing for adequate drying time between each coat.
I chose to not paint the bottom of the bottles; therefore, I was able dry them upright on wax paper. The wax paper works great by preventing any sticking to the bottles surface when dry.
DECORATE
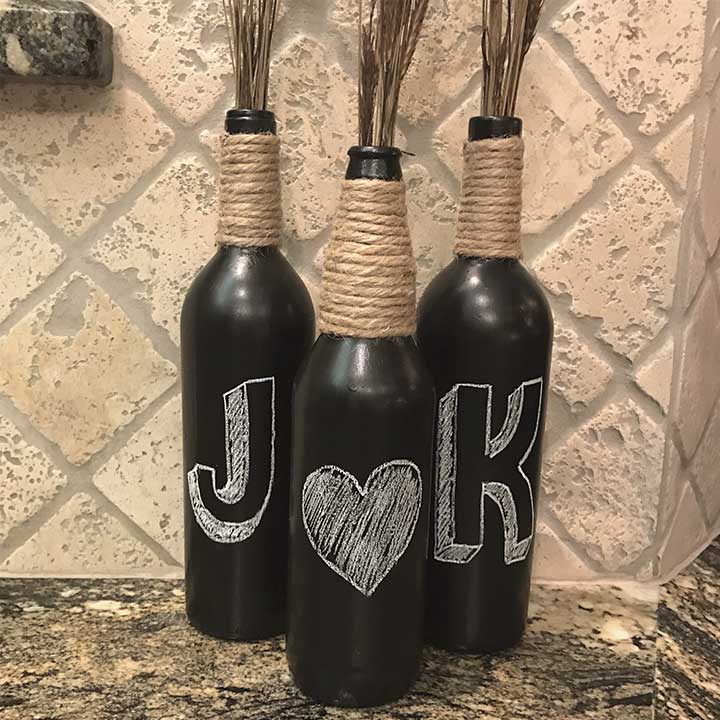
Let your creative side shine and start decorating your bottles! I kept mine simple and only used jute to remain versatile for everyday decor, holidays, and other occasions.
Use a hot glue gun when adhering the jute and periodically apply beads of glue while wrapping the jute around the bottleneck.
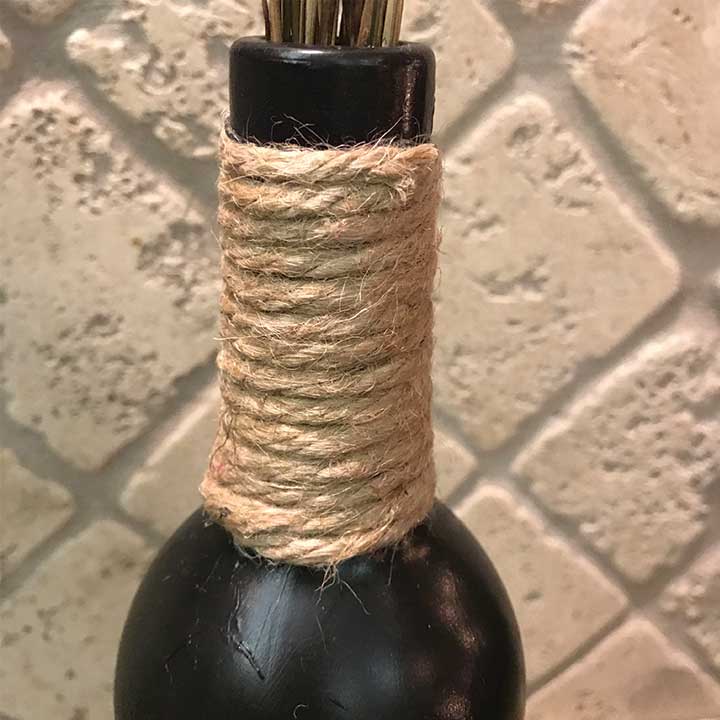
After the decorating is done, grab some chalk and test out your new chalkboard surface! Finish them off with dried or faux floral.
RELATED POSTS:
Thanks for following along!
