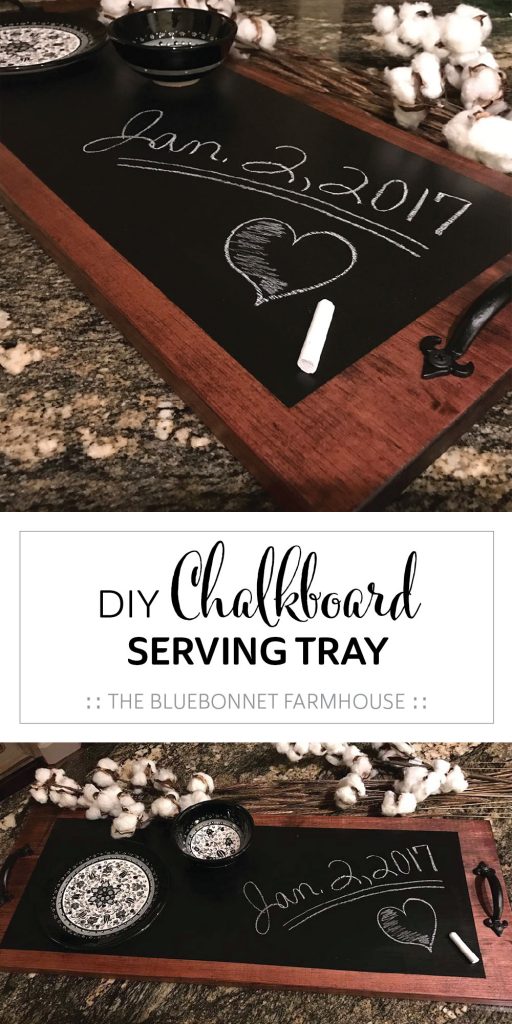
DIY CHALKBOARD SERVING TRAY
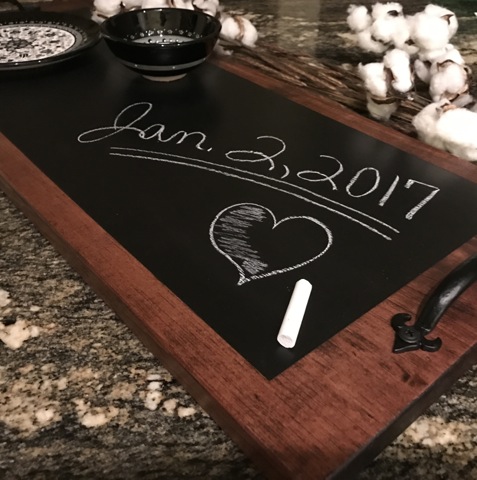
Learn how to make a custom chalkboard serving tray. This tray is such an easy project and perfect for a wedding gift, housewarming gift, etc.
This post contains affiliate links used to help support The Bluebonnet Farmhouse. For more information, please see my disclosures here.
Summer is here and that means pool parties, BBQ, and good company! All of this equals entertaining, and with entertaining comes serving ware.
I was actually searching for wedding gift inspiration when I stumbled upon the idea of these neat chalkboard serving trays. I decided to give it a go and make one as a wedding gift for one of my best friends, in addition to using the tray at her bridal brunch.
In addition to this chalkboard serving tray, I also made chalkboard wine bottles and wedding date pillows for some more custom decor to use as accompanying wedding gifts.
If you need a great gift idea this is it! I fell in love with the finished product and wanted to keep it for myself. Needless to say, I plan to make one for us as well!
MATERIALS
- 1×12 Board
- Wood Stain
- Varnish
- Chalkboard Paint
- Painters Tape
- Staining Rag
- (2) Sponge Brushes
- (2) Decorative Handles
- (4) ½” Screws
- Sander
- Drill
- Circular Saw (if needed)
- Wood Burning Kit (optional)
WOOD PREP
Begin by either finding a piece of scrap wood in your garage, or by cutting a board to your chosen dimensions. I had managed to find the perfect size of scrap board in our garage that was left over from a previous project we had done – no cutting required!
Lay the handles and a few dishes you might like to use on the tray to determine what size would be best.
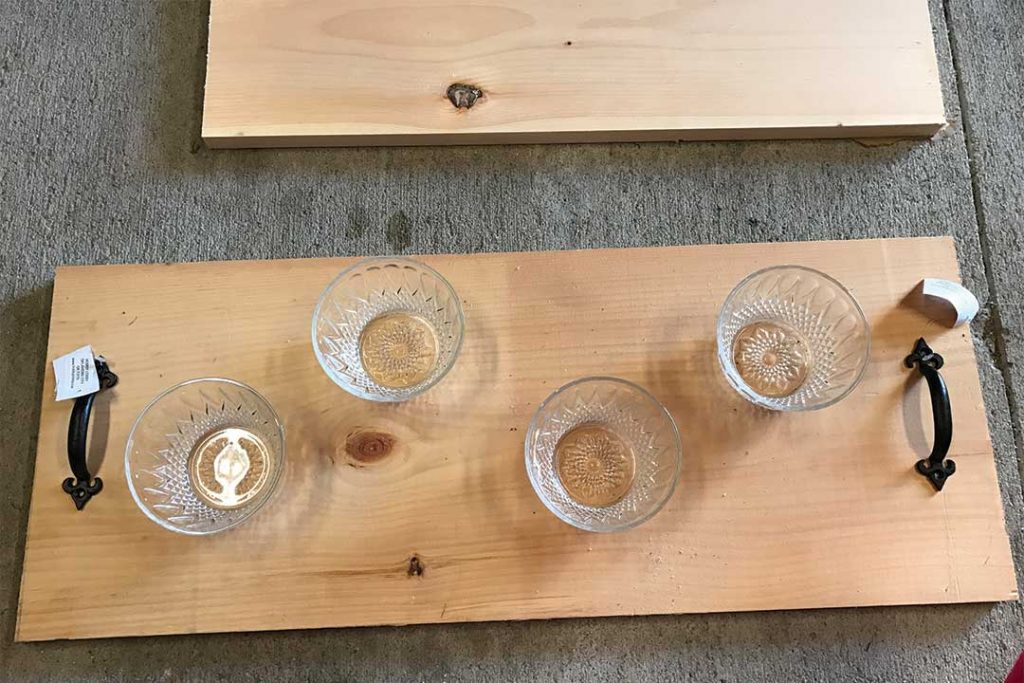
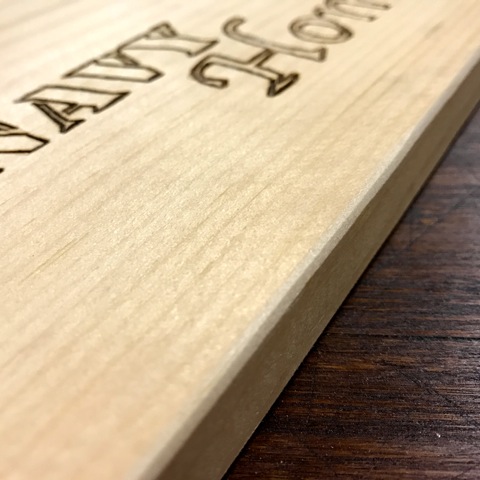
Use an electric sander to round all corners and edges of the tray. I wanted to add a unique feature to the back of the tray so I chose to wood burn my logo into the lower corner. If you would like to add a special feature of your own just follow these simple steps below!
WOOD BURNING (OPTIONAL)
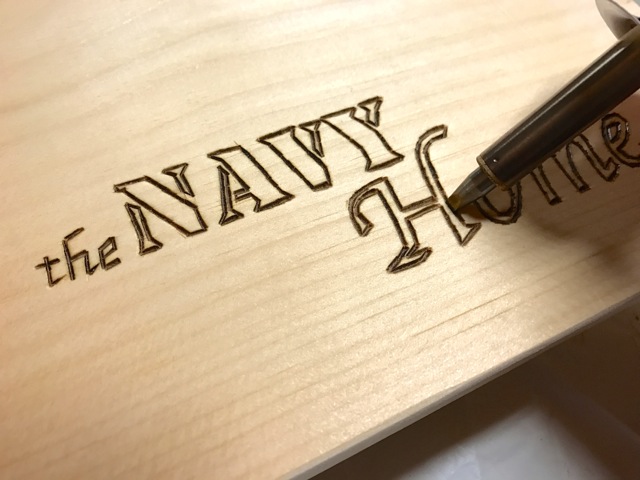
Print out the image or text onto a piece of paper at the size you want. Lay the paper onto the wood and use a pencil to trace the outlines you wish to display. Press hard when tracing with the pencil to make indents on the wood.
Remove the paper when you are finished and make sure all of the outlines you want are pressed into the wood. Simply trace the outlines with your wood burning kit and you are ready for staining.
STAIN + SEAL
Select your choice of stain color and apply with a staining rag. We used Minwax in Red Mahogany, but have since found and highly recommend this brand.
Apply additional coats until you reach the desired color, allowing for adequate time to dry between each coat.
Next, use a sponge brush to apply a thin coat of polyurethane. I chose to seal the tray in case any liquids were to get on it during food prep, serving, etc.
CHALKBOARD PAINT
Once the tray is nice and dry, apply painter’s tape around the edges to form the area that will become the chalkboard surface.
Using the painter’s tape, create a 1” border along the length of the tray with a 2” border along the widths where the handles will be added later. Be sure to press tape down firmly around all edges to ensure the chalkboard paint will not bleed underneath.
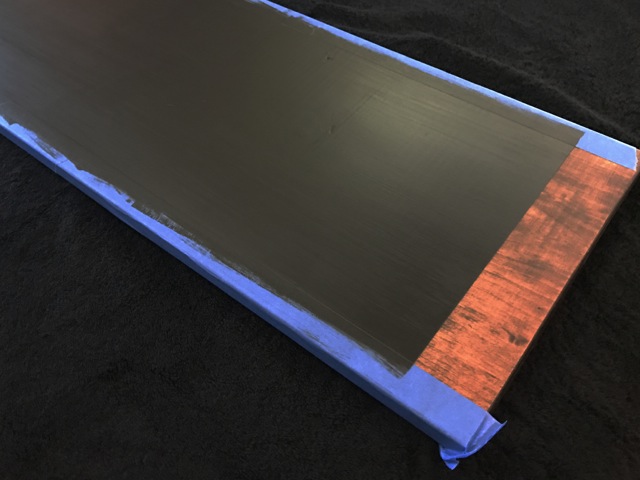
Time to pop open your can of chalkboard paint and get to painting! I’m not gonna lie, this is when I stir my paint with a stick I found in the yard. But, I am 99% positive this is not recommended. Instead, a clean stir stick does the trick and helps maintain the integrity of the product.
Use a sponge brush to apply a thin coat of chalkboard paint to your tray within the taped off work space.
When painting at the tapes edge, make sure your brush is lightly soiled with paint and apply with strokes moving away from the tape, not towards. If you paint with stroke towards the tapes edge, you are liable to end up with paint under the tape.
Apply additional coats until you reach the desired chalkboard surface, allowing for adequate time to dry between each coat.
ASSEMBLING THE TRAY
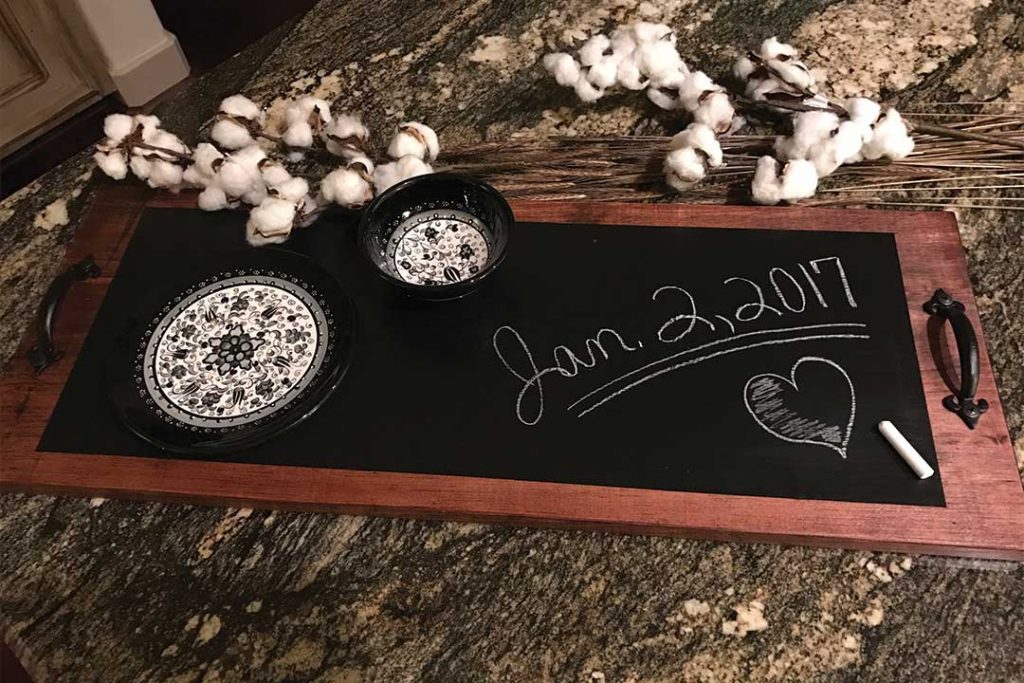
After your new chalkboard surface is completely dry – especially at the tapes edge – carefully remove the tape by pulling at a slight angle towards the painted surface.
The only thing left is to attach your decorative handles! Mark the locations for your screws, drill small pilot holes, lay the handles in place, and drill in the screws.
You’re done! Look at that beauty! Now you have a fun and beautiful chalkboard serving tray for all your summer festivities!
RELATED POSTS:
- DIY Chalkboard Wine Bottles
- Wedding Date Pillows
Comment below or tag us on social media to share your finished shelf! Thanks for following along!
