HOW TO MAKE A HOT WATER BOTTLE COVER
Learn how to make a hot water bottle cover and keep your feet warm under the covers during the chilly winter months!
This post contains affiliate links used to help support The Bluebonnet Farmhouse. For more information, please see my disclosures here.
During the winter months, my grandma loves to keep warm under the covers by placing her hot water bottle near her feet. She decided it would be nice to have a cover for her hot water bottle and asked if I could make one for her birthday.
With that being said, this hot water bottle cover makes a wonderful handmade gift! I paired it with another handmade gift for her birthday!
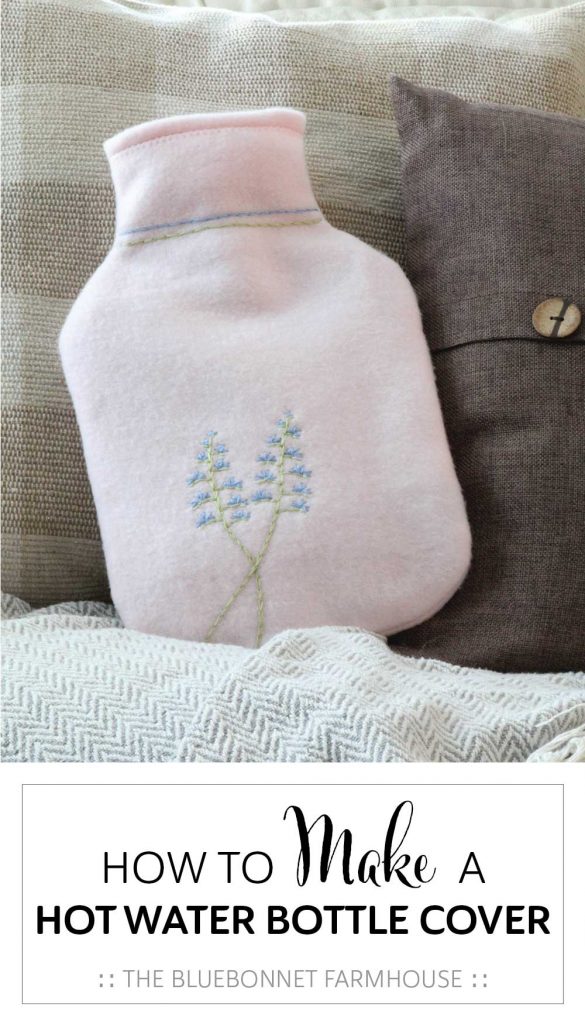
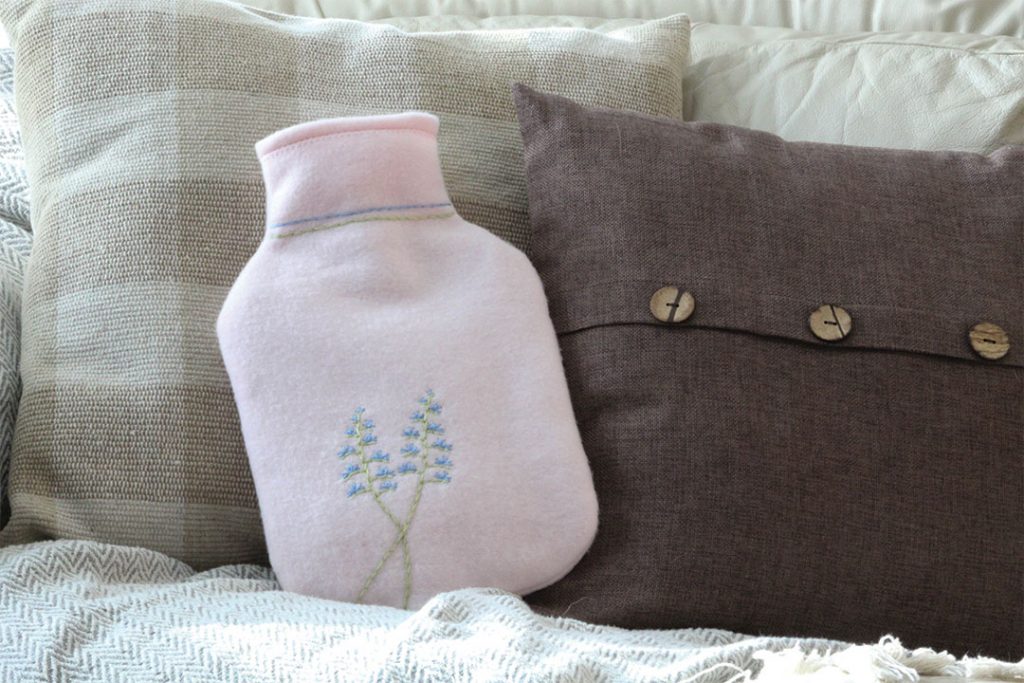
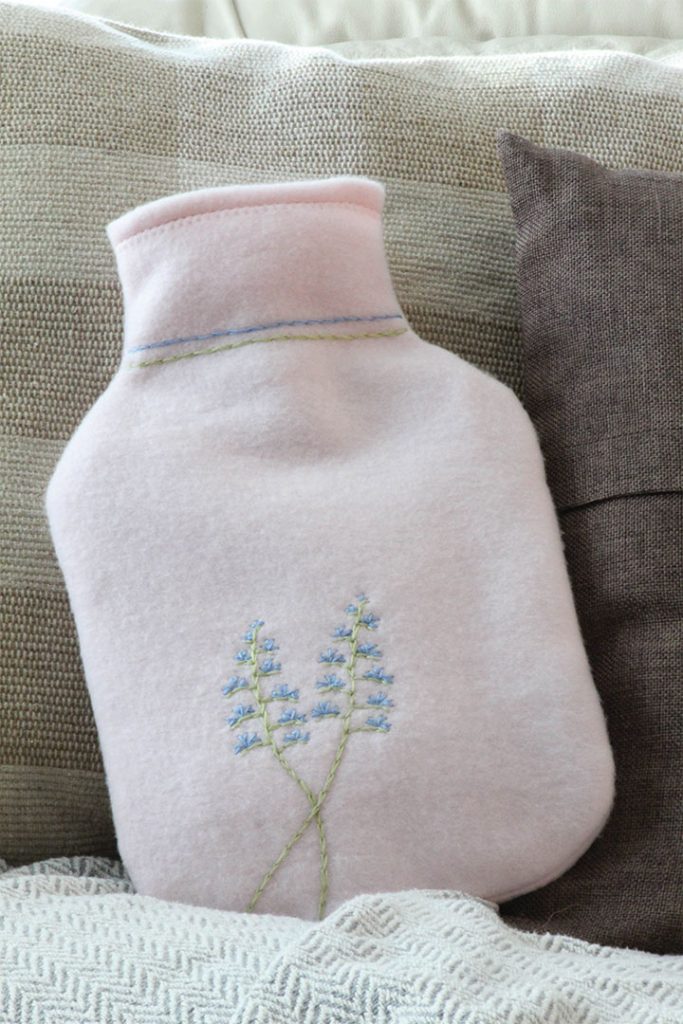
My grandma wasn’t sure how she wanted it to look, but figured a simple rectangle and drawstring would work. However, I couldn’t resist making it pretty for her! I shaped the cover to be a comfortable snug fit and hand embroidered it with none other than bluebonnets (rather my attempt at bluebonnets!).
When she asked me to do this project, I went to Pinterest for some inspiration. There is where I found a picture of a fitted, hand embroidered cover, but no pattern or tutorial on how to accomplish it. So I made my own.
After one failed attempt, which resulted in a cover that was too small, I managed to come up with a pattern that fits perfect and extremely cozy!
SUPPLIES
- 1/3 Yard of Fleece
- Thread
- Pins
- Embroidery Needle
- Embroidery Thread
- Fabric Scissors
- Measuring Tape, Yards Sticks, or Acrylic Ruler
- Pen + Paper (I used brown wrapping paper)
- Sewing Machine
- Hot Water Bottle
HOW TO MAKE A HOT WATER BOTTLE COVER:
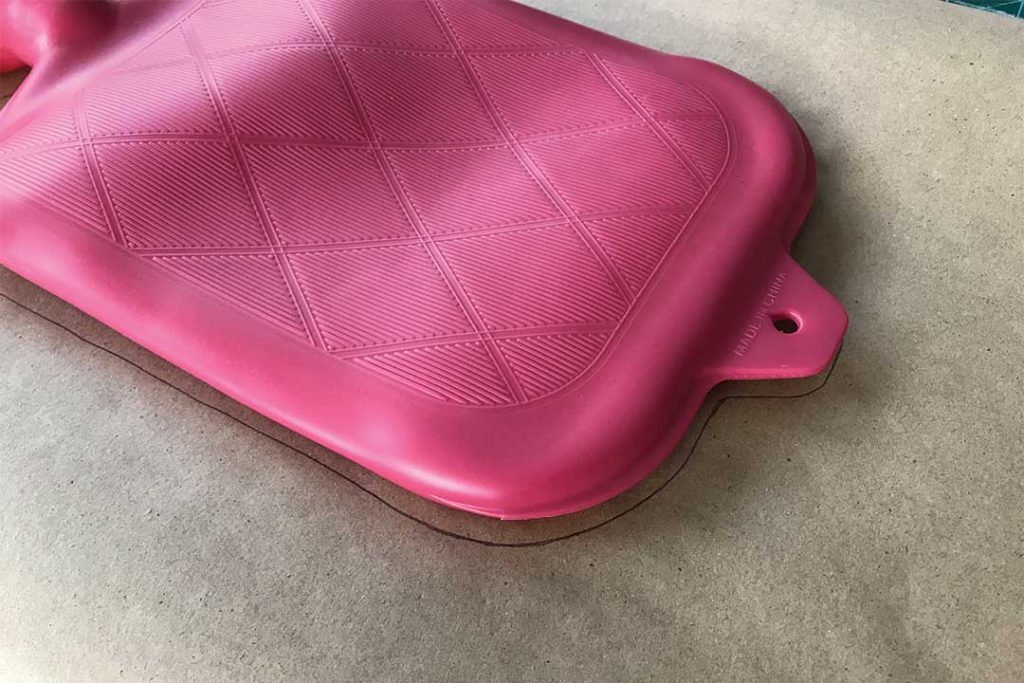
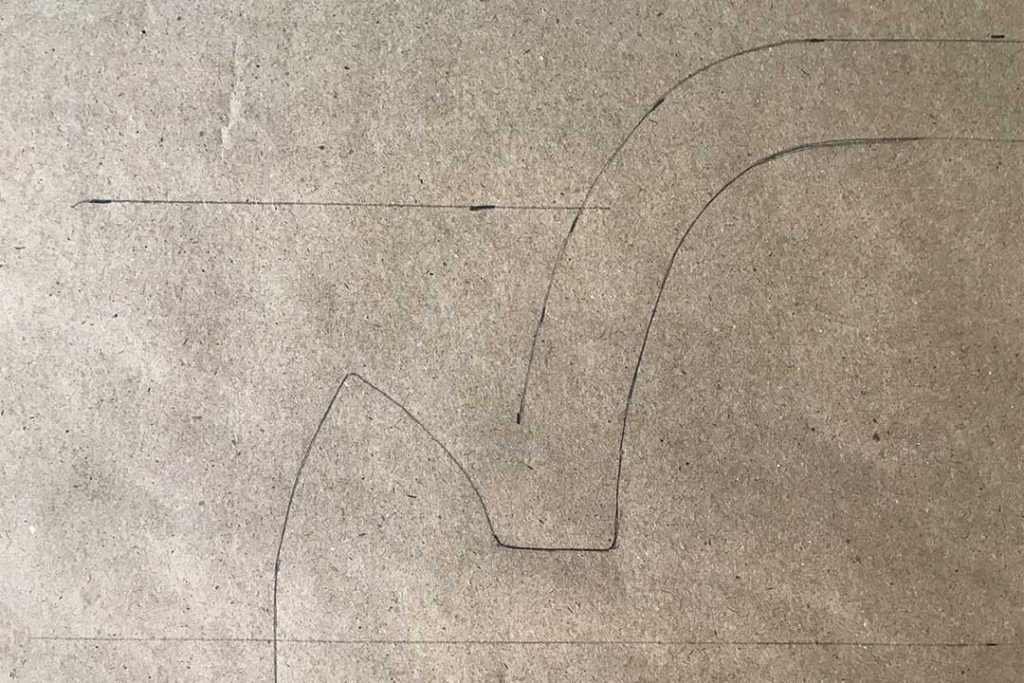
Begin by tracing your hot water bottle cover onto some paper. Use whatever you have: wrapping paper, parchment paper, poster board, etc.
Add 3/4 inches around the body of the water bottle and draw the new cut line. This allows for some possible excess of fabric that you can reduce later if needed.
I ended up needing to remove a little bit of length off the bottom of the cover by simply sewing a new seam in the desired location and trimming off the excess. After my first failed attempt, I wanted to play it safe and have too much fabric to work with rather than too little.
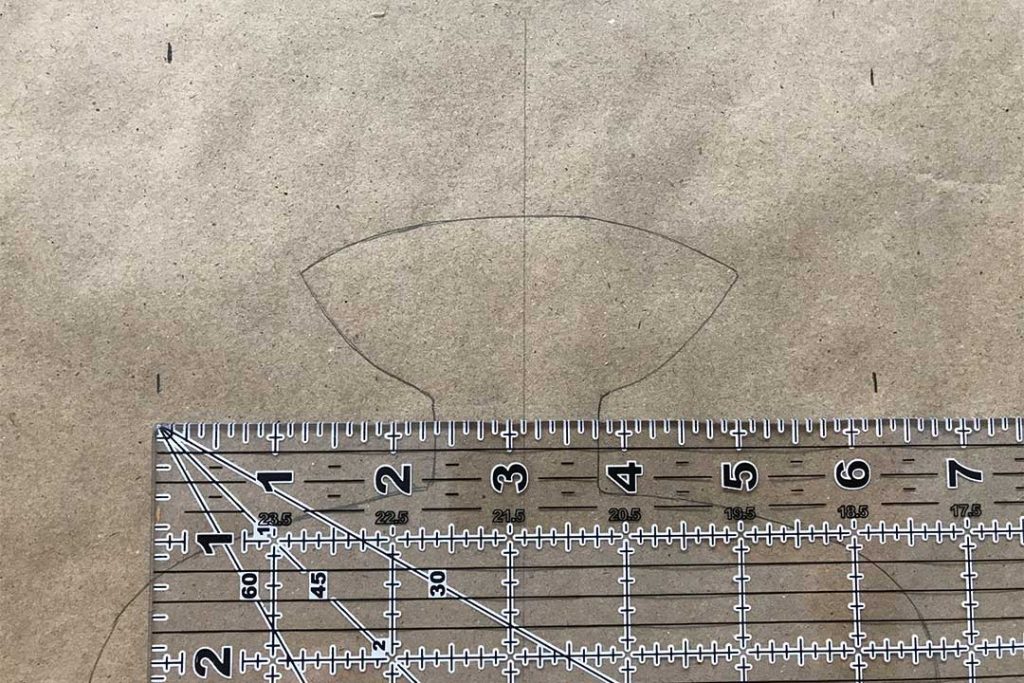
For ease of use, I chose to keep the spout accessible by extending the neck of the cover just passed the neck of the hot water bottle to ensure the bottle is hidden. This way she could fill the bottle, refill later with fresh hot water, and let the inside air dry – all while still staying inside the cover!
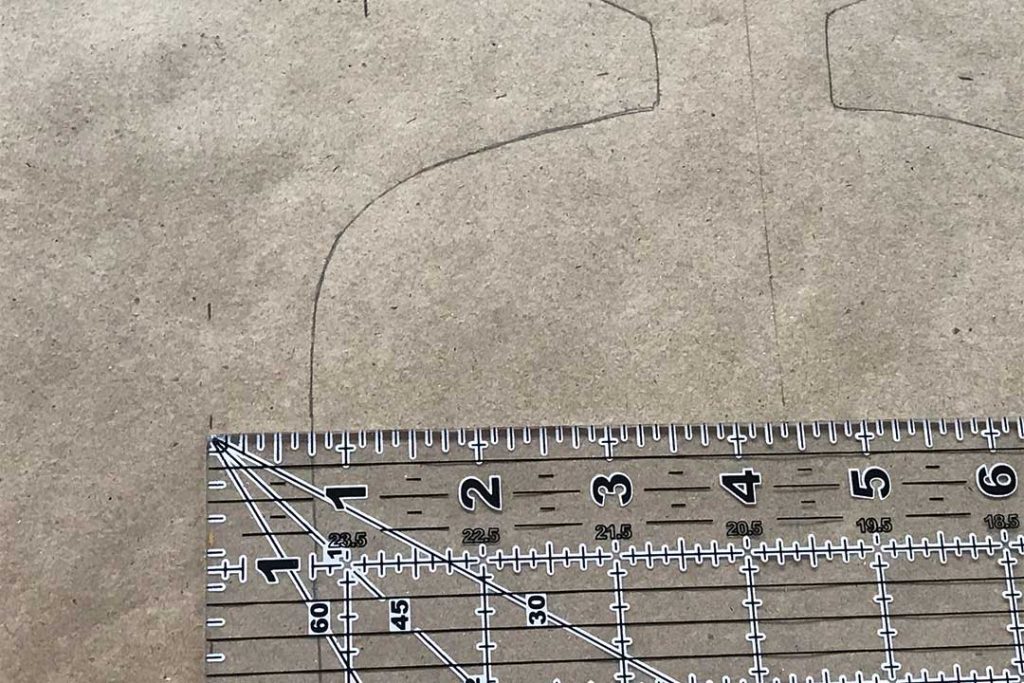
For the neck of the bottle, draw a line down the center of the pattern and measure out a 6.25 inch wide by 3.25 inch long rectangle (measurements may vary depending on the bottle). This includes 1/2 inch seam for the top opening. Start the rectangle from where it intersects with the 3/4 inch line drawn previously.
Sticking with the most comfortable route possible, I designed this cover to function like a pillow sham. There are two flaps on the backside that overlap – allowing for the hot water bottle to be easily placed inside and concealed without the need of any closure device.
Draw two lines where you want the pillow case opening to lay. I chose to place my lines at the 3 inch and 5 inch marks from the intersection drawn previously. This allows for 1/2 inch seams and 1 inch overlap of the opening.
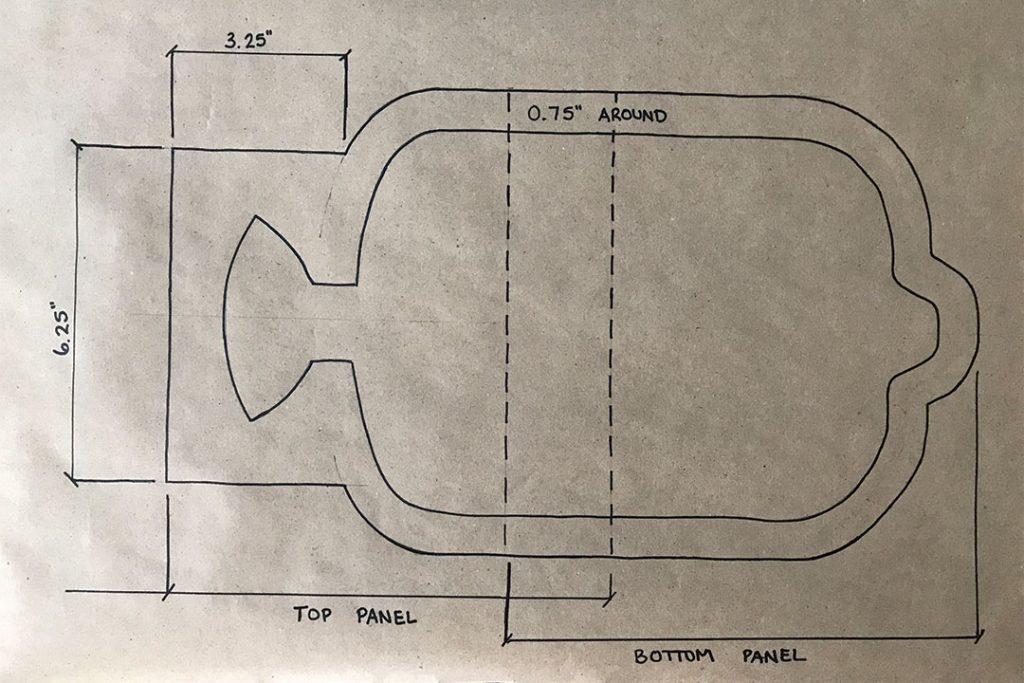
Trace and cut the three pieces of fabric: the front piece, top flap, and bottom flap. Remember to pair the 5 inch cut line with the top flap and the 3 inch cut line with the bottom flap.
SEW THE OPENINGS
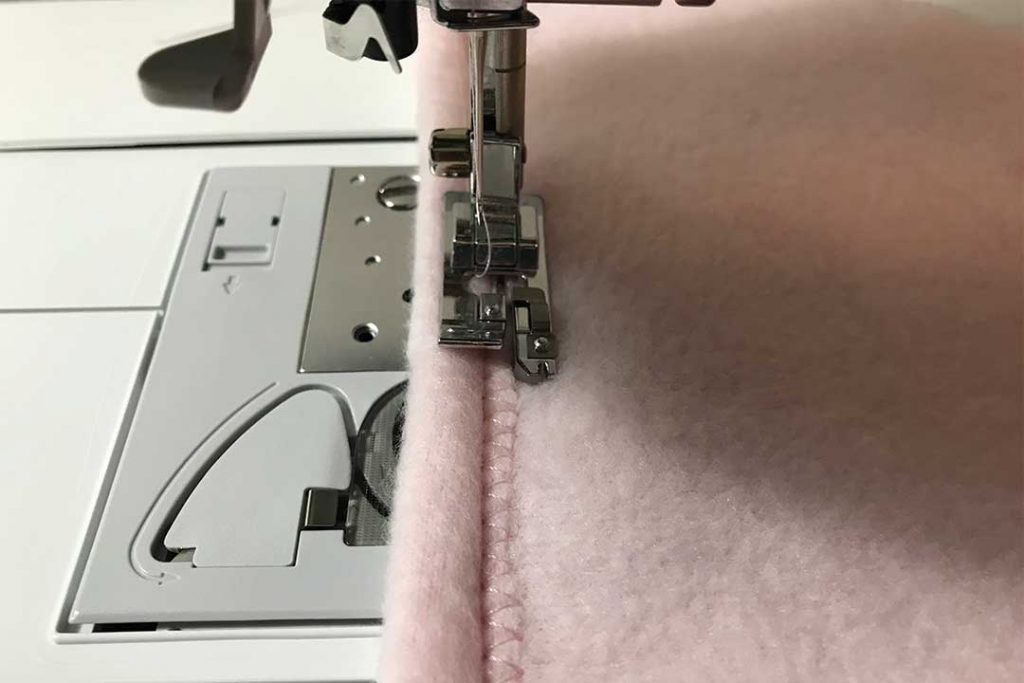
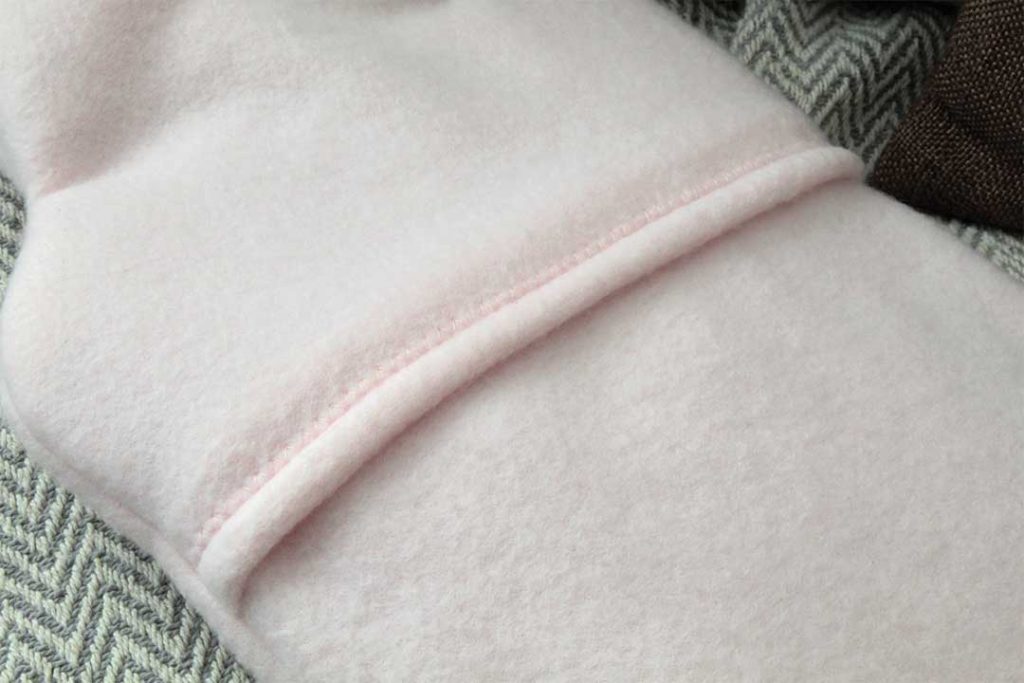
Using the overcasting stitch, fold the seams at each opening over 1/2 inch and sew the raw edge down. This will need to be done at the back and top openings.
SEW THE COVER
Pin the three pieces together inside out in this order: front piece, top flap, and bottom flap placed on top.
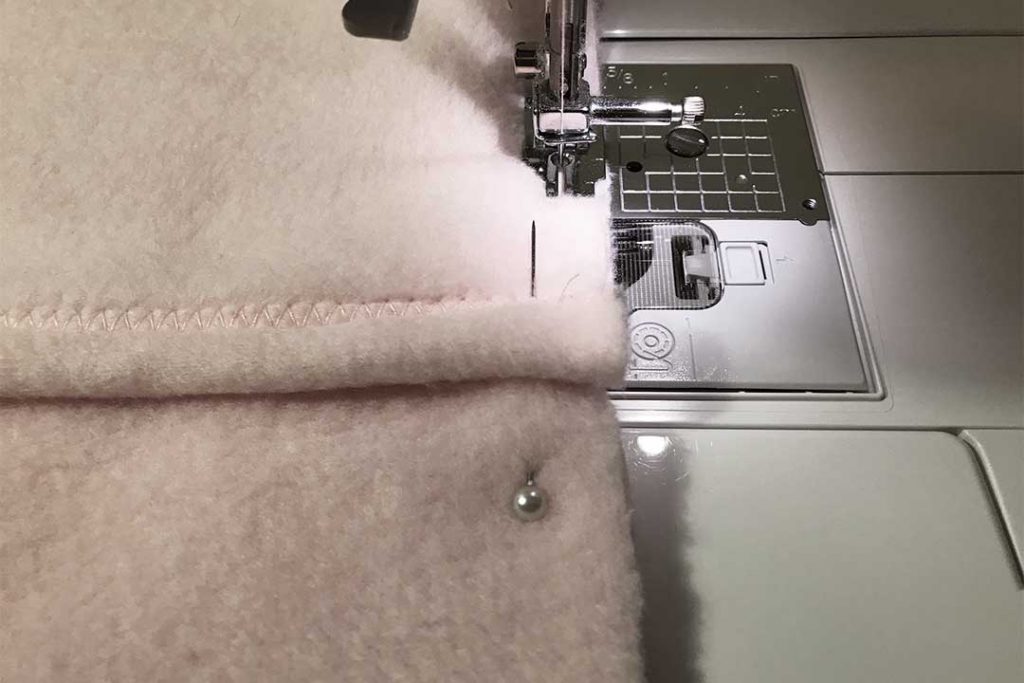
Sew 3/8 inch seam around with reinforcement stitches at the top opening and on both seams located at the pillow case opening on the back. This is to help reinforce the seams that might be getting tugged on while placing the bottle inside the cover.
I normally sew 1/4 seam around, but I recommend doing closer to a 3/8 inch seam when using thick plush fabric such as fleece. I simply found it easier to work with while feeding the fabric through the machine.
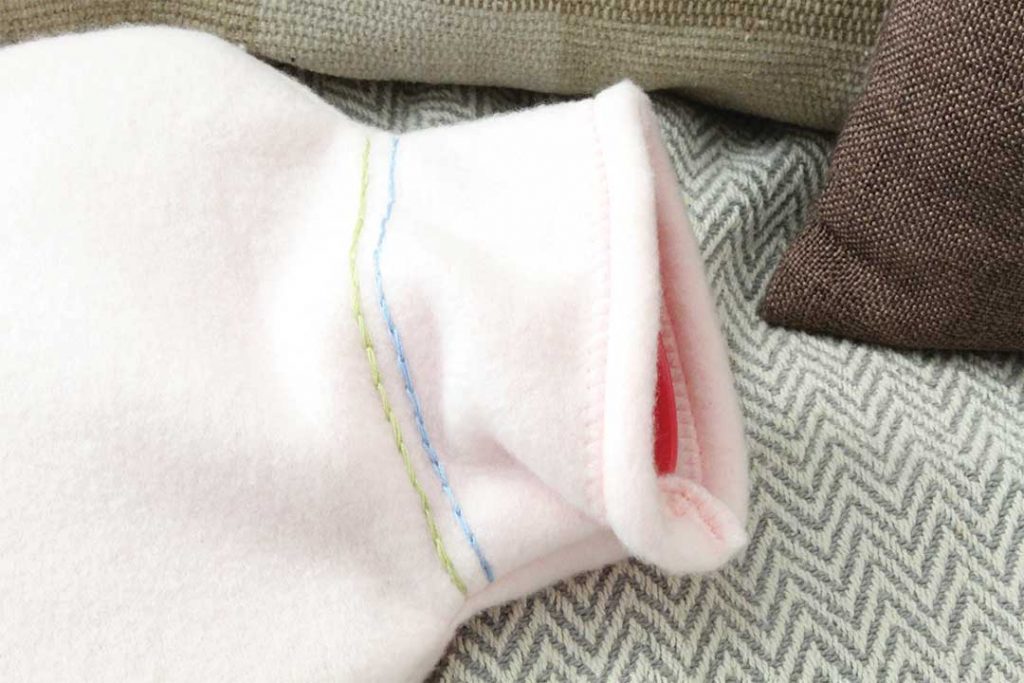
Lastly, I chose to sew overcasting stitches in the same areas as the reinforcement stitching to help cinch the fabric of the seams for a cleaner, thinner, and more finished appearance. You could choose to sew the overcasting stitch all the way around.
Turn right side out and the sewing of the cover is complete!
DECORATE THE COVER
When it came to the design, I chose to decorate the cover using only embroidery thread to keep with the comfortable feel. I didn’t want to add buttons, Velcro, beads, etc in order to keep the cover plush and practical.
All you need to embroider the cover is an embroidery needle, some embroidery thread, and a design in mind.
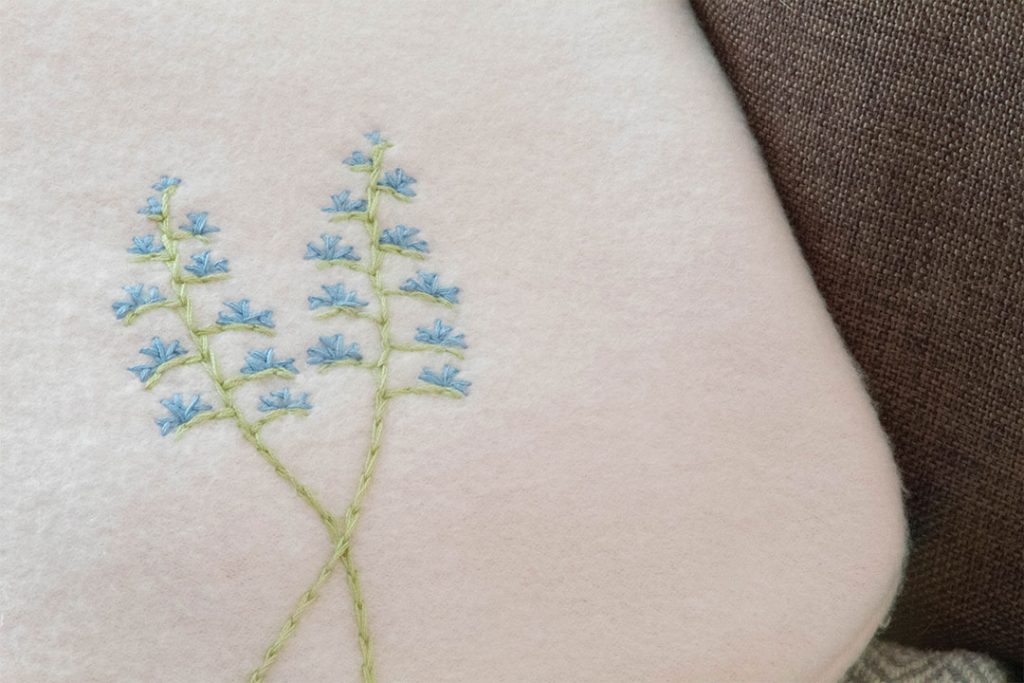
I chose to do a design true to our Texas nature and embroidered a couple bluebonnets onto the cover – one for her, one for me. Then added two decorative stripes at the neck of the cover to create some visual interest and division between the body and the neck of the cover.
I used split stitching for a slightly more intricate look rather than the basic running stitch. Split stitching looks just like it sounds – a stitch splitting another stitch.
Tie a knot at the end of the thread, place a stitch into the fabric, stick the needle through the thread just below the knot, and pull the remainder of the thread through to make a loop. I like to do this method for knotting to ensure the knot cannot get pulled through the fabric.
For split stitching: thread one stitch forward, thread needle one-third of the ways back into the previous stitch, and pull the thread through to split the stitch. Repeat.
Once your design is complete, tie off the thread and weave the tail of the thread back through a couple of stitches to secure.
My best advice is to knot your thread and simply start stitching! I went into this project without a game plan and do not have much experience at all with hand embroidery. Needless to say, it took a good three attempts at stitching these bluebonnets to come up with a design that I loved. Third times a charm, right?
I am very happy with how it turned out once finished! I do wish the bluebonnets were off to the left a little bit more, but I’m choosing not to sweat the details for the first time in my life.
FIND MORE SEWING TUTORIALS:
- How to Make a Bathroom Curtain
- DIY Wedding Date Pillows
Tag us on social media to share your finished project with us! Happy Sewing!
