HOW TO ADD VALUE TO YOUR BATHROOM
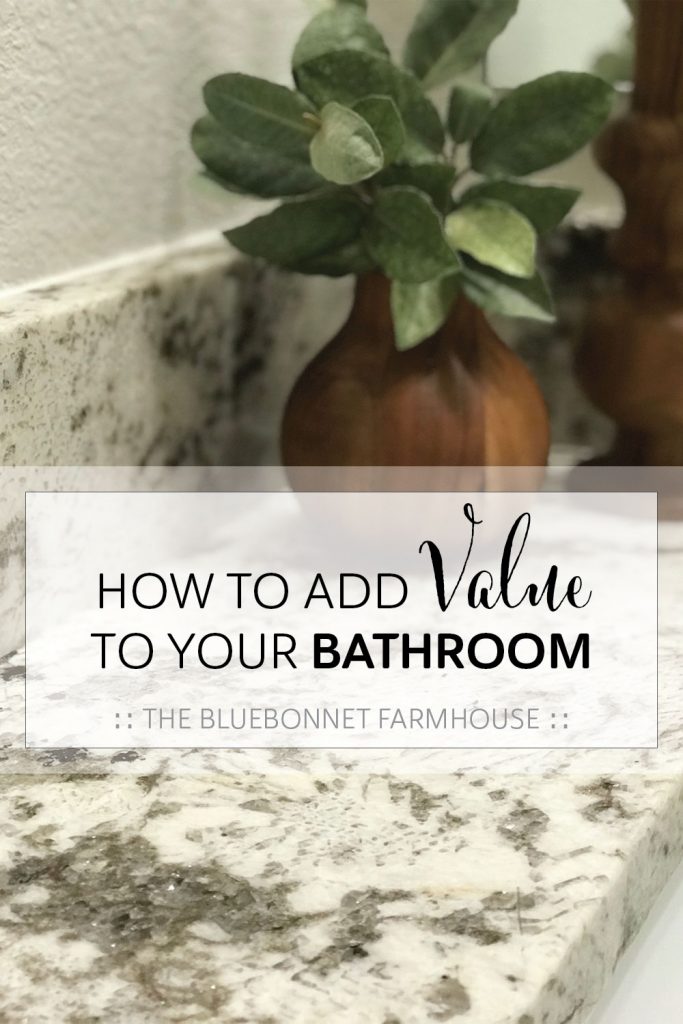
Learn one of the best ways to add value to your bathroom in addition to some tips and things to consider during the process!
This post contains affiliate links used to help support The Bluebonnet Farmhouse. For more information, please see my disclosures here.
It’s official! We closed on our first home and our household goods have been delivered (minus one box that got lost in our cross-country move – not too shabby). Time for our first project as new homeowners! Now, what was the first project going to be? … What better project than one that ADDS value to our home!
A little back story here, our home is a new construction. I know what you are thinking, if your home is a new construction how can you possibly have projects to complete?
Well, majority of the time when you purchase a new home you are able to choose your finishes from a selection offered by the builder – one of the perks of purchasing a new construction, right? We did not have this opportunity as we were not the original buyers.
The original buyers who made the selections and added upgrades were unable to close on the home. The house was placed back on the market and almost sold AGAIN just before we arrived in Texas. Thankfully for us, the home was available at the perfect time and we snatched it the day we toured it – unfinished drywall and all!
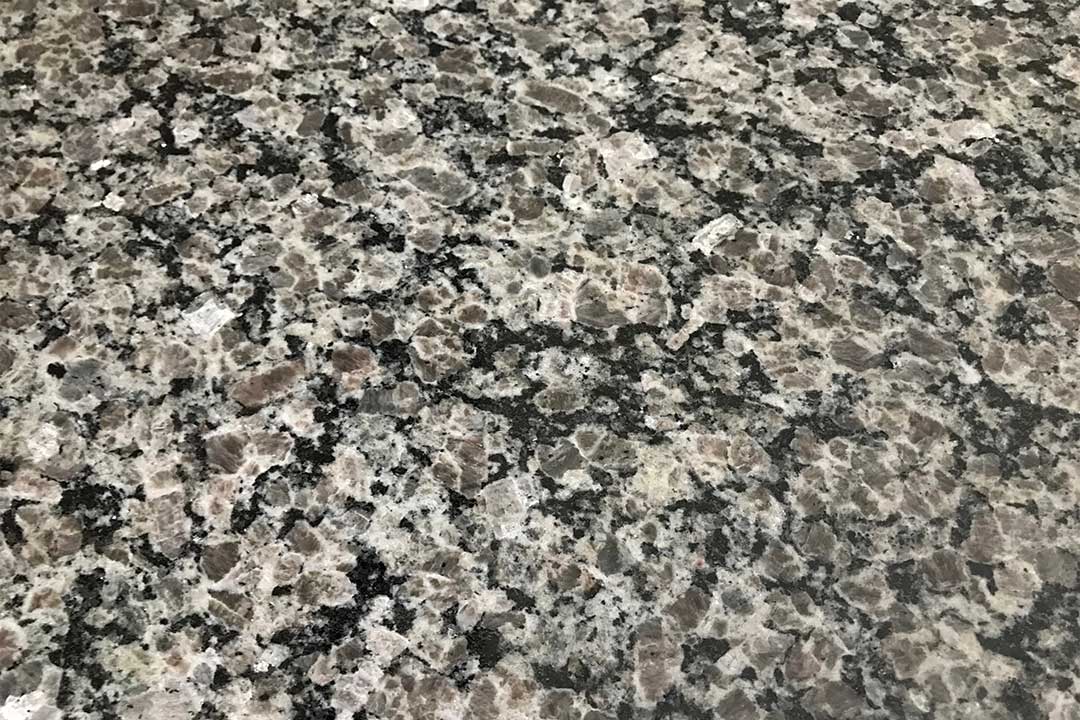
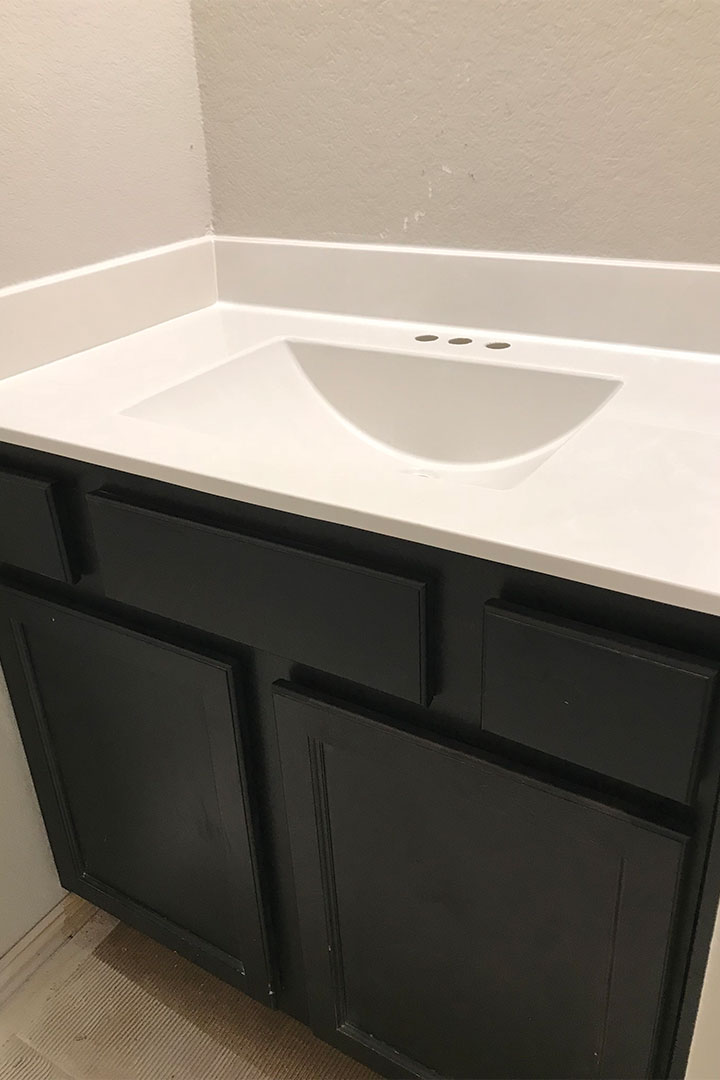
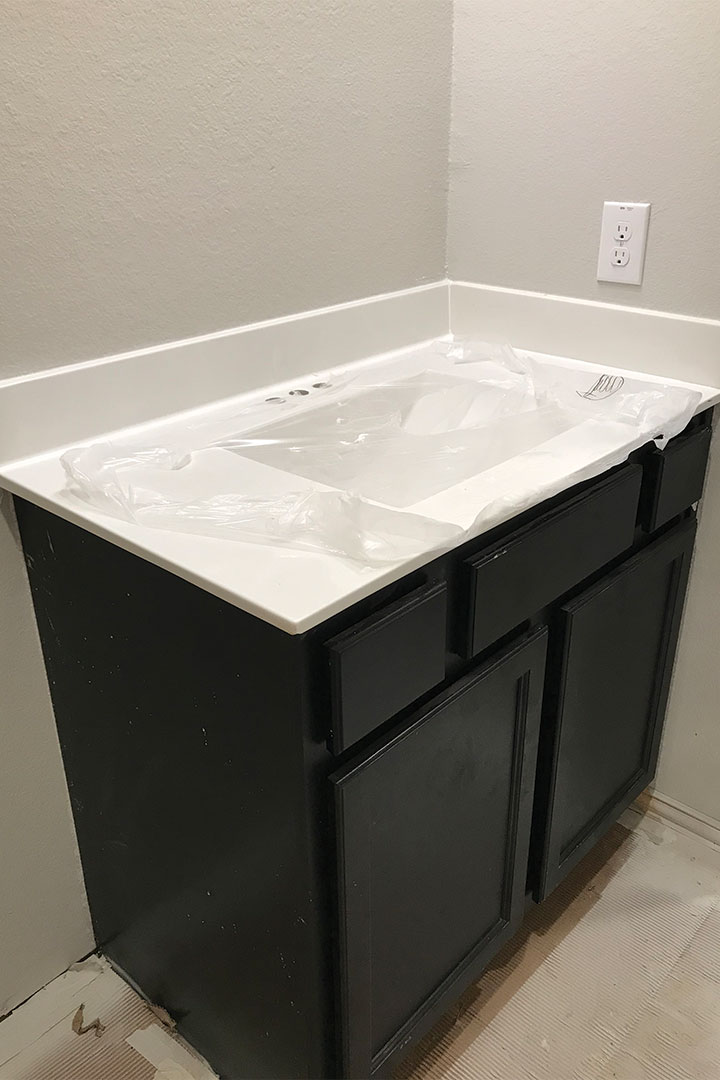
Seeing as how we did not get to select all of the finishes and upgrades, we began talking about the possibility of installing granite in the bathrooms. The granite came standard in the kitchen and therefore was not considered an upgrade. However, the bathrooms came equipped with builder-grade, man-made, white countertops with built-in sinks.
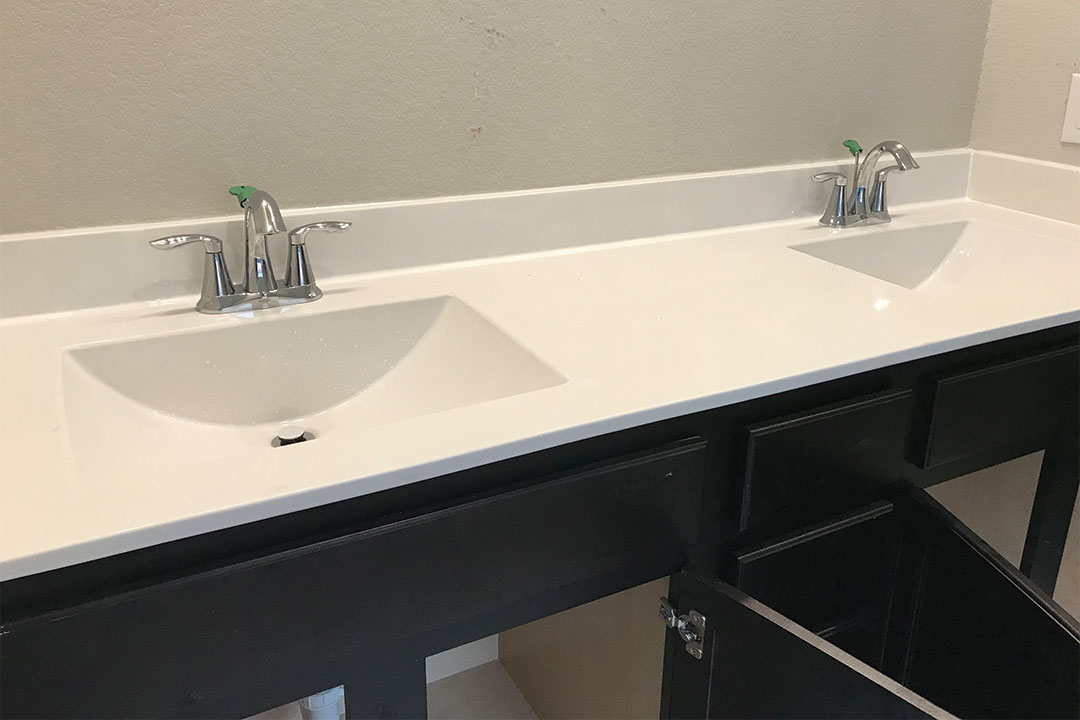
We didn’t mind the existing counters, but had we been given the option, we would have opted for the granite upgrade for both aesthetics and resale value purposes. After all, kitchens and bathrooms sell homes – and a quick resale is most certainly of great value!
FIRST IMPRESSIONS
When it comes to aesthetics, what is one of the first things you notice in a bathroom? The vanity countertops! No one walks into a bathroom and heads straight for the shower to check out the faucet.
Even though I will be the first to tell you the details are important, they are not the immediate attention grabber. However, stunning natural stone countertops are the attention hogs!
Not so in love with the walls of your tub and shower combo? That’s okay, just get a super cute shower curtain in the meantime and pull it shut until you can tackle that project later! The only thing guests will then notice are your gorgeous countertops and cute shower curtain!
Think of it this way. You can hide the inside of your shower, but you can’t hide your countertops.
WHY CHOOSE GRANITE COUNTERTOPS?
If you have ever been shopping for granite then you know how wonderful it is when you find THE slab. No two pieces are alike, even from the same batch, and that one piece can make your entire space a showstopper.
Of course, the tile throughout the bathroom can be a statement in itself; however, in many cases the tile used is manufactured and are overall identical pieces.
On the other hand, each slab of granite is one of a kind.
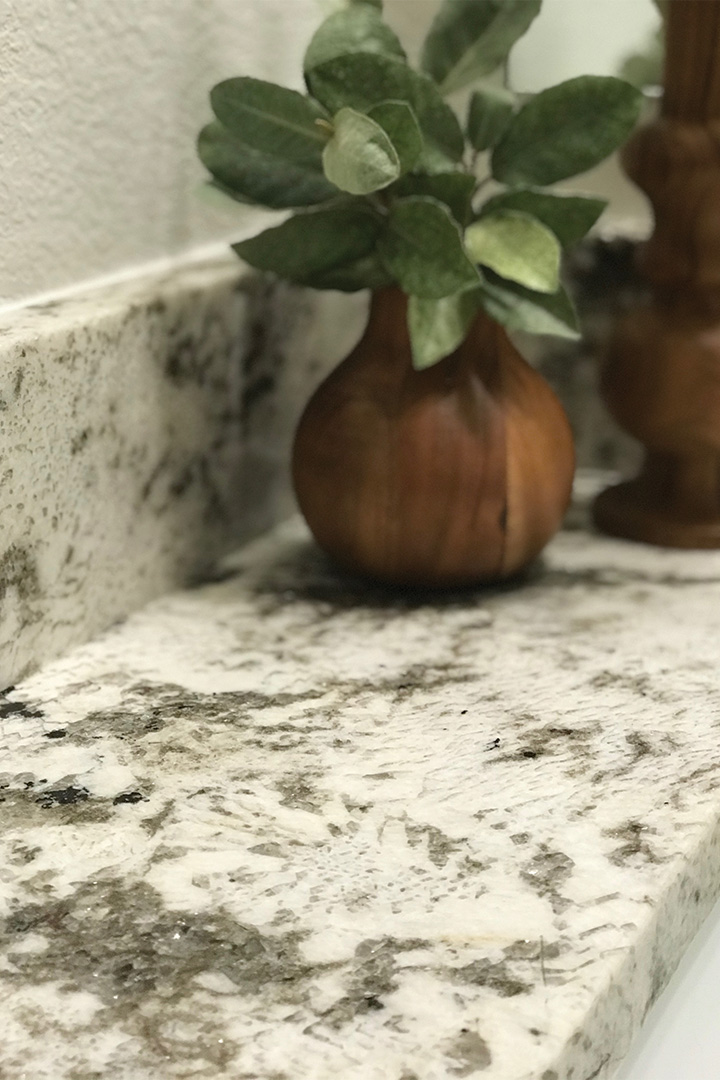
In terms of resale value, if you have some eye-catching granite counters, potential buyers will be less focused on the rest of the bathroom and too busy drooling over the vanity spaces.
Added bonus, buyers will view the countertops as an expensive upgrade that they now don’t have to worry about.
Originally, I had thought not getting to choose our upgrades was a downside, but it ended up working out for the better! By not being able to choose the builder upgrade, we then had the option to go shopping and select ANY granite we wanted – within reason and budget of course! We absolutely love having the variety of granite throughout our home.
HOW TO SHOP FOR GRANITE COUNTERTOPS:
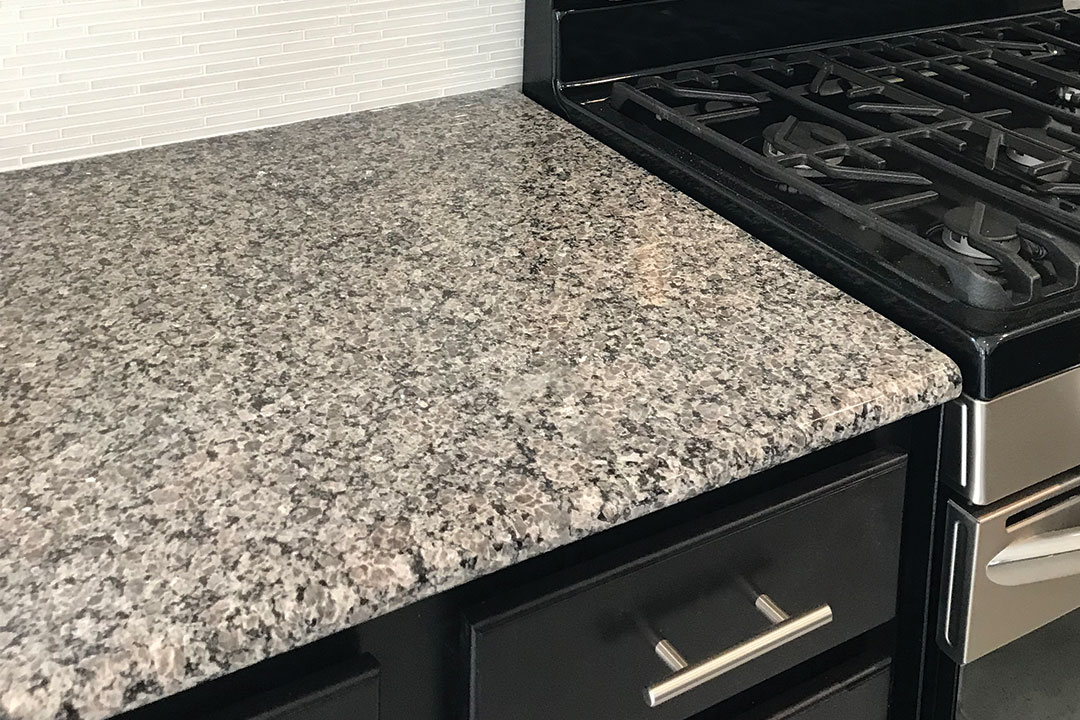
Speaking of variety, the challenge was trying to decide on which granite and whether to have the same type in all of the bathrooms. We did want the new selections to tie into the color of the kitchen granite, cabinets, and overall color scheme of the home.
FINDING THE BEST PRICE ON GRANITE:
Being a girl who loves a good deal, I took off straight for the Boneyard when we arrived at the granite store. The Boneyard is what they call the section of the granite yard that has all of the remnant pieces.
Here you will find all of the excess pieces from the companies prior projects. Many of these pieces are too small or too specific in size to be suitable for large scale projects such as a kitchen remodel; therefore, they mark down the price to sell off the pieces.
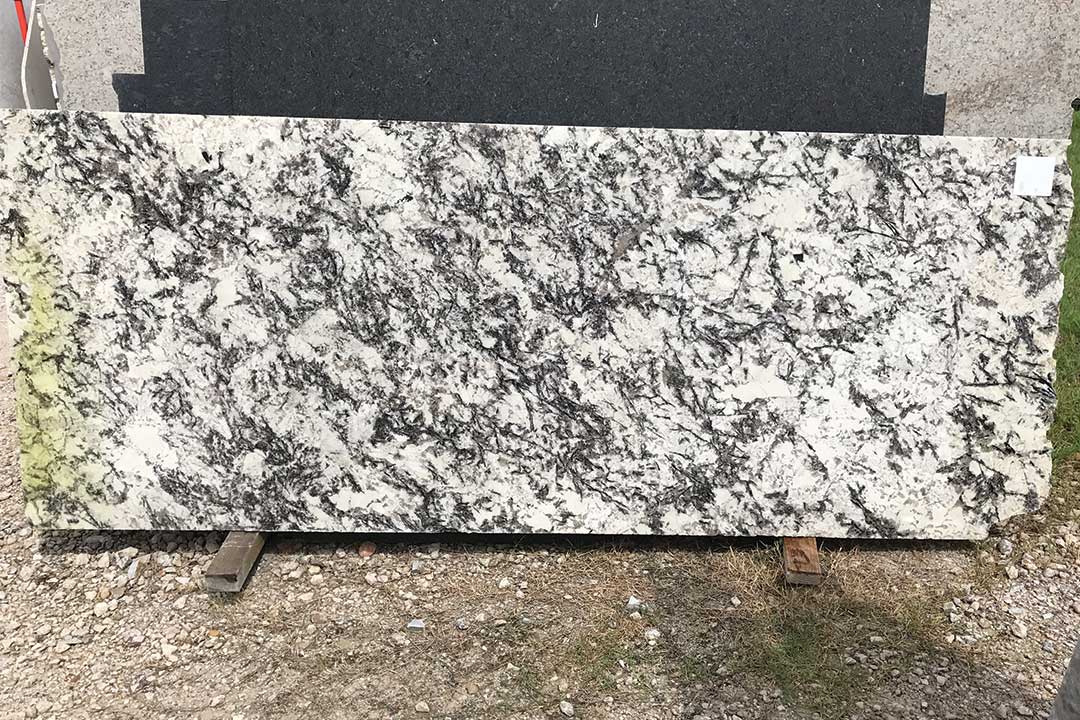
I instantly fell in love with one piece after catching a small glimpse of it wedged between two different slabs. This one single piece just so happened to be the exact size needed to complete our master bathroom vanity with a 4” splash guard surround.
Originally, this piece was one of the higher priced exotic granites. However, due to the fact they only had this specific piece of slab left, we were able to get it for a major steal!
CHOOSING THE RIGHT GRANITE FOR THE SPACE:
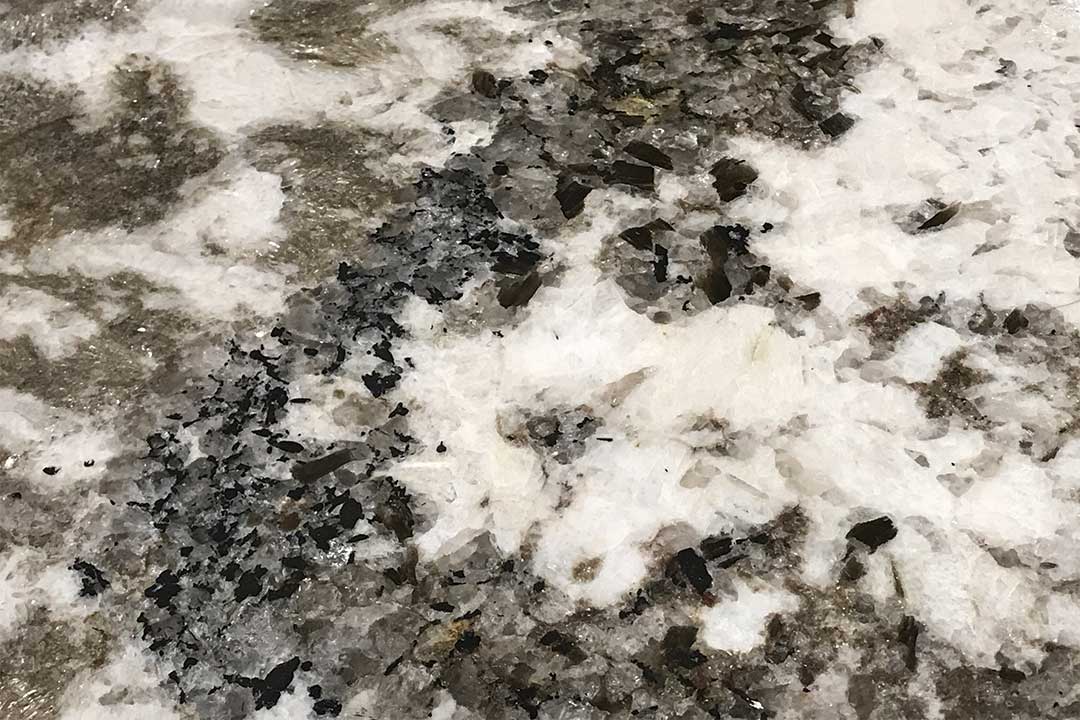
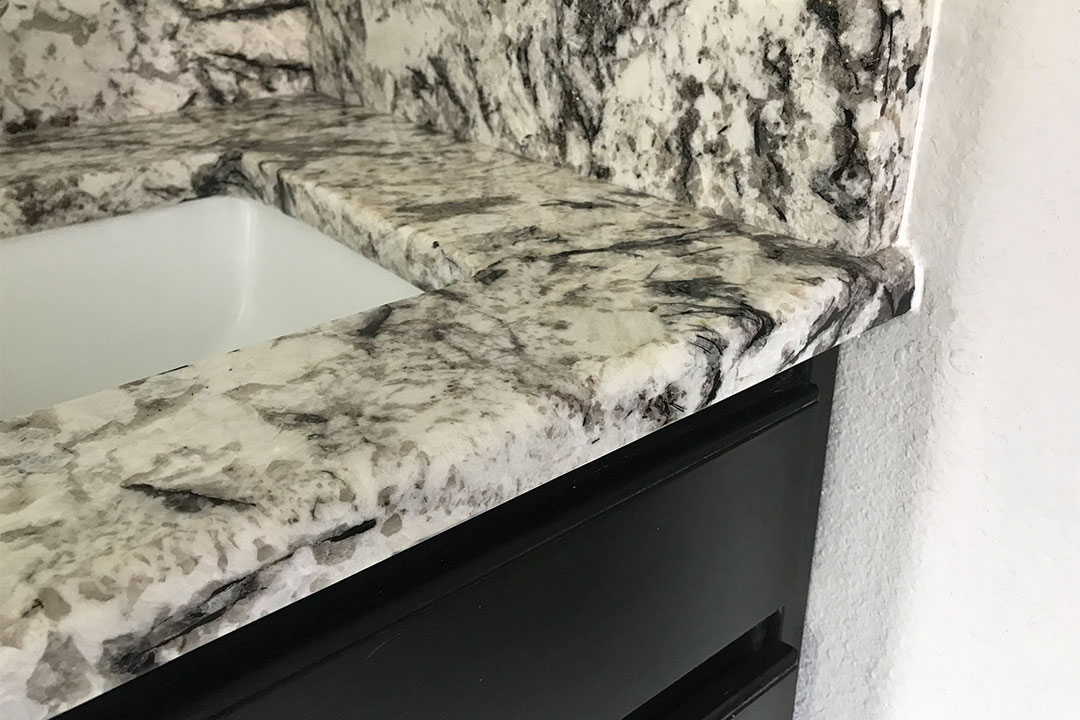
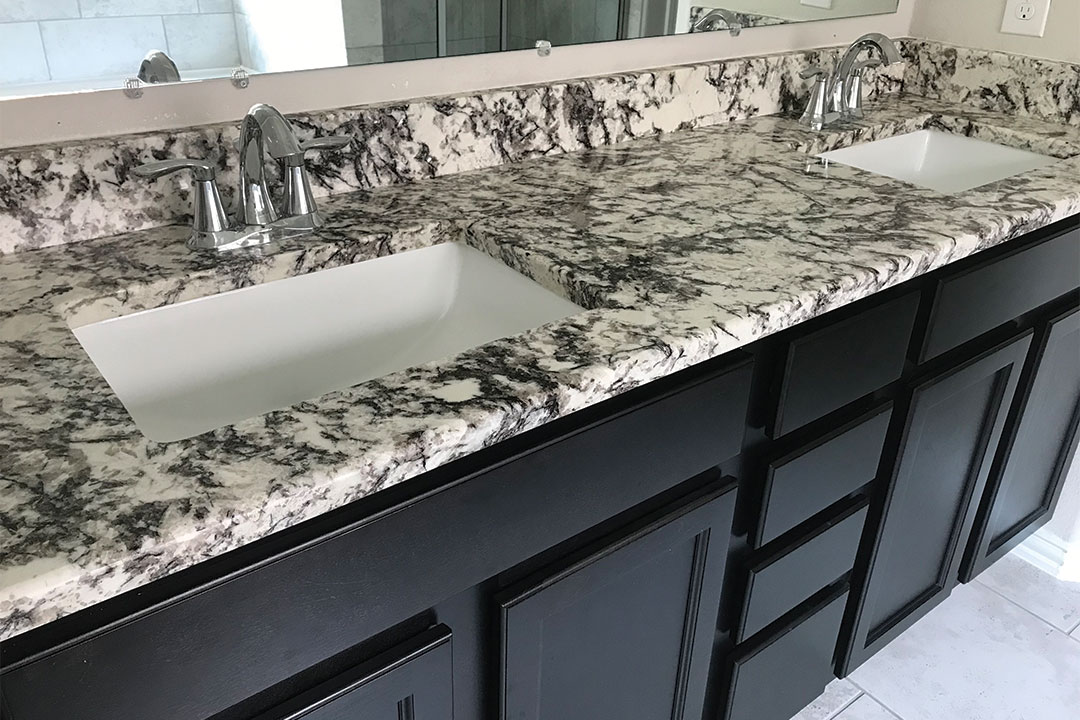
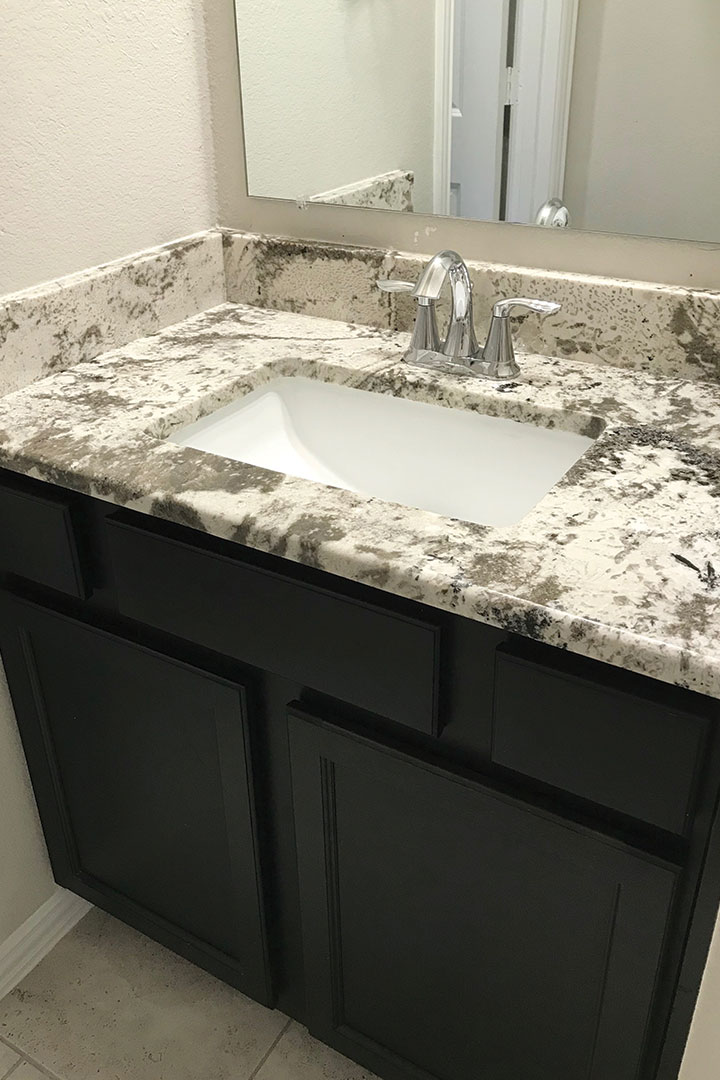
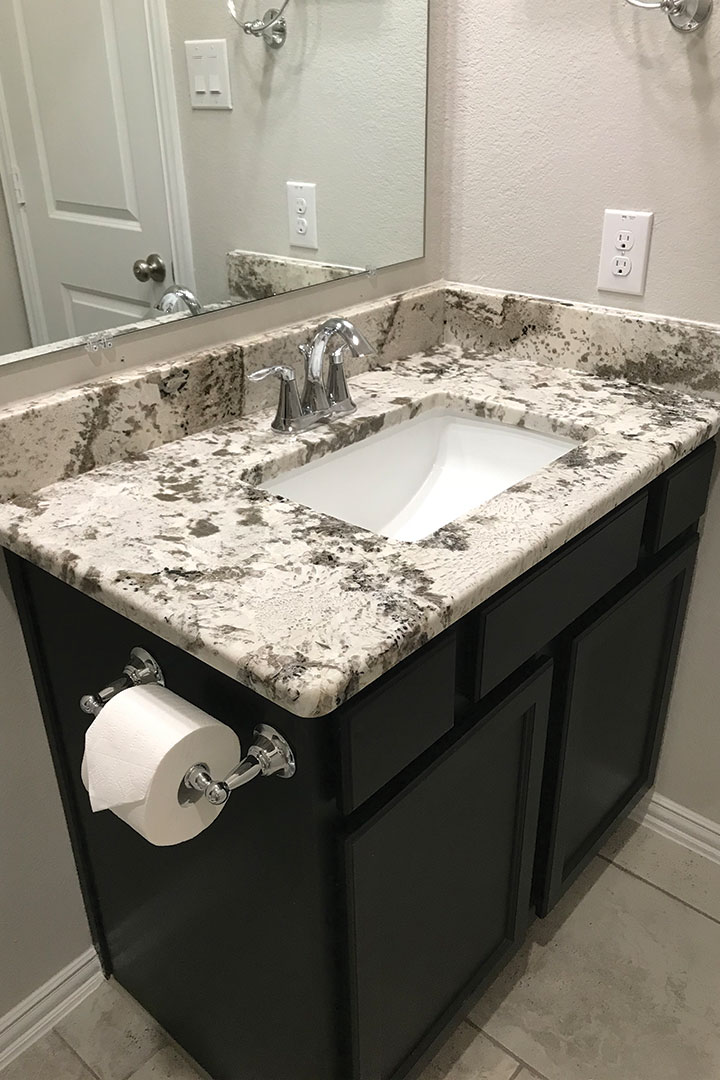
This particular granite was the look I was hoping to find! It had the light white body with an abundance of dark movement throughout, perfectly tying into the dark double espresso color of our cabinets.
It was the ideal piece for the space considering our bathroom is much larger than the two secondary bathrooms. The dark colors within the granite did not darken the space or make it feel smaller, which would have been a concern in either of the secondary vanity spaces.
As you know, one has to think about everything when trying to make a decision!
Okay, we had our bathroom taken care of, now what to do about the two secondary bathrooms – the guest and kids bathroom.
Obviously, we did not have enough of the Boneyard granite to cover all of them, nor was it the right balance of colors for the smaller spaces. So we set out to find a granite within the same family that paired nicely with the one already chosen.
Unfortunately, we could not find any more remnants in the Boneyard we were happy with and went to tour the remaining selection of granite. At the very front of the yard is where we found it, the answer to all of our granite questions!
I expressed my interest to the sales consultant and he jokingly said, “She’s got expensive taste.” … guilty as charged. Hey, there is nothing wrong with having expensive taste if you know how to use it wisely and hunt for bargains!
Considering half of the project was being completed with a piece from the Boneyard, those savings allowed us to be able to splurge on this exotic piece. By the end of it, the total cost was the amount we had anticipated from the beginning. The difference being, we were able to get the entire project done with higher end exotic granites! Yay!
Level 1 (Builder-Grade) | Level 3 + (High-Grade)
The sales consultant told us the two granites chosen were from the same family as you could tell from the similar colors and heavy movement.
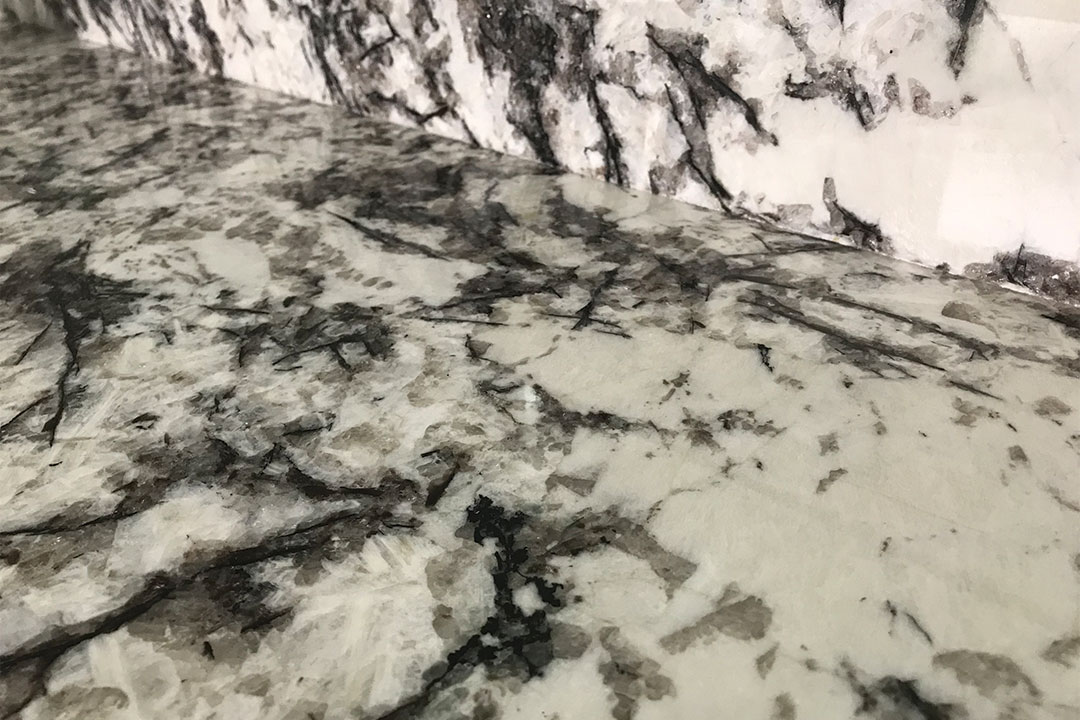
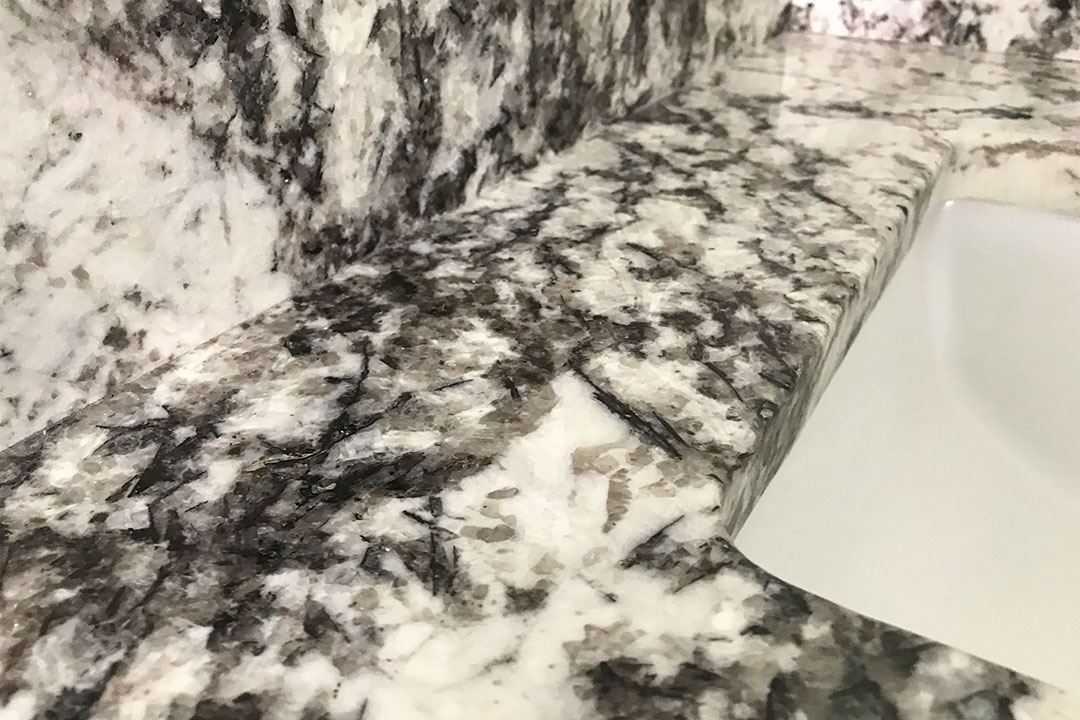
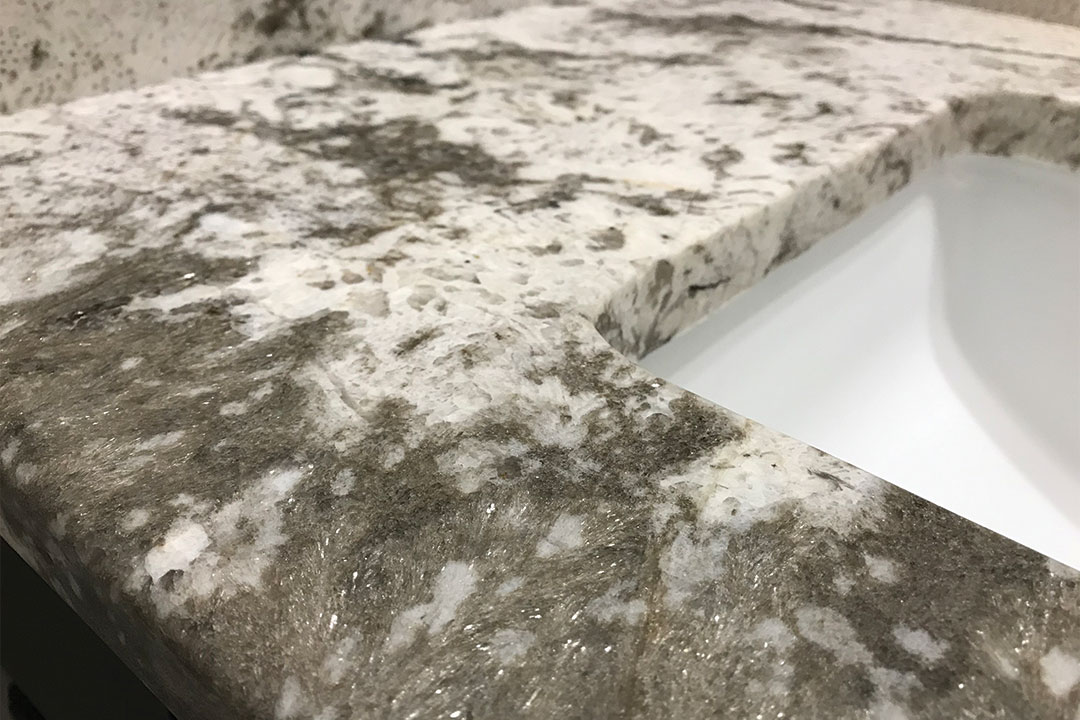
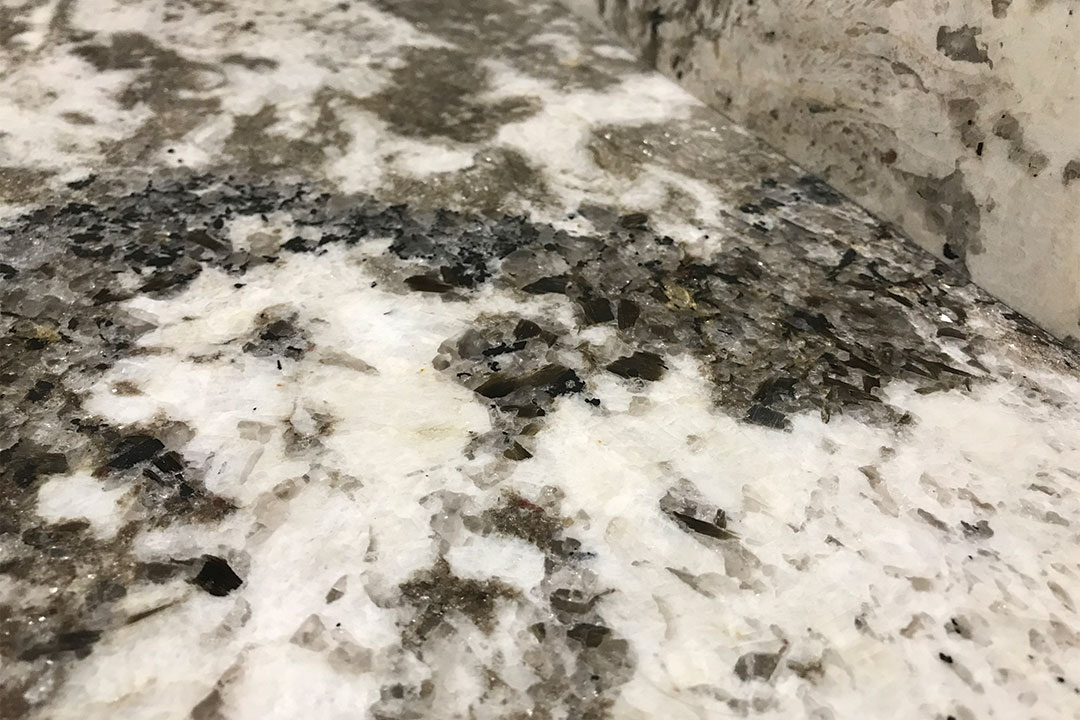
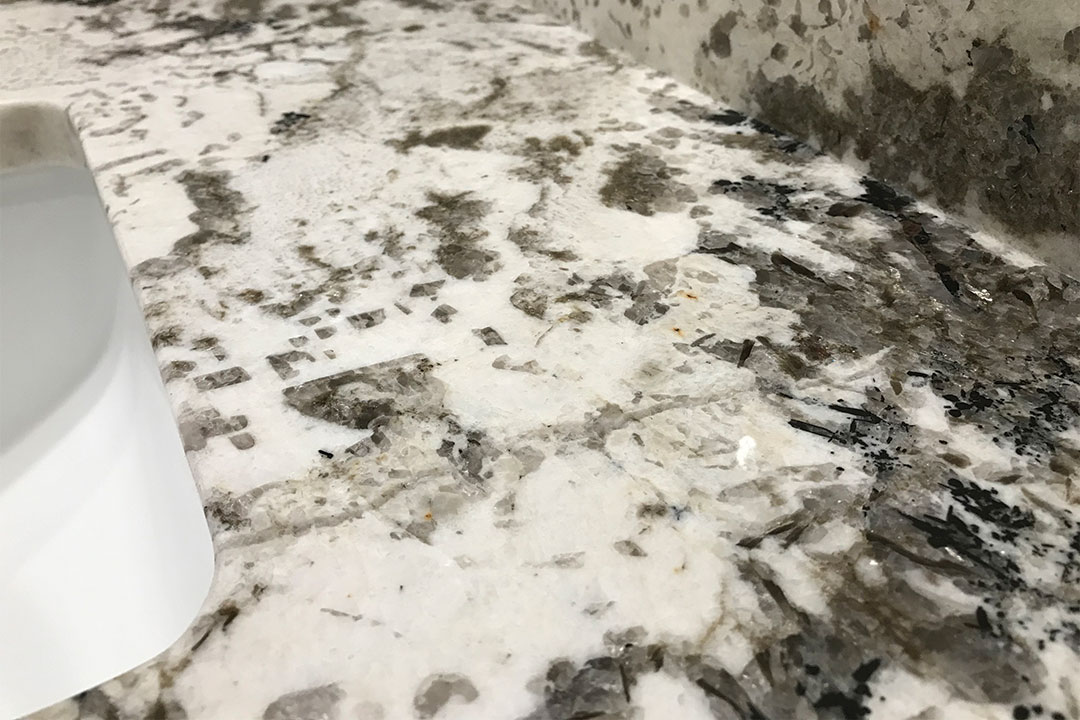
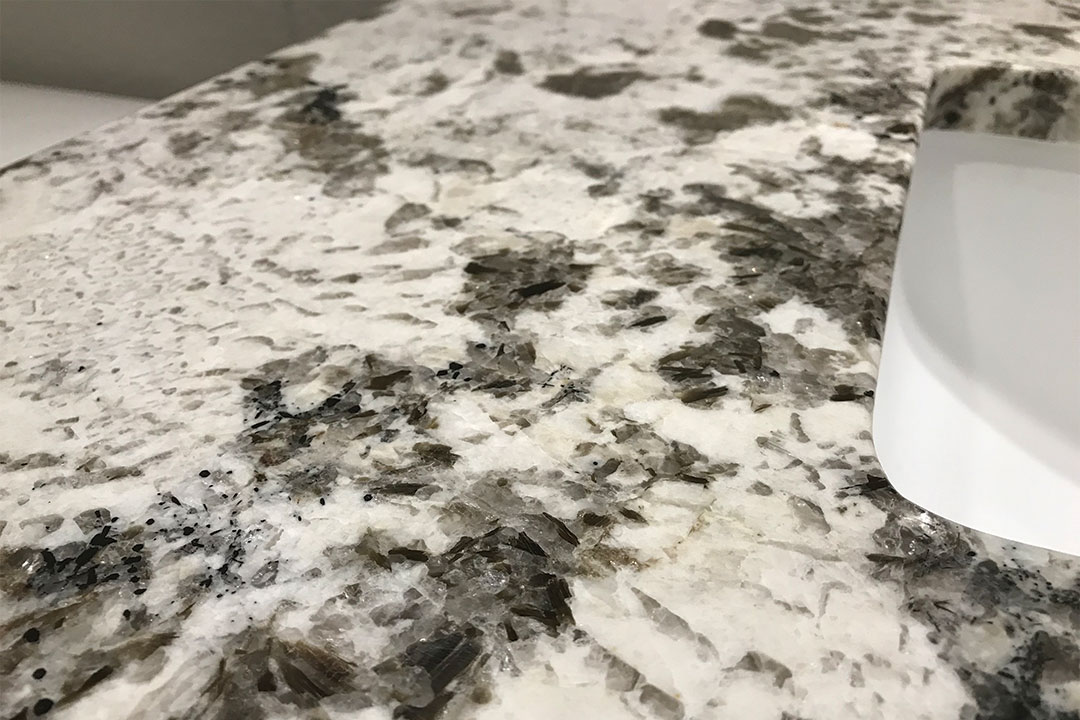
Movement is the markings, patterns, and crystals found throughout the flow and veining of the granite. Movement is different from the tight consistent pattern found in most builder-grade granites. Therefore, the more movement in a piece of granite, the higher the price.
The secondary bathroom granite was perfect for those spaces because even though it contained the same dark color as our bathroom granite, it was in smaller doses with lighter complimentary colors occupying the majority of the surface. Don’t even get me started on the mica! I will admit, I was way too excited to see this granite installed!
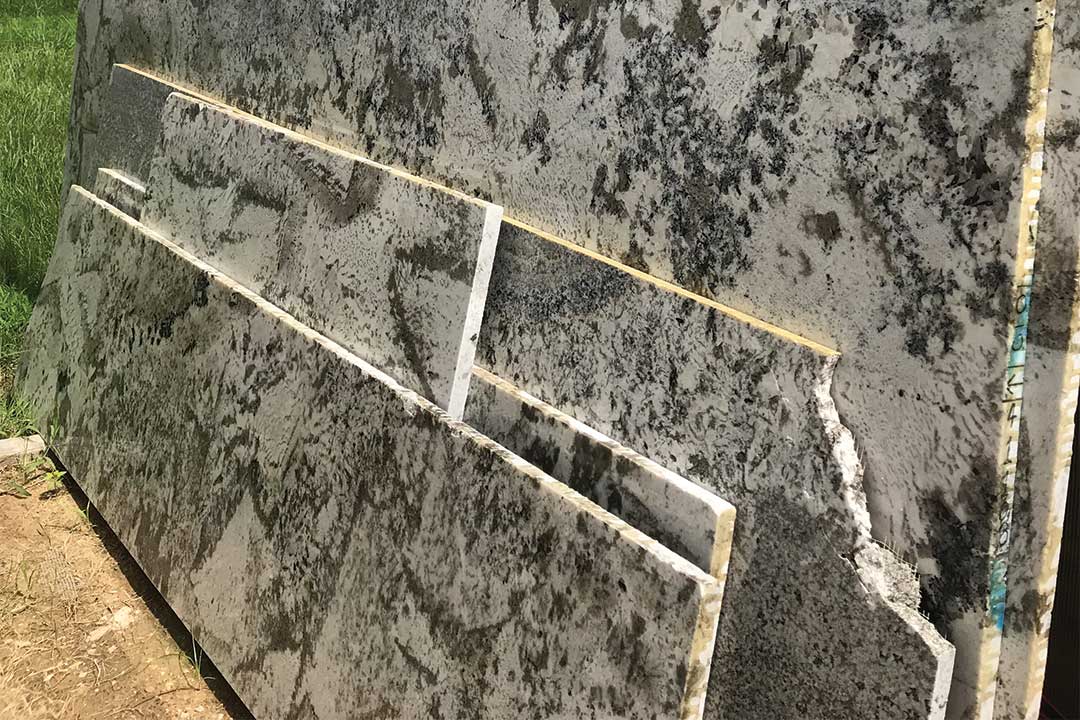
There were multiple slabs available in the collection we chose for the secondary bathrooms, but no two slabs are alike when it comes to granite.
Even though it was mined from the same location, at the same time, from the same slab of granite, no two pieces will ever be identical. This is the beauty in nature – no one thing is every truly identical to another.
Knowing that, here’s the crazy part. The one piece we absolutely loved in the collection was yet again the exact size needed to complete both secondary bathroom vanities with a 4” splash guard surround – JUST like our bathroom! Hard to believe right?!
That settled it. Given the fact that the pieces were each the perfect size for the project at hand, the colors we were looking for, and complimented each other nicely, we knew we had found our granite!
Next up, installation! Find out useful tips and things to consider before the installation of new counters below!
THINGS TO CONSIDER BEFORE AND AFTER INSTALLATION:
BEFORE
If you have never replaced bathroom countertops before, there are a few more expenses involved than simply the expense of the counters.
For example, you will have to buy new sinks if your current sinks and countertops are all one piece like our previous ones. In addition to the sinks, you will also have to hire a plumber to remove and reinstall your faucets. We were quoted $150 a fixture … and we had four fixtures. Yikes!
Also, if your bathroom mirror sits directly on top of your splash guard, you will need to have it removed for the counter installation and reinstalled after. To save some on expenses, you can always choose to remove and reinstall the mirror yourself, but keep in mind if you break a mirror it can be quite an expense to replace. We did not feel comfortable removing them ourselves and certainly did not want to find out the expense to replace the 6’ x 4’ mirror in our bathroom.
Thankfully, we had become good friends with the sales consultant for our new construction neighborhood and during conversation we mentioned our current undertaking to him.
To our complete surprise, he offered to reach out to the construction managers for the contacts of their mirror and plumbing crew on site. As a result, we had both the mirrors and the plumbing done at a very small fraction of the cost!! And we now have the relationship with those contractors for future projects! Talk about a win-win that we weren’t expecting at all!
TIP: If you live in a new construction neighborhood and the crews are working on site, I recommend you try to take this route to save on expenses!
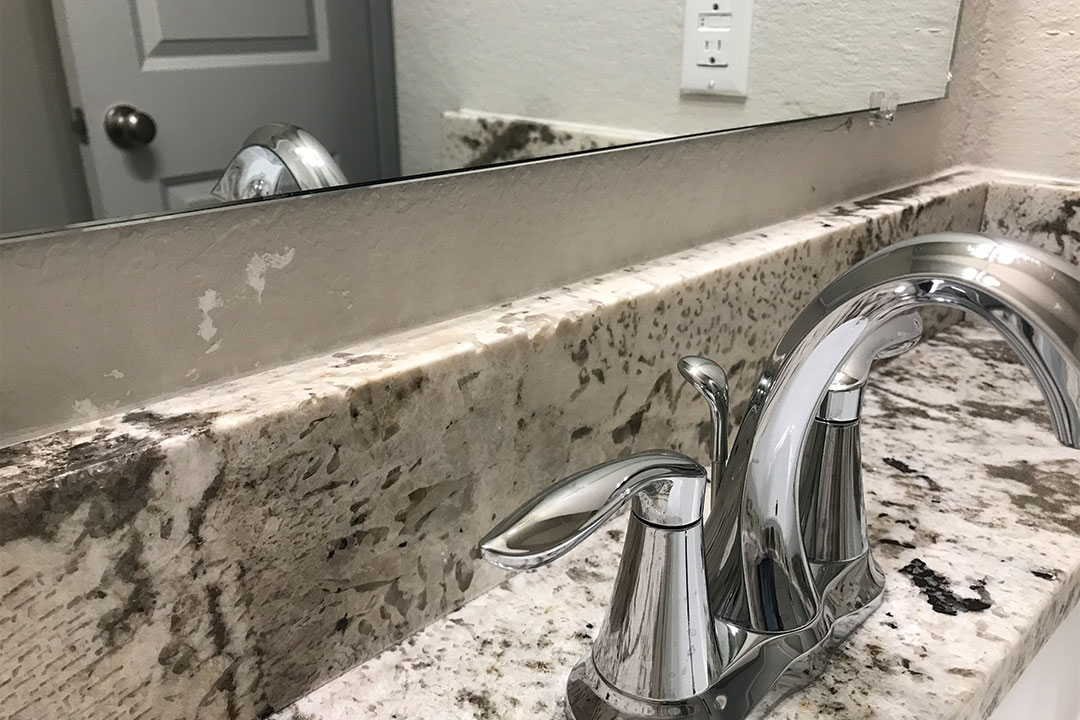
Since the mirrors were having to be reinstalled anyways, I decided this was my opportunity to have them raised for us to be able to frame them! Yes, it was another one of our projects I couldn’t wait to get working on! (Blog post for the mirror frames coming soon!)
As you can see above, the mirrors are now a couple inches above the splash guard rather than sitting directly on top.
AFTER
Our existing counters were removed and the new counters were installed all in one day.
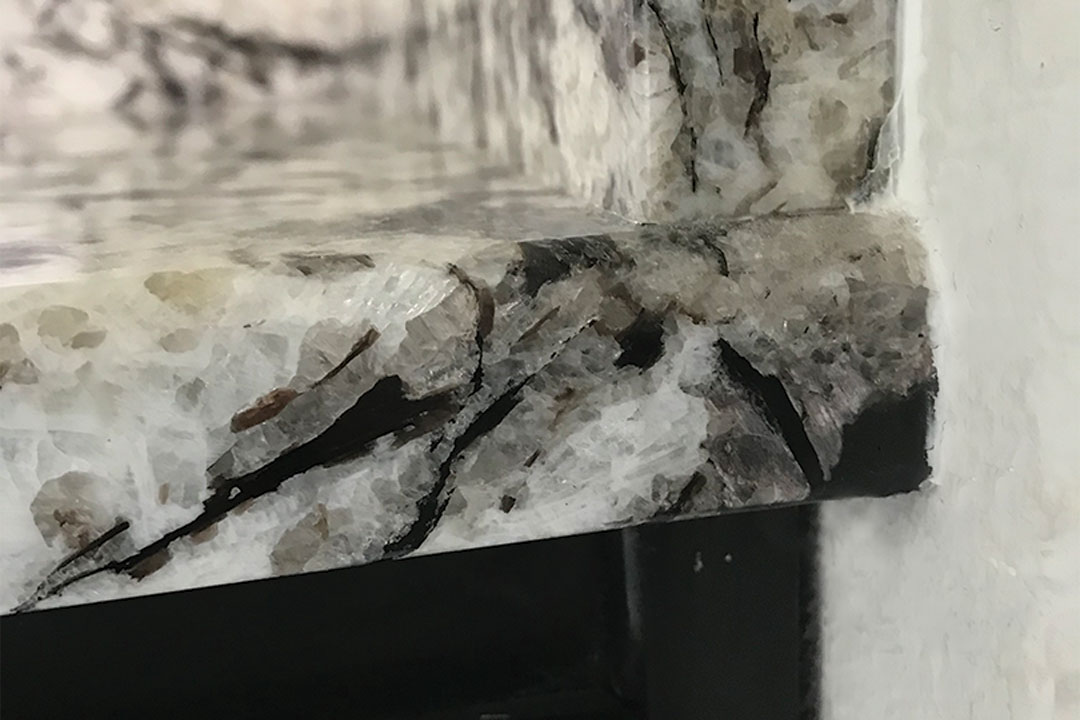
When cutting granite, there is risk of it chipping along the edge where a crystal or piece of mica resided. Think of it like a knot in wood, if you cut it in half the other half will fall out too.
Panic definitely started to set in when I noticed the chip in our new bathroom granite. We had no option of a replacement seeing as how this was the Boneyard piece!
Thankfully, we did not need to worry and the company came equipped for this kind of scenario. They used a granite putty that filled in the chip to the point of being undetectable! Voila!
Lastly, make sure the granite is sealed! Unsealed granite will result in water spots and staining.
All of our bathroom granite was sealed on-site after installation; however, our kitchen granite, which came with the purchase of our home, is a different story.
We were told our kitchen granite was sealed during the manufacturing process and therefore did not need to be sealed on-site. This personally didn’t make much sense to me considering the fabrication process during installation.
Nonetheless, based off our experience, sealing during manufacturing does not seem to be nearly as effective as being sealed on-site after fabrication. Our kitchen granite tends to absorb liquids instead of forming a protective barrier that leaves beads of liquid sitting on top of the surface.
What is the kitchen counter going to presumably come in contact with on a daily basis? Liquids. Needless to say, we will be sealing our kitchen granite soon.
As for now, it’s time for our bathroom countertop reveal!
MASTER BATHROOM | BEFORE + AFTER
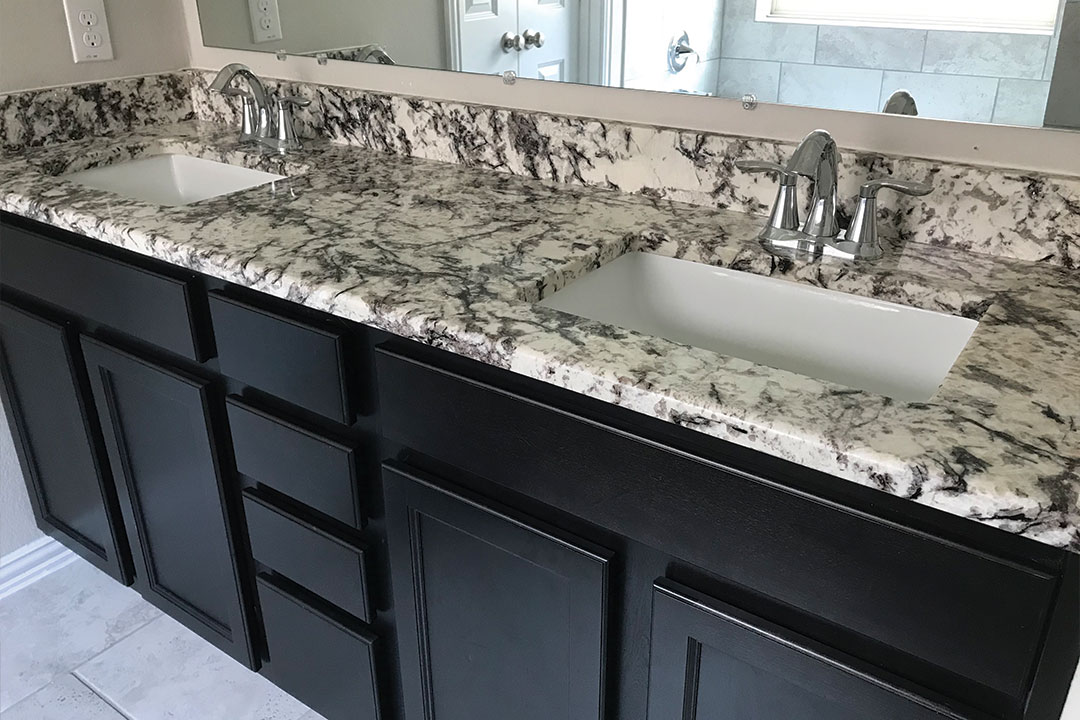
KIDS BATHROOM | BEFORE + AFTER
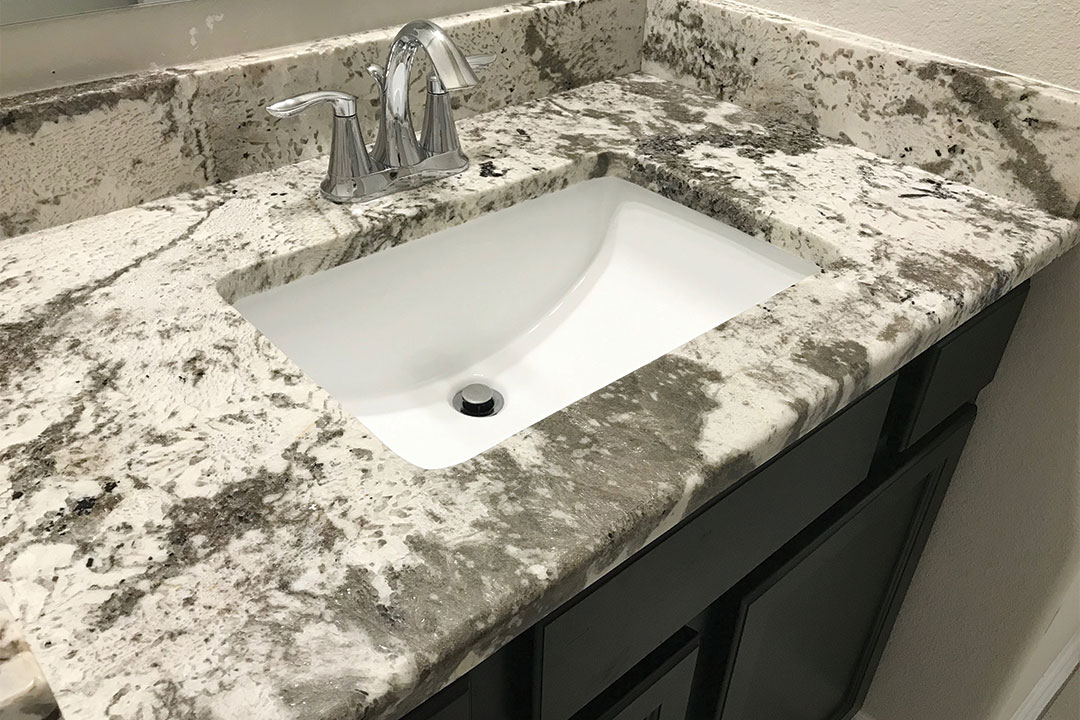
GUEST BATHROOM | BEFORE + AFTER
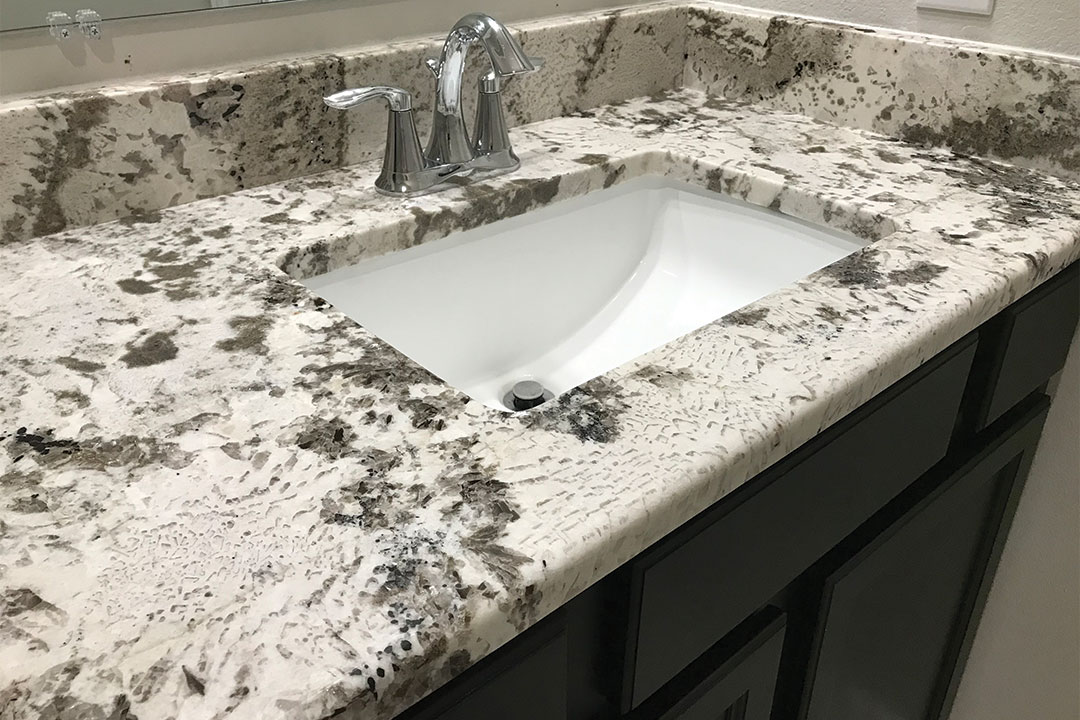
Clearly, we still have to cover up some holes in the walls from having raised the mirrors in addition to decorating, but we could not be happier with how our bathroom counters turned out! Who knew we would end up being thankful for having not been able to make upgrades during the purchasing process of our home!
RELATED POSTS:
- DIY Farmhouse Mirror Frame
- How to Make a Bathroom Curtain
Have you ever replaced countertops or thinking about it? We would love to hear from you in the comments below! Tag us on social media to share your bathroom renovation with us!
Thanks for following along!


